
Gunpla Tutorial: Photography Setup 101
Occasionally people ask me how I photograph my kits. I think many are surprised that you can take really good photos with just about any camera, and only using a handful of items that you probably already have around the house. I’m going to show you how I photograph my kits, I’m sure there are better ways of doing this, but I’ve found my way to be best for me.

I’m going to refer to this diagram of my setup for most of this tutorial.
You're going to need the following items to setup your photo area:
Camera: A tripod will make this process a lot easier, but it's not essential.
Background: Large sheet of neutral colored paper, black, white and gray are the best
Reflector: Mirror or a shiny piece of white paper like high gloss photo paperLight: Use a adjustable desk
Light Source: lamp with a ‘natural light or full spectrum’ bulb
Diffuser: A piece of white tissue paper, or any non colored transparent material
Why do I need all these things?
Camera: (Obvious)
Background: If your background is too busy the viewer’s eye will be pulled away from what you're trying to photograph. As a rule of thumb you want to use neutral colors. I prefer white, black and gray. Use the black or grey backgrounds for colorful or white kits, and use white for darker colored kits.
Reflector: You use your reflector to reflect some of the light from the light source back onto your kit. It reduces the amount of contrast from the lighted and unlighted sides.
Light Source: Also obvious, I found that getting a consistent lighting and exposure is easier using a static light than trying to bounce a hand held flash around.

Once you have setup everything your setup should look something like this. I'm using a large sheet of white paper as my reflector, it isn't super effective, but it works well enough.
You want to set your camera up 15-20 inches away from your subject. Find some attractive poses and start photographing.
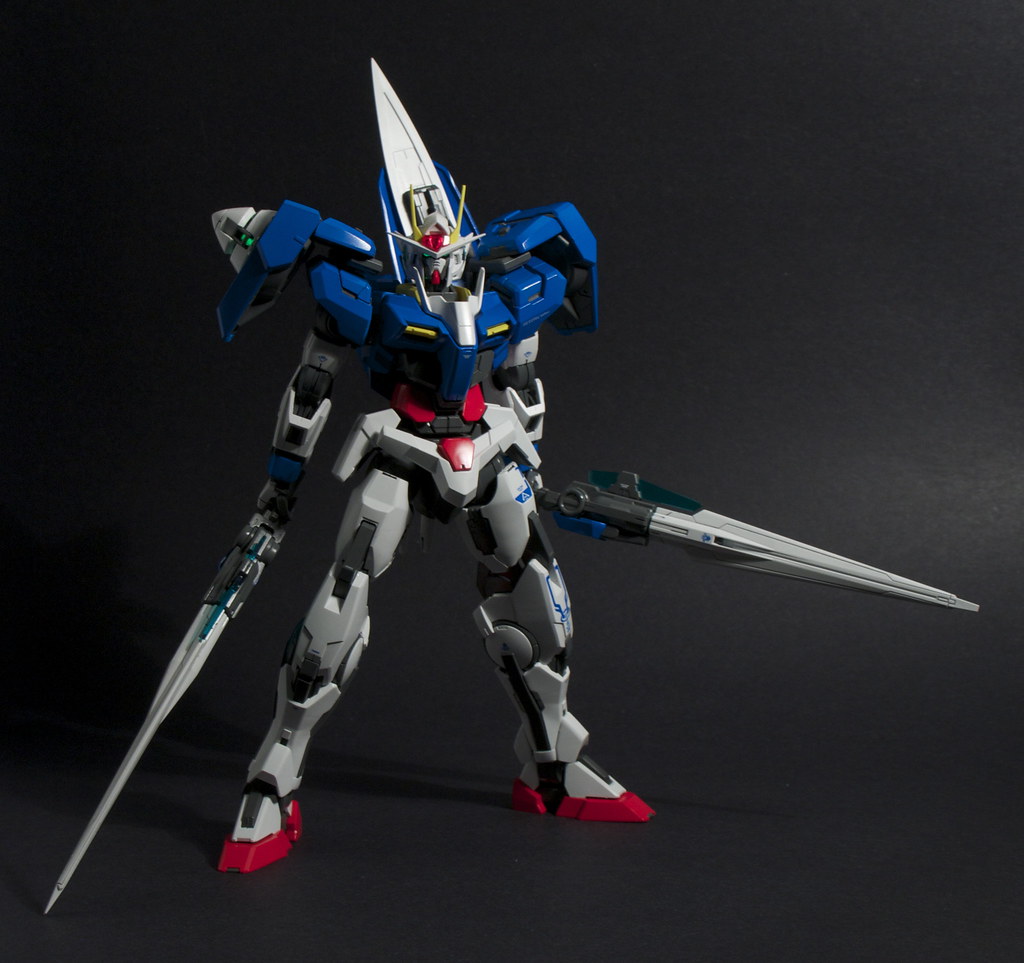
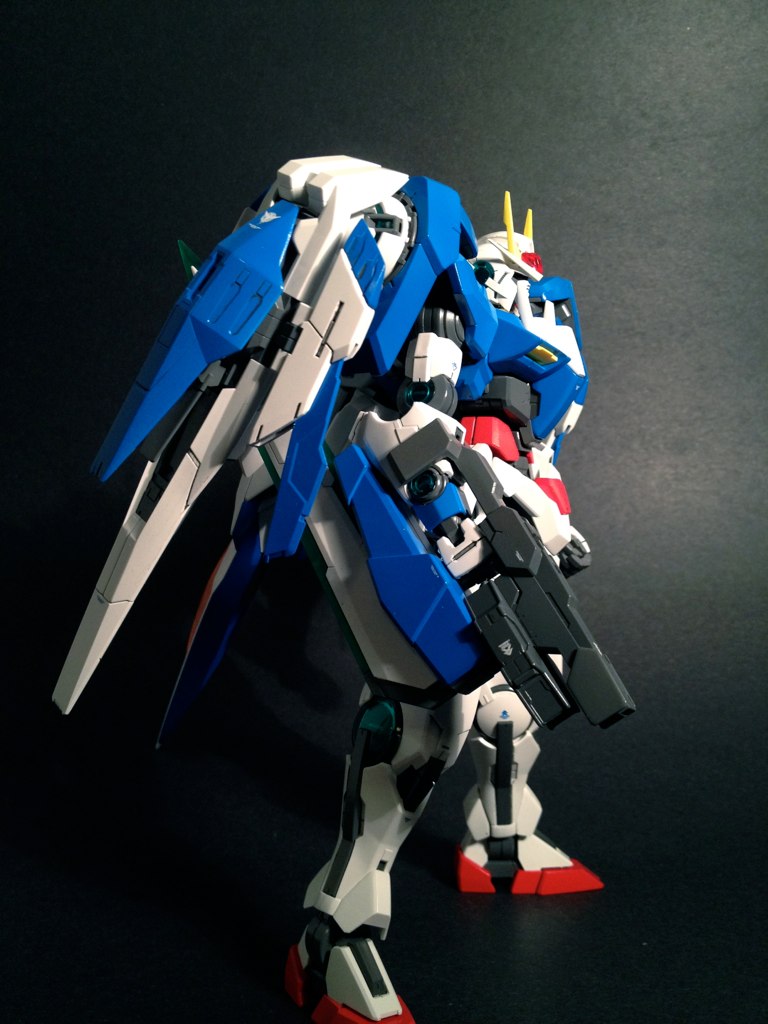
For this tutorial the three photos below were taken with an iPhone and without a tripod. They're slightly over exposed but still passable pictures


Trouble Shooting
Photography can be a process of trial and error, especially when you're starting out. If you're having trouble consult these tips.
If your photos are over exposed (colors are too bright, white are blown out): Try moving your light source further back, shortening your shutter speed or adding additional diffuser material.
If your photos are under exposed (colors are dark, murky): Try moving your light source closer, lenghting your shutter speed, removing diffuser material, or getting a stronger light source.
If the color is off: If your photos are too yellow/blue/red/plaid/whatever: Check to see if your camera is stuck in sephia mode, or set to a specific light source.
If you photos are blurry: Try adjusting your focus, you may also need to physically move your camera forward or backwards depending your camera. Shorten your shutter speed, or make sure your tripod is steady.
My poses are boring!: Check out Hobby Link TV's posing guide!
Comments
Post a Comment