
Bandai Star Wars 1/72 Y-Wing

Just like with my previous Star Wars model kits I won't claim that this kit is an accurate representation of any of the filming models of Gold Leader. My goal with this build was to create a model that fit the mental image I have cultivated for the craft over the last twenty-some-odd-years of watching Star Wars I painted the Bandai Y-Wing almost immediately after the X-Wing. I still had a lot of the light greyish white color used on the fuselage.
For those not in the know, let me fill you in a little bit using a modernish comparison if the X-Wing is like an F-15 air superiority fighter than the Y-Wing is like an A-10 Warthog; durable, well-armed and slow. While the X-Wing will always be my favorite rebel fighter from the movies, I do prefer the Y-wing to the oddly designed B-Wing.
Like the X-wing, I used a variety of techniques including pre-shading, post shading, filters, and chipping. Overall the weathering is less dramatic than the X-Wing, but that's not surprising considering all of the "happy accidents" that occurred during that build.
360 Degree Photos

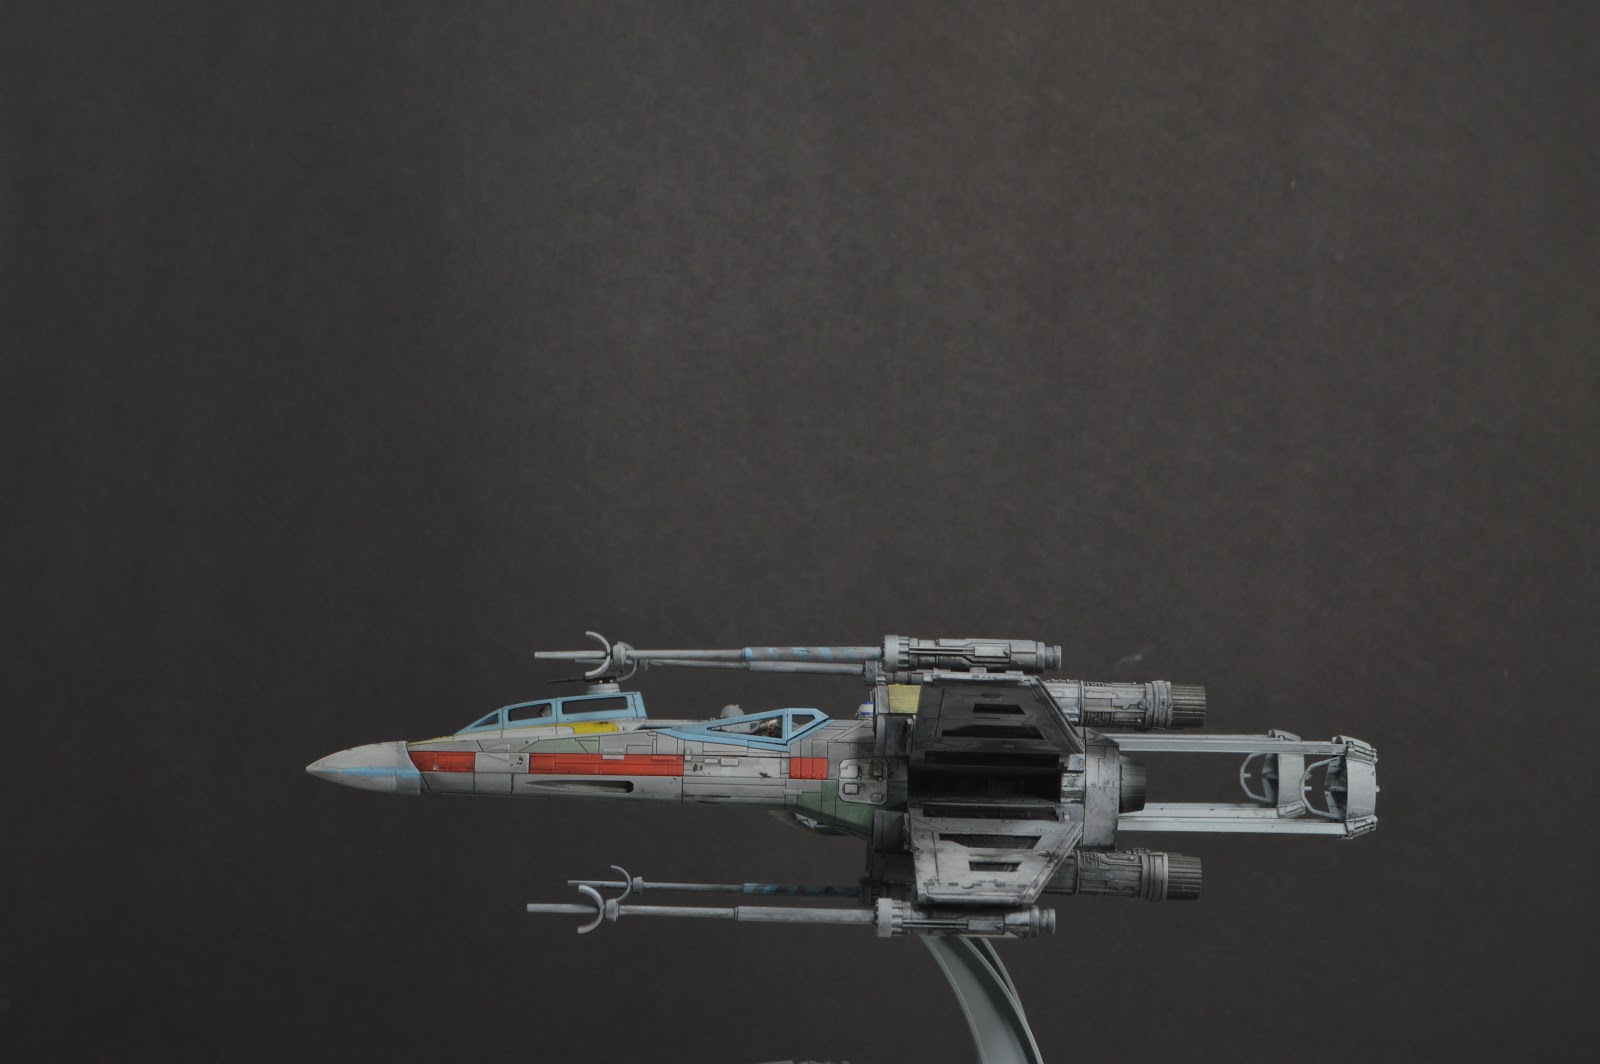
The blue stripe on the front fuselage was painted too long on the body. I thought about fixing it, but ultimately decided it didn't bother me too much.


I shaded the tips of the blaster cannons lightly with black to give them a singed appearance.

Unlike the X wing the Y wing doesn't include an enclosed "glass" cockpit in the box. You do receive the parts to make an open cockpit with "glass" this is kind of a weird and disappointing oversight.

Straight on the Y-wing has a fairly flat profile.


The greebling on the rear fuselage is my favorite aspect of this kit. Bandai did a excellent job at capturing the detail too.


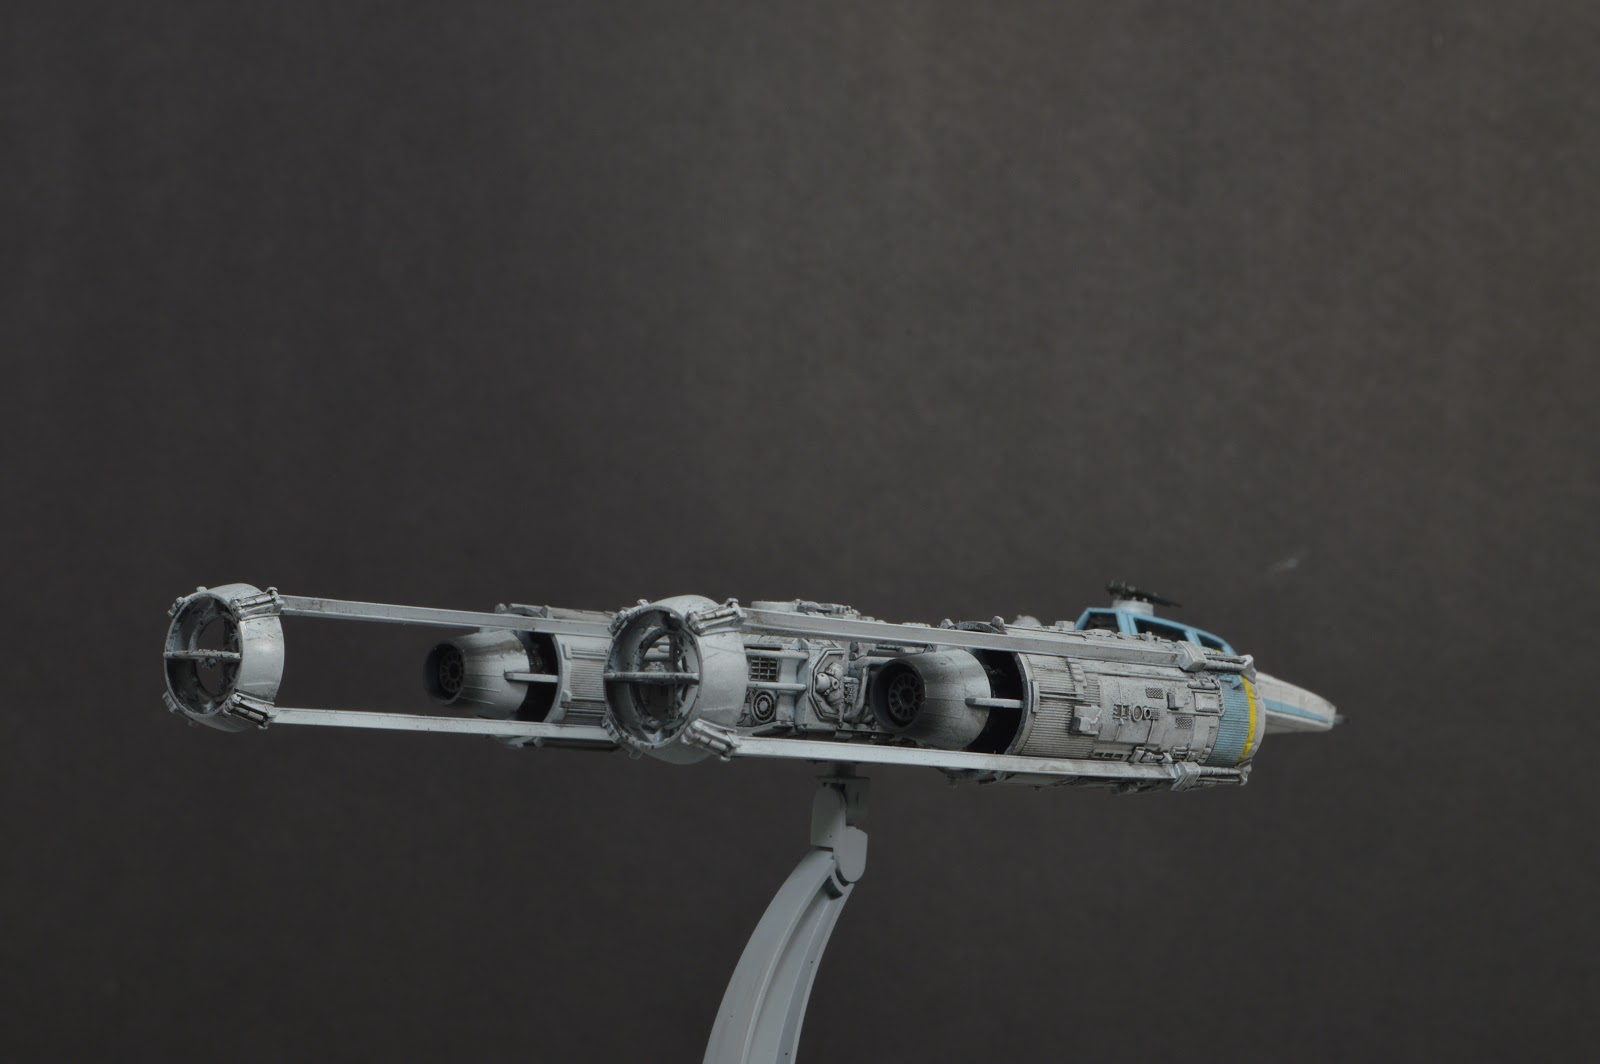

Unsurprisingly the directional fins at the end of the nacelles were difficult and fiddly to keep attached.


Unsurprisingly the long nacelles give the Y-wing a longer profile than the X-Wing
Detail Photos:
Full disclosure these photos were taken nearly a week after the photos featured above using a completely different set of lights and light tent. There will be some color discrepancy as a result.

In hindsight I should have used more contrasting colors for the R2 droid. The grey and silver colors I chose blend together too much and become muddled.

From what I could tell the pilot model for Jon "Dutch" Vander's model is nearly identical to the model used for Luke in the X-Wing model kit. The only noticeable difference is the Luke figure is in a seated position where as the Vander figure has his lower and upper legs aligned. Like the X-Wing this model includes waterslide decals to replicate the design on the pilot's helmet.

The chipping on the dome of the nacelles is very noticeable on the studio model. I used a stiff brush and Vallejo black to apply the chipping effect.

The golden yellow stripes on the nacelles was masked by using the included sticker set. I didn't paint far enough on one segment; can you find it?

Here's a closer shot of the low contrast colors on the astromech droid. The silver is more apparent when you get closer/when the light hits it just right.

I broke at least 5 of the pipes included in the kit. This isn't surprising considering the pipes range in diameter from .05-1.5mms. Pro-tip: once they're installed LEAVE THEM BE!

The exhaust need to be shaded to look sooty.
Comments
Post a Comment