Tutorial: Seam Repair for HG The Origin Zeon kits
While the new line of HG kits from the Origin have been generally well received, a lot of people have complained about the poor design of the forearms found on many Zeon models. This is tutorial will show you how to modify the forearms to remove the ugly seam lines of certain HG Origin Zeon kits.
This tutorial will work on the following Origin kits:
HG Zaku 1
HG Zaku 1 Char Custom (either version)
HG Zaku 2 Char Custom
HG Zaku 2 Black Tri-star custom (either version)
HG Bugu
HG Dom test Type (or the P-Bandai version)
This tutorial will only require basic tools and materials. At the very least you will need a sharp hobby knife and some modeling cement. I am using Tamiya thin cement in this example because it flows more easily into gaps.
This is one method to solve this issue, I prefer this method because its fast, simple and avoid the tedium of masking and painting an assembled joint.
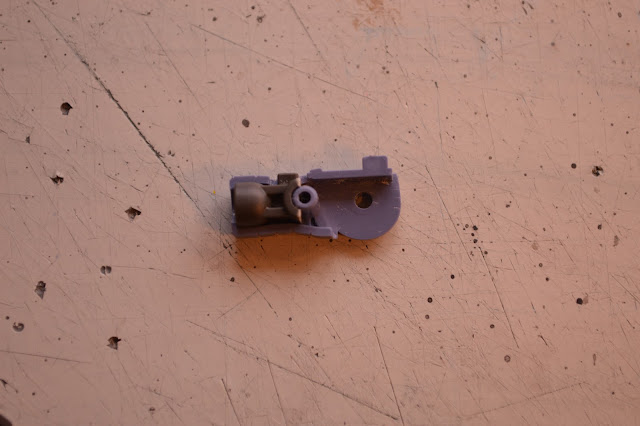
All of the Origin kits mentioned above share a very similar arm design and have the same inner frame. For this tutorial we will be focusing on the inner frame as well as the large forearm pieces.
We need to cut the inner frame of the arm along the dotted line. Try to cut as close to the center as you can so that you have two "C" shaped pieces.
Insert the first part into the forearm and secure it with a small dab of cement.
Now seal the seam along the forearm armor using the cement.
Once the cement has cured you can sand it down and clean out the panel lines
When you are ready to assemble your kit insert the other half of the arm into the forearm and secure with glue. In some cases the cement may not be necessary.
The top is our newly modified arm and below we can still see the prominent seam line on the unmodified arm


Comments
Post a Comment