
GGD Grade 1/1 Workbench

For the last few months I have had a strong urge to build a workbench for myself. Although clearly this isn't gunpla, I am sure more than a few of you would be interested in building your own workbench for this and other hobbies.
I have access to a fairly substantial variety of tools and equipment that not everyone will have. But, this table can be completed using basic hand tools. The only powered tool required for the build is a drill.
Here is the basic design of the table:
Downloadable link

Overall the workbench costs about $70 and it should take about 3-4 hours to build.
Downloadable link

Overall the workbench costs about $70 and it should take about 3-4 hours to build.
To goal is to make a simple, sturdy work surface with an additional shelf for storage that I can upgrade and modify over time to better suit my needs.
The material list for this build:

For those of you in metric countries, multiply the numbers provided by 2.54 to get measurements in centimeters.

Hardware
#8 x 3 inch screws
#7 x 2 inch screws
Optional
Optional
16 3/8 x 4 inch bolts
16 3/8 inch nuts
32 3/8 washers
2x4 framing lumber cut to size
Work Surface
2 @ 48 inches
4 @ 21 inches
Shelf
2 @ 42 inches
3 @ 18 inche
Legs
4 @ 37 & 3/4 inches (table leg height will vary based on your height)
Sleds (optional)
2 @ 21 inches
Work Surface
2 @ 48 inches
4 @ 21 inches
Shelf
2 @ 42 inches
3 @ 18 inche
Legs
4 @ 37 & 3/4 inches (table leg height will vary based on your height)
Sleds (optional)
2 @ 21 inches
Surfaces
3/4 inch oak plywood
1 @ 48 x 24
1 @ 42 x 21
Assembly

1 @ 48 x 24
1 @ 42 x 21
Assembly

Start by assembling the frames for the work bench and the shelf. You can keep everything square by using a corner clamp. I used two #8 x 3 inch screws to attach each 2x4 in the frame.


The shelf frame is simialr in design to the workbench frame, the differences are that its slightly smaller and requires only one mid support.


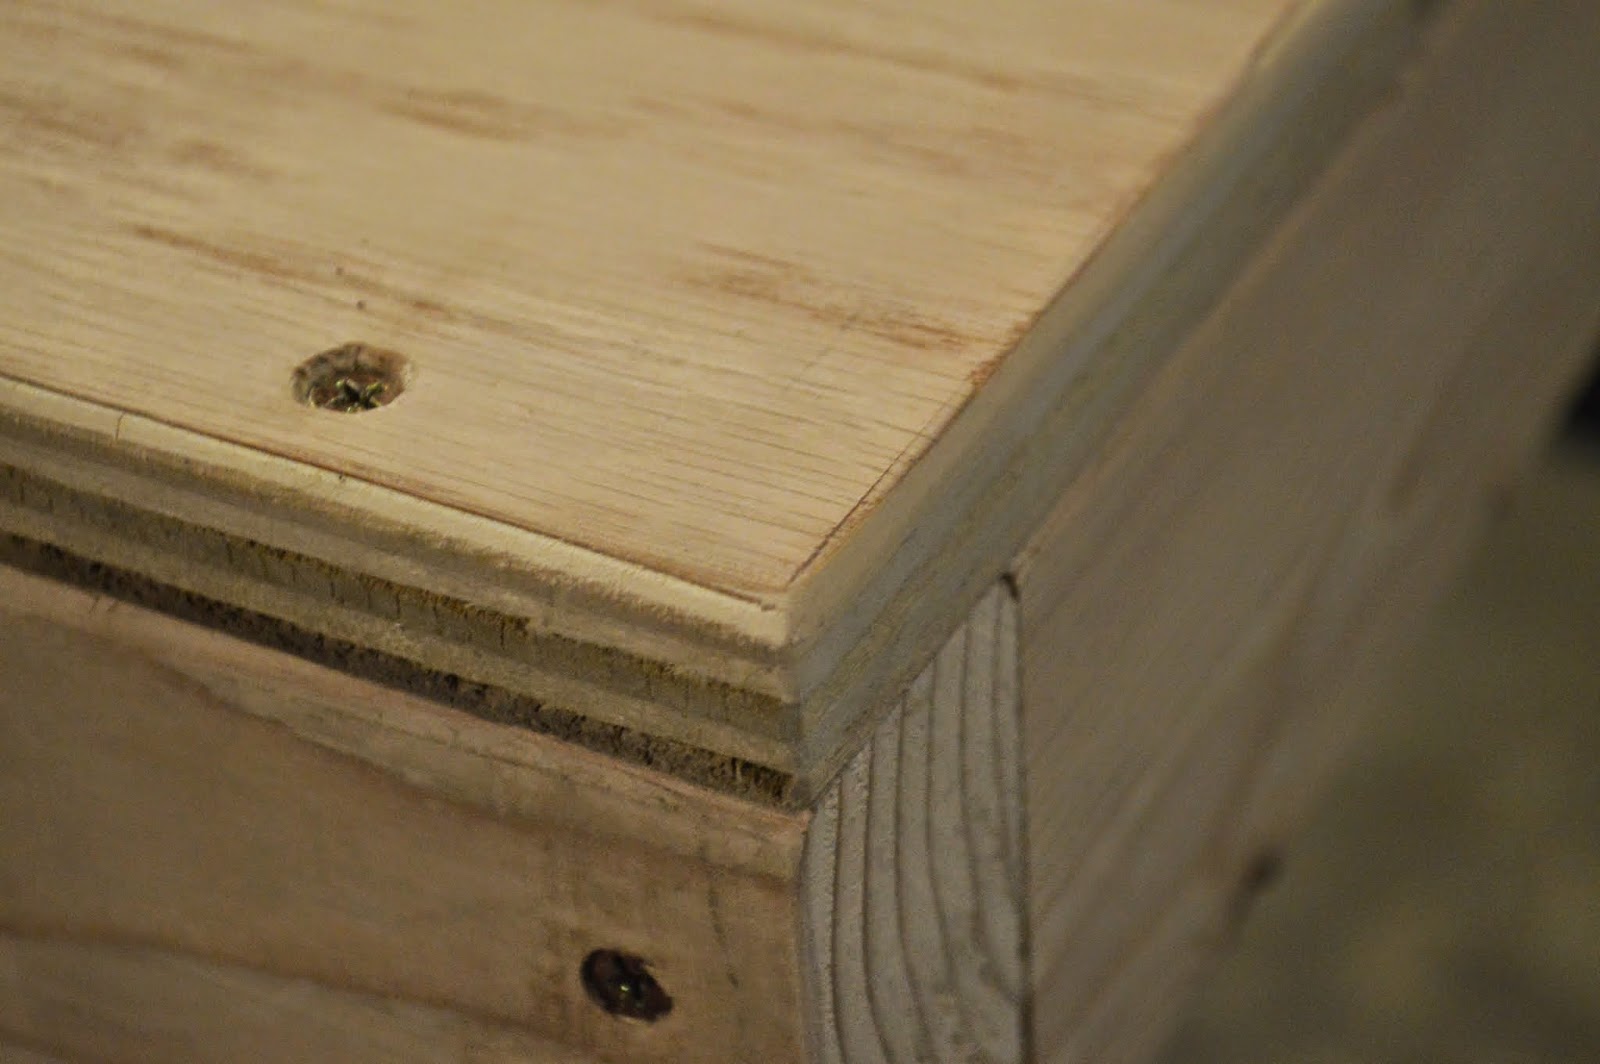
Once the frames were completed the plywood top was attached. #7 x 2 inch screws were recessed with a countersinking bit for a recessed finish. a total of 10 screws were used around the perimeter to attach the work surface to the frame at the 5/8 of an inch mark.


Once the table top was attached I used a router with. 1/4 inch roundover bit to create a more comfortable edge to work on. A palm sander was also used to smooth things out. These steps are optional but they make the table much nicer to use.

The legs of this table will vary based on your height. Ideally, you want the table top to fall somewhere between your hip and waist. To figure the leg height out, take the desired height minus the table top width (3/4in in my case) this is table leg height.


The work bench has been designed so that I can easily disassemble and reassemble it for transport. I used two bolts per connection point per leg.

If you don't care if you can transport the table you can skip this step and use 4 #8 x 3 inch screws. Using the screws instead of bolts will save a significant amount of money.


If you don't care if you can transport the table you can skip this step and use 4 #8 x 3 inch screws. Using the screws instead of bolts will save a significant amount of money.

The "sleds" that are below the legs can be omitted from most builds. I am only including them because the bench will be resting on a carpeted surface. The sleds were attached to the legs using 2 #8 x 3 inch screws


Consider this finished product to be version 1.0. I plan on modifying this bench in the coming weeks and months, you can look forwards to a few more post on this project.
Final Photos:


Final Photos:


Comments
Post a Comment