
Liger Zero Schneider (attempt 2)

Introduction:
If you have been following along on the blog since at least the beginning of the year, you might be aware that after finishing the Liger Zero Schneider commission it got lost in the mail on the way back to it's the owner. I'm not the type of person to leave someone twisting in the wind; so I offered to complete another one. This is the second part of this replacement commission; the first part for the basic Liger Zero was posted a few weeks back here.
Kit talk:
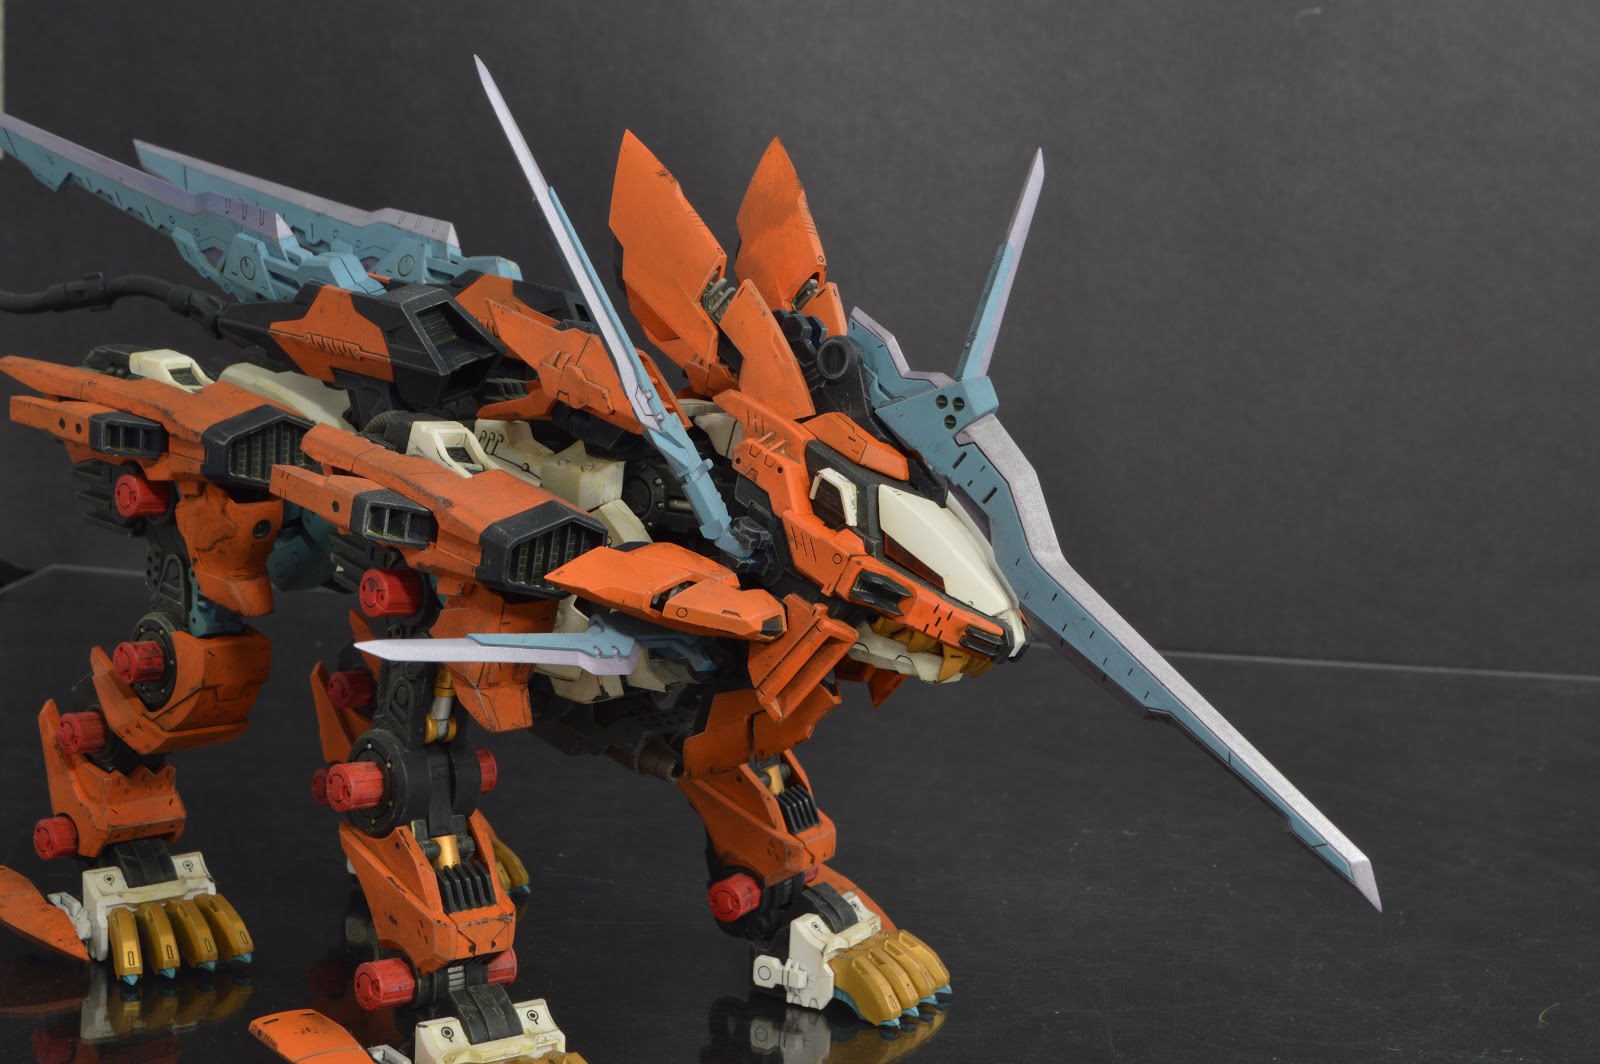
Like the prior version, I was asked to apply a coat of desert weathering. I used Vallejo's acrylic black paint and a stout brush to add chipping throughout the design along the hard edges and corners of the kit. I greatly prefer how the chipping appears on this version over the last and there are plenty of photos capturing the chipping effect in the details section below. Unlike the first Schneider this version was painted with a slightly darker orange color, I'd describe it as being less of a traffic cone orange and more of a hazardous orange.
I also added Vallejo washes of dark gray and desert dust before brushing Tamiya's Desert Modeling Masters onto the kit. The modeling masters is excellent at highlighting hard edges, but the clear coat is good and tempering and blending the effect into a more realistic appearance.
If you like my work and you want to help support me, then consider purchasing from the Amazon links on my blog or by clicking this link. Every purchase you make helps me out tremendously and it doesn't cost you a dime!Hit the bump for the full photo shoot!
Hit the bump for the full photo gallery!
360 Degree Photos


Details:

The fins that make up the "mane" of the kit open to reveal silver hand-brushed heatsinks hidden withing.

I'm not sure of the function of these paw fin looking attachments, but the sharp edge hold chipping well.

You can make out some of the dust collected in the intakes in this photo.

Painting the recesses on the main blades required a lot of masking and touch up to get rights.

Each of the circular indents (6 in total) had to be individually masked.

Liger has the Unicorn Gundam beat for the biggest head horn.

Here's a photo with the fins closed and head sinks stored.


The blades on the tails were individually masked to get the correct two-color appearance.

At this point I had to start to disassemble and contort the kit to show off the remaining detail like the thruster vents on the rear of each fin.

The Schneider also has teeny little booster pods.

The chipping on the two rear leg guards turned out the best in my opinion. Too bad they'll rarely be seen unless the kit is upside down.
Comments
Post a Comment