Tutorial: Basic Posing
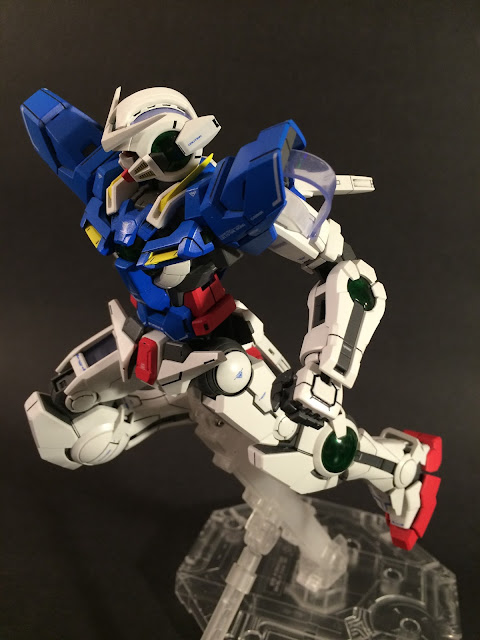
I see a lot of new builders posting photos of their kits in poses similar to the one above. Typically their model's feet are close together and the body is pointed in a couple of different directions. When a kit is posed like this it doesn't look as cool or dynamic as the mobile suit its supposed to represent.
In many cases a well posed unpainted or unlined model can look better than a poorly posed, but painted and finished model. In this quick guide I'm going to provide you with some easy tips to get the most out of your models.
Hit the bump for the full tutorial
Neutral Standing position:
A basic standing position is an excellent place to start because it's easy to accomplish. Most of the completed models are displayed in this pose to save space.
Body:
Imagine a straight line starting at the hips and extending straight up through the neck. Position all parts of the kit so that it's standing up straight along this line.
Head:
Tilt the head slightly down
Arms:
Pull the arms a few degrees away from the center of the kit. and bend the arms at the elbows a few degrees too.
Legs:
Spread the legs about shoulder width and point the toes out. You can point the toes by using a combination of rotation at the hip and the ankle joints.
Accessories:
If your kit has beam sabers, wings, fins, or cannons that are a part of the design; try to leave them in a symmetrical position.
Your kit should now look something like this:
Action posing on the ground:
Ground poses can be tricky with a lot of kits; due to the design of the model, and how the weight is distributed. However, these are a few tricks you can you use:
Use gimmicks to your advantage:
One of Gunpla's greatest features are all of the gimmicks built into the models. If your kit has a gimmick that can be used on the ground take advantage of it.
The MG Exia features beam saber racks on it's shoulder and waist that the Exia can attempt to grasp. Its easy to pose this kit to make it appear like it's drawing one of the sabers to slash an enemy.
Kneeling and cockpit shots:
These two poses are popular because the kit does not need to balance in a precarious position for the photo.
Reference your manual or box for ideas:
Typically a manual will show off 2-3 action poses to give you some inspiration. If you have a tough time coming up with ideas on your own use this reference in the manual.
On an Action base:
An action base adds a lot of variables to the equation and provides you with a ton of flexibility and posability that isn't possible in a standing position. Typically an action base is used to show a kit jumping, flying or soaring through space; so keep the following in mind.
When jumping, remember direction:
When you're posing a kit in a jumping action, try to pose all of the limbs as if they're committing to the action. Angling the action base at forward angle can also add to the look.
When flying extend those wings!:
If your kit has wings make sure you extend them! The Exia doesn't (nor do any of the other kits I currently have on my shelves). But these older images of winged kits should give you an idea.


Comments
Post a Comment