MG Gelgoog 2.0 Anavel Gato Custom
Introduction:
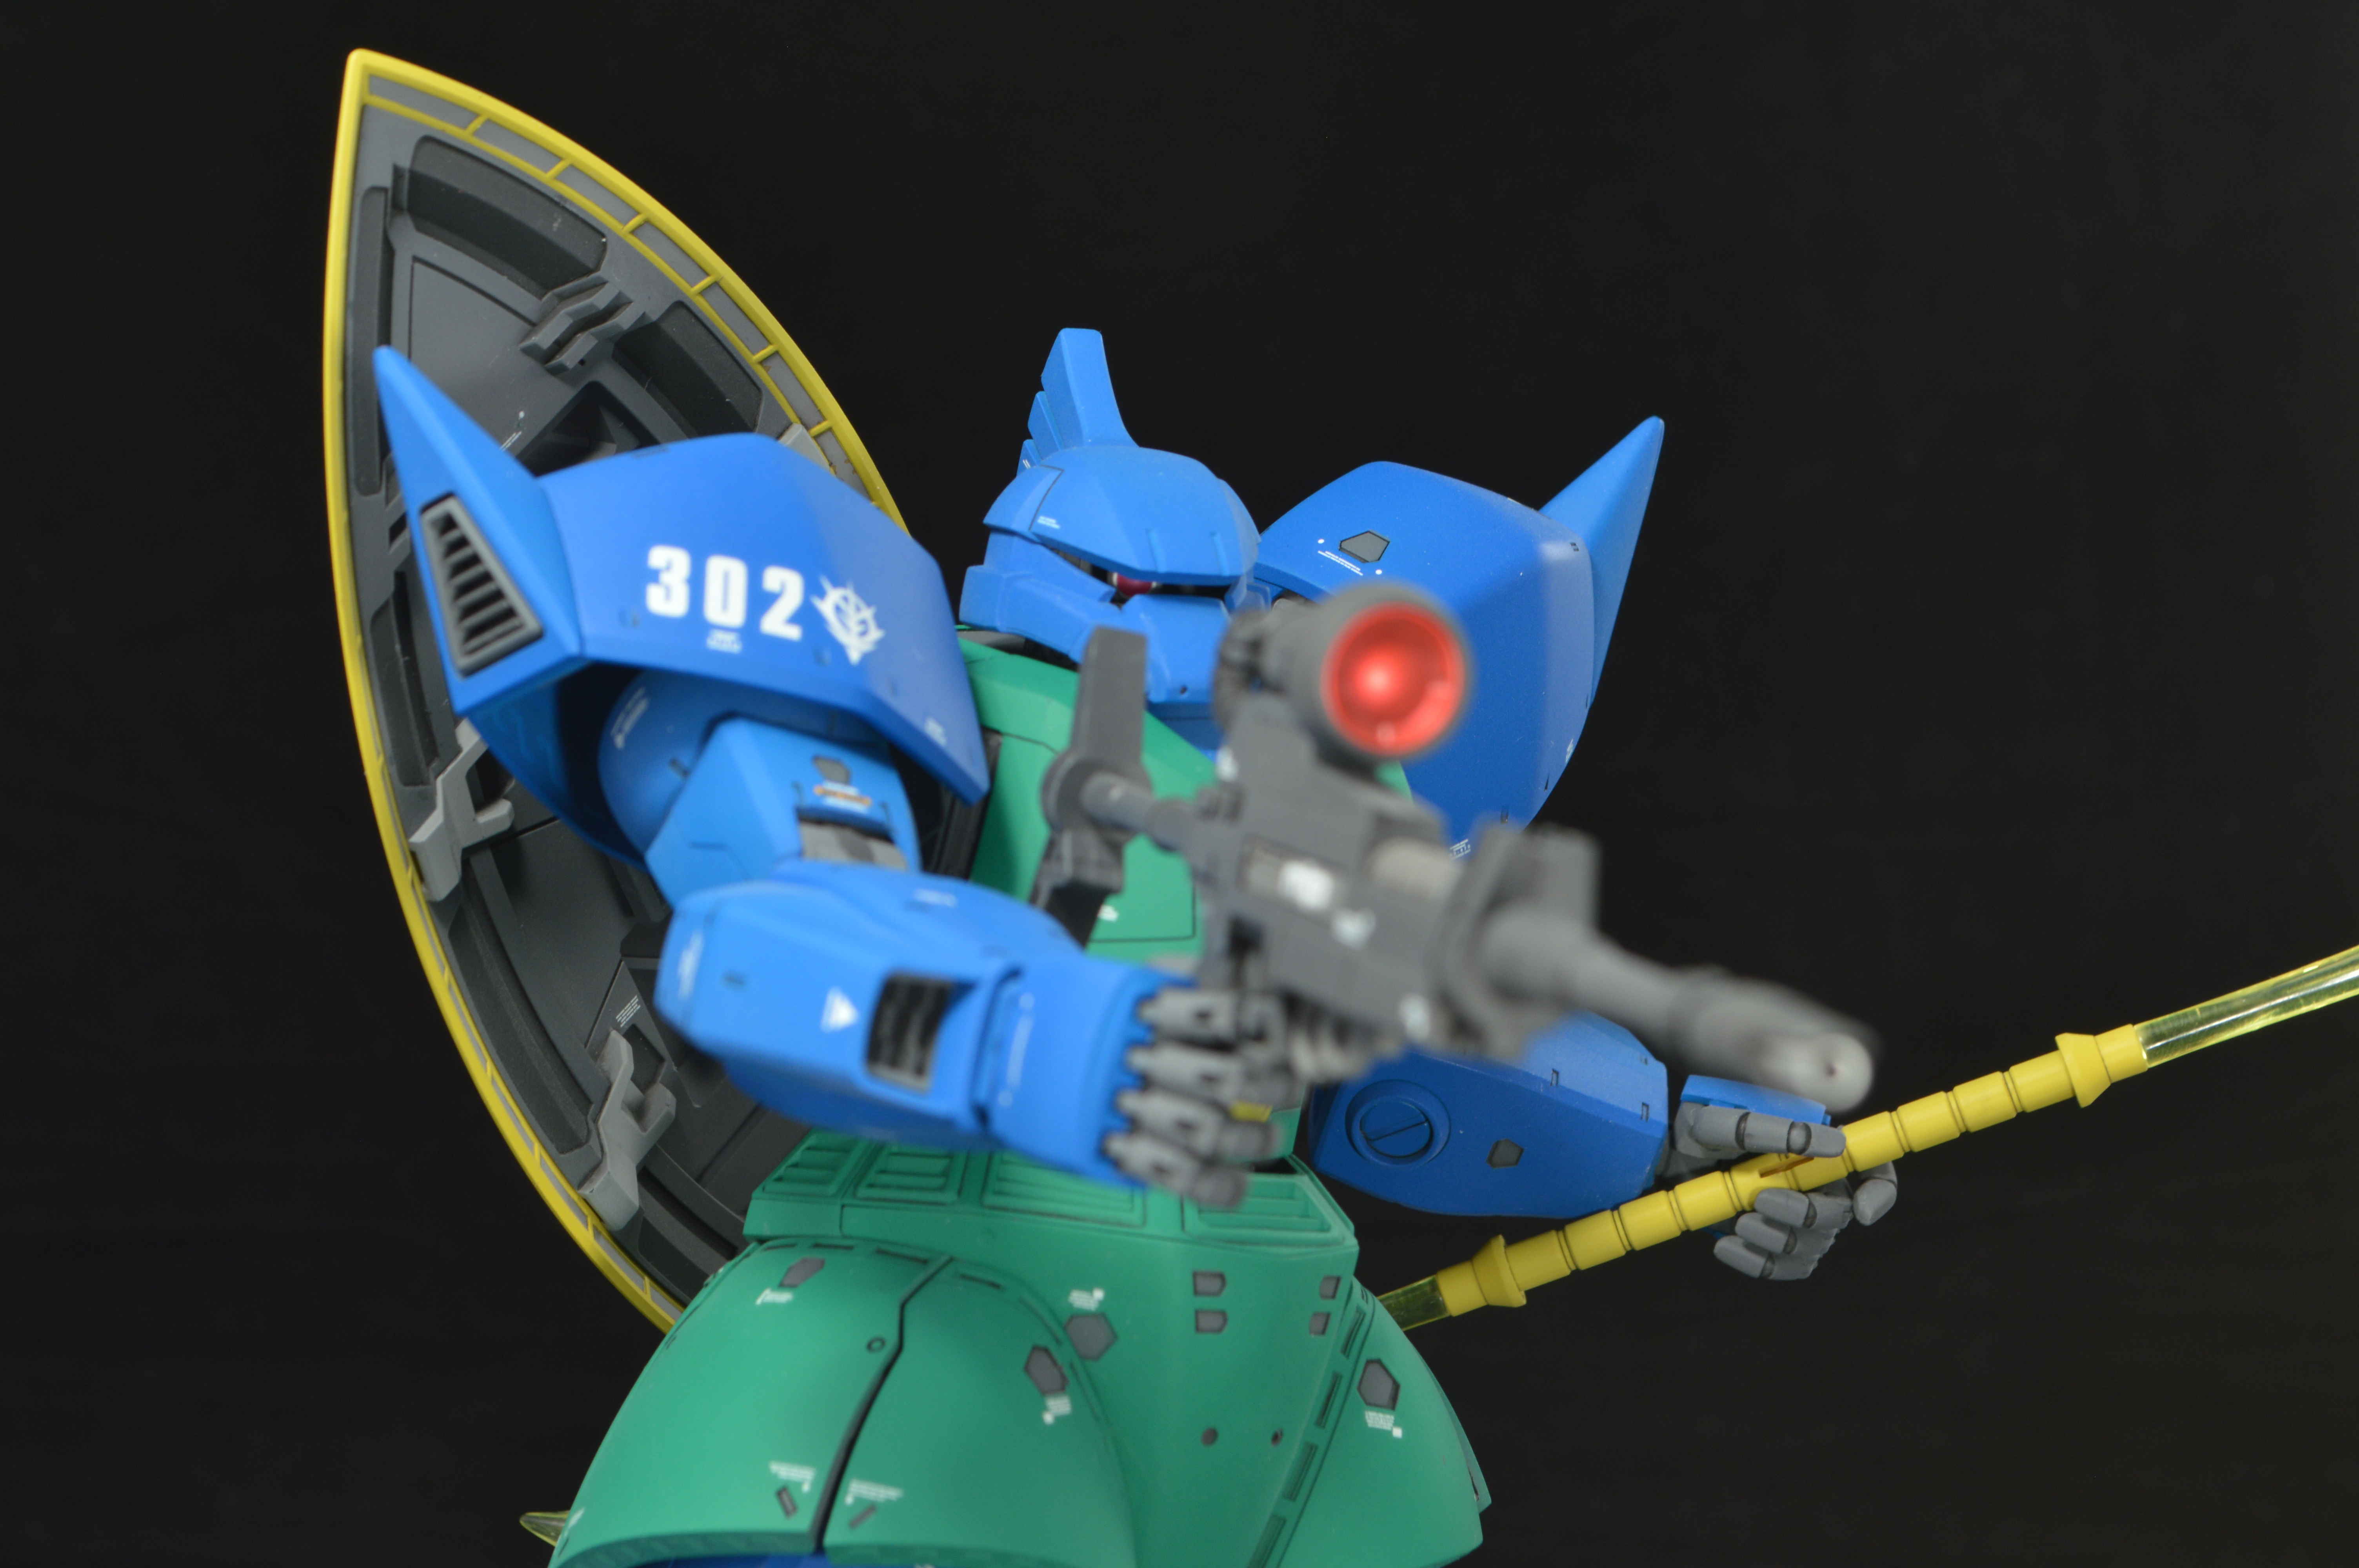
The MG Gelgoog 2.0 Anavel Gato Custom was my submission for the 2017 Playing with Plamo contest hosted by HLJ. It didn't end up winning anything, but the contest proved to be a good motivator for completing a kit that I might have left un-built for too long.
The goal of this project was to create a final product that looked like it was an official P-Bandai release. With the fairly constant stream of P-Bandai Zaku 2.0 ace custom units, I'm still fairly surprised we haven't seen much in the way of Gelgoog 2.0 variations.
Kit Talk:
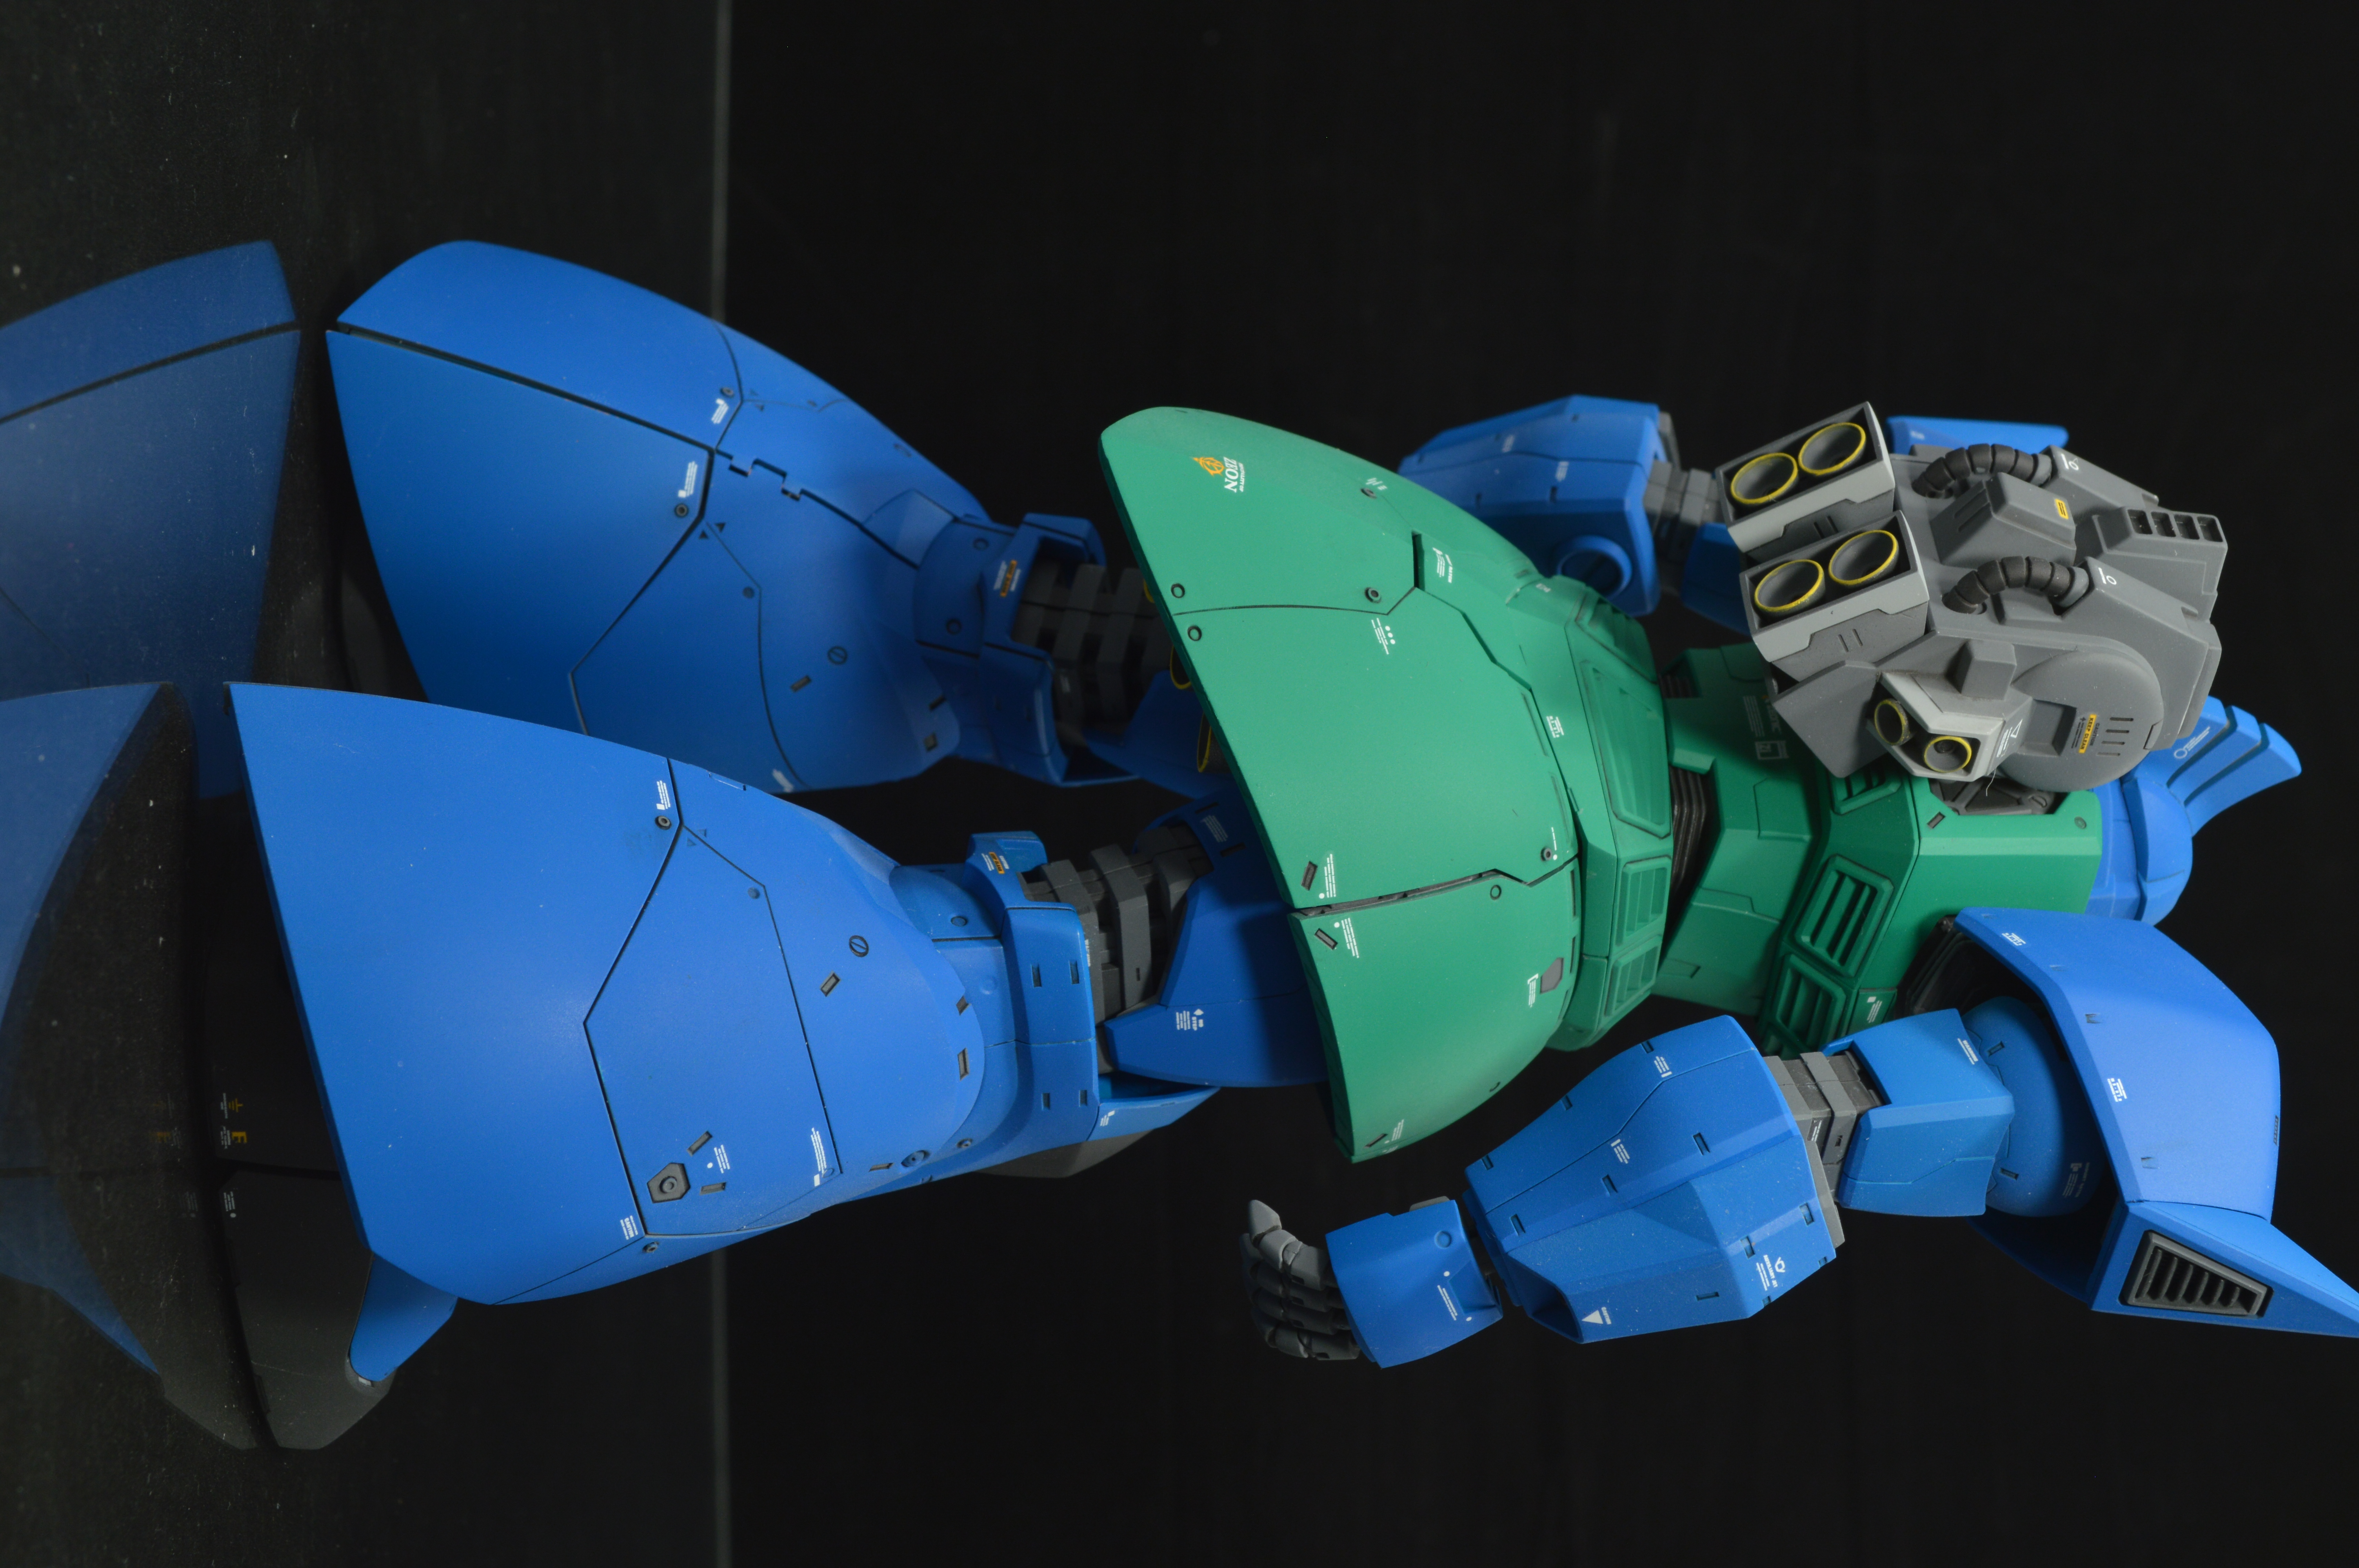
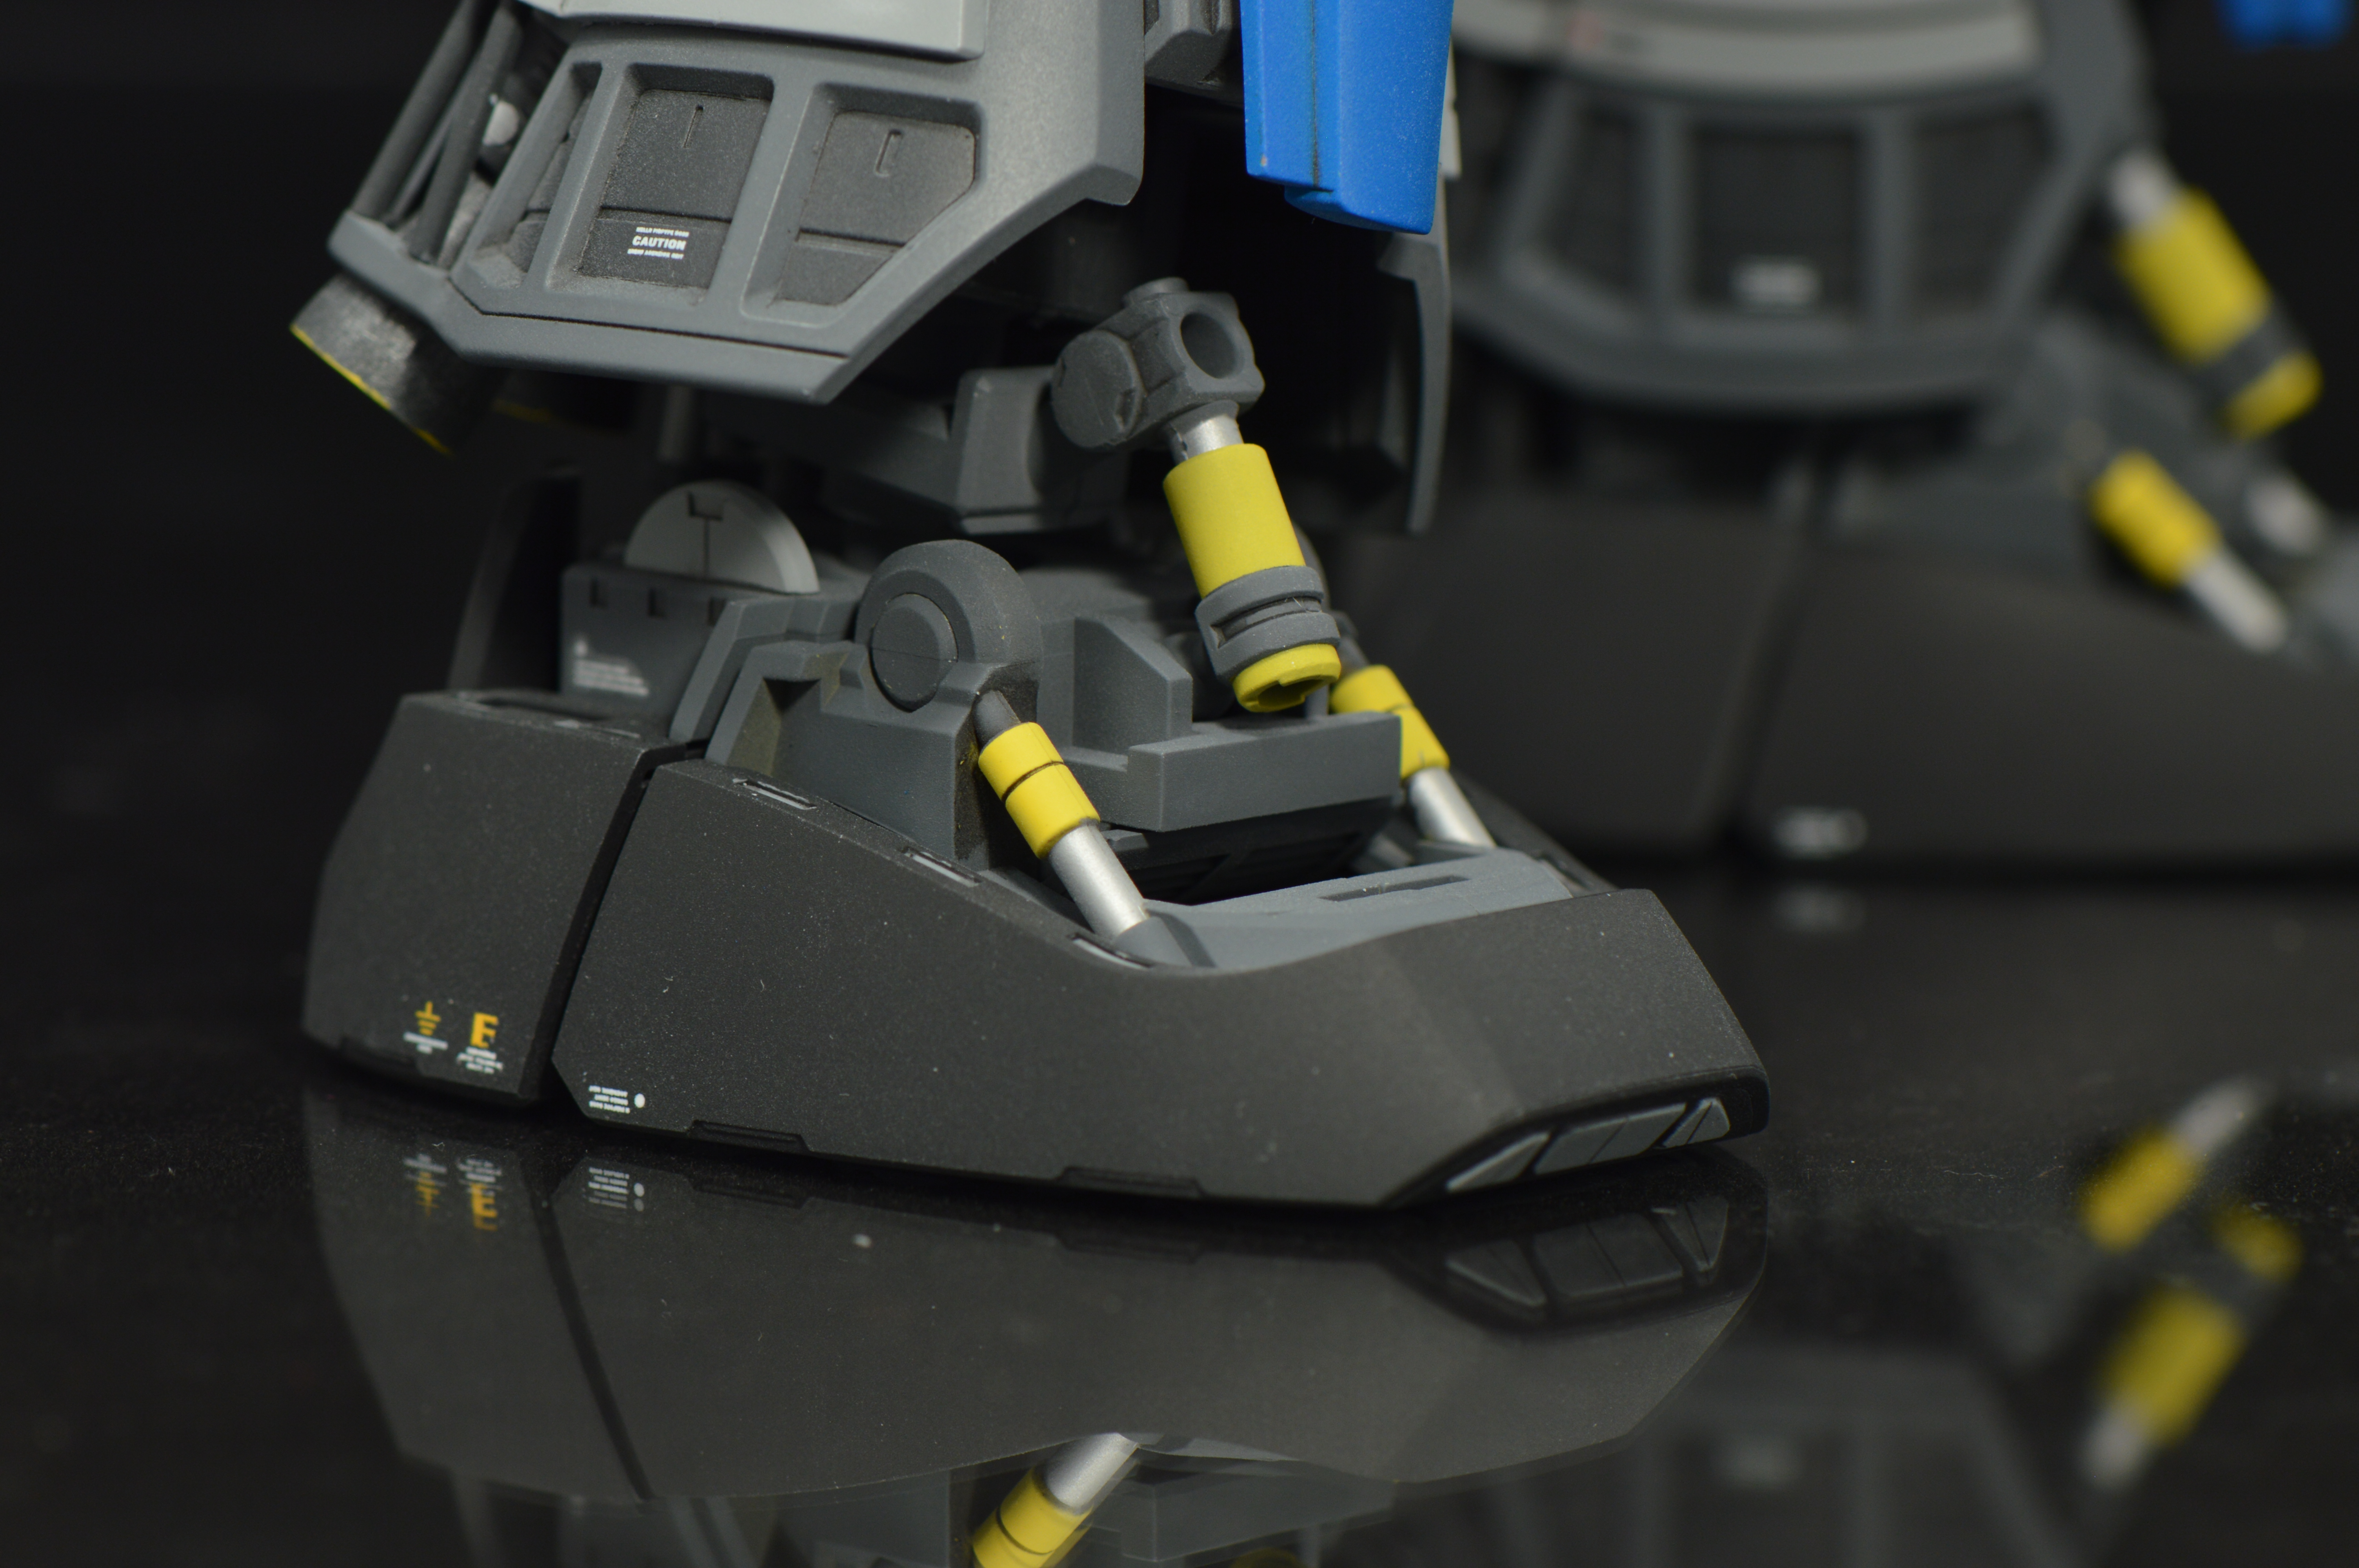
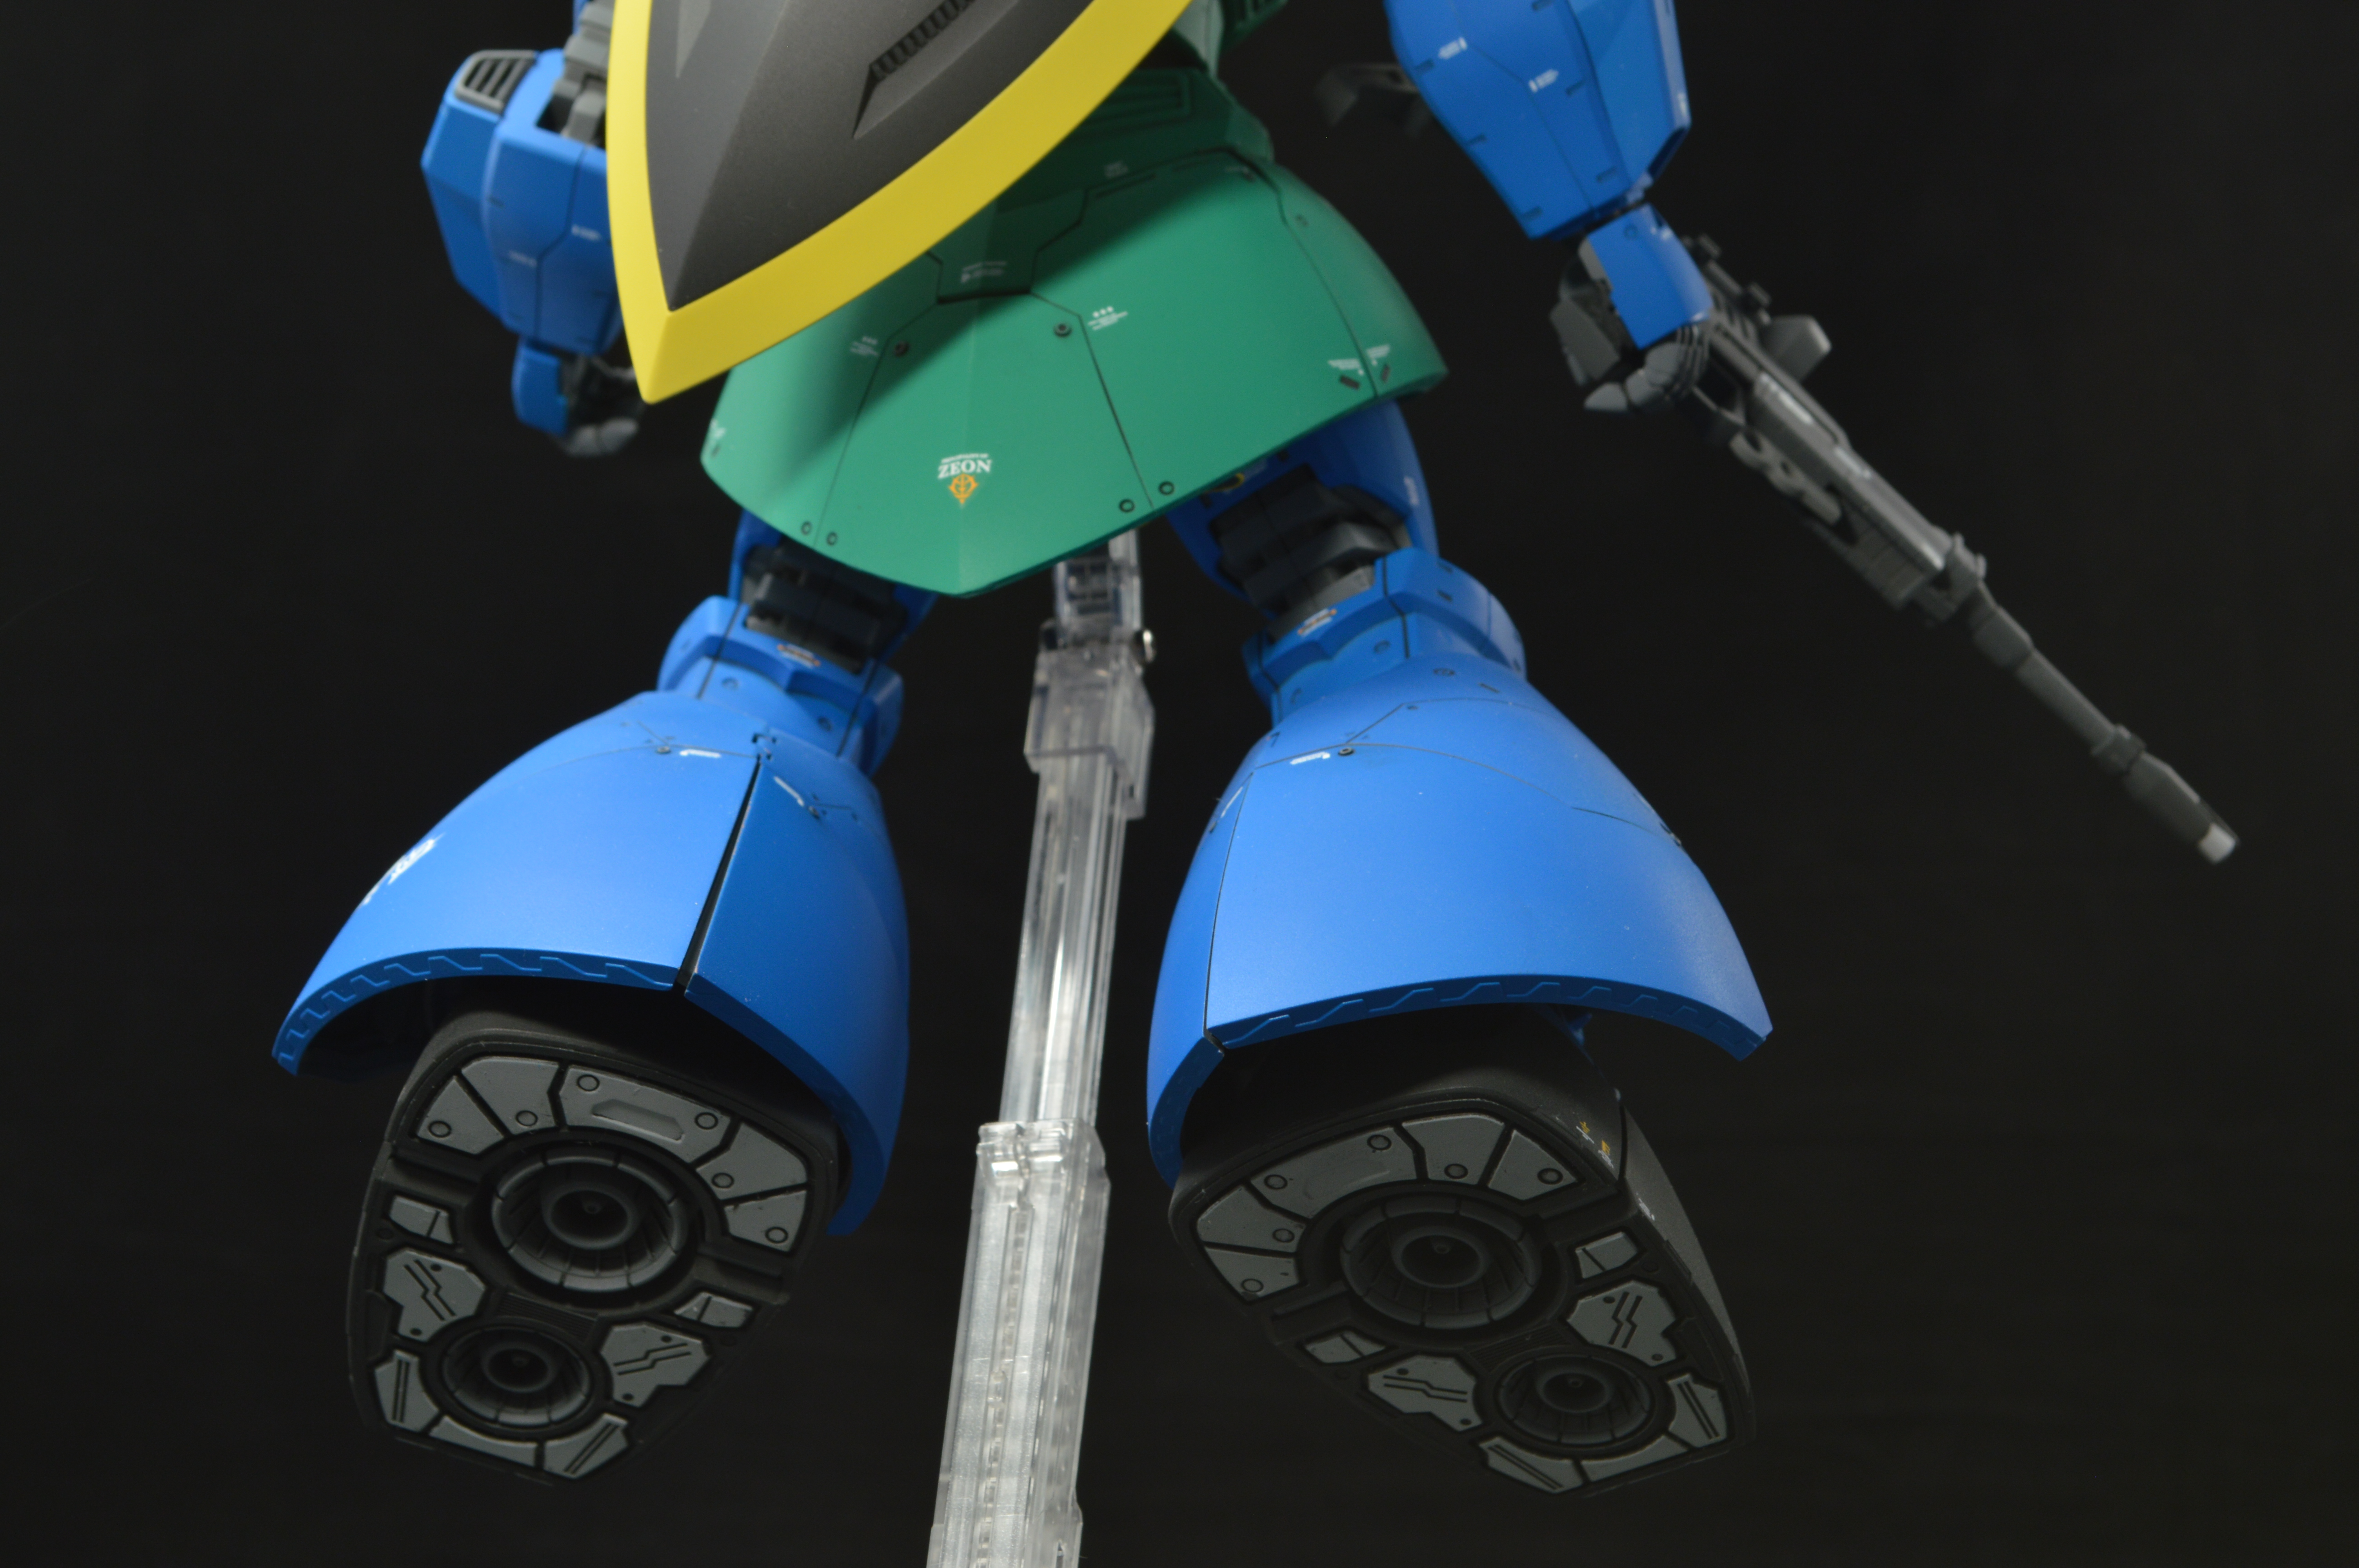
The base kit for this project was the Char Custom version of the Gelgoog 2.0; the high mobility backpack and prototype long beam rifle were taken from the Gelgoog 1.0 Anavel Gato Custom. I made very minor modifications to the proportions of the kit by added pla-rods to the ankles and a nylon washer and pla-plate to the waist. The extra height added to the ankles helps keep the bell bottom legs from scuffing on whatever surface it's standing on. The additional height added to the waist was done mostly for aesthetic reasons. Both the ankles and waist were reinforced with metal rods for durability.
I added many thruster and dome greebles throughout the design to fill in the boring blank holes. The mono-eye is also custom made from extra parts.
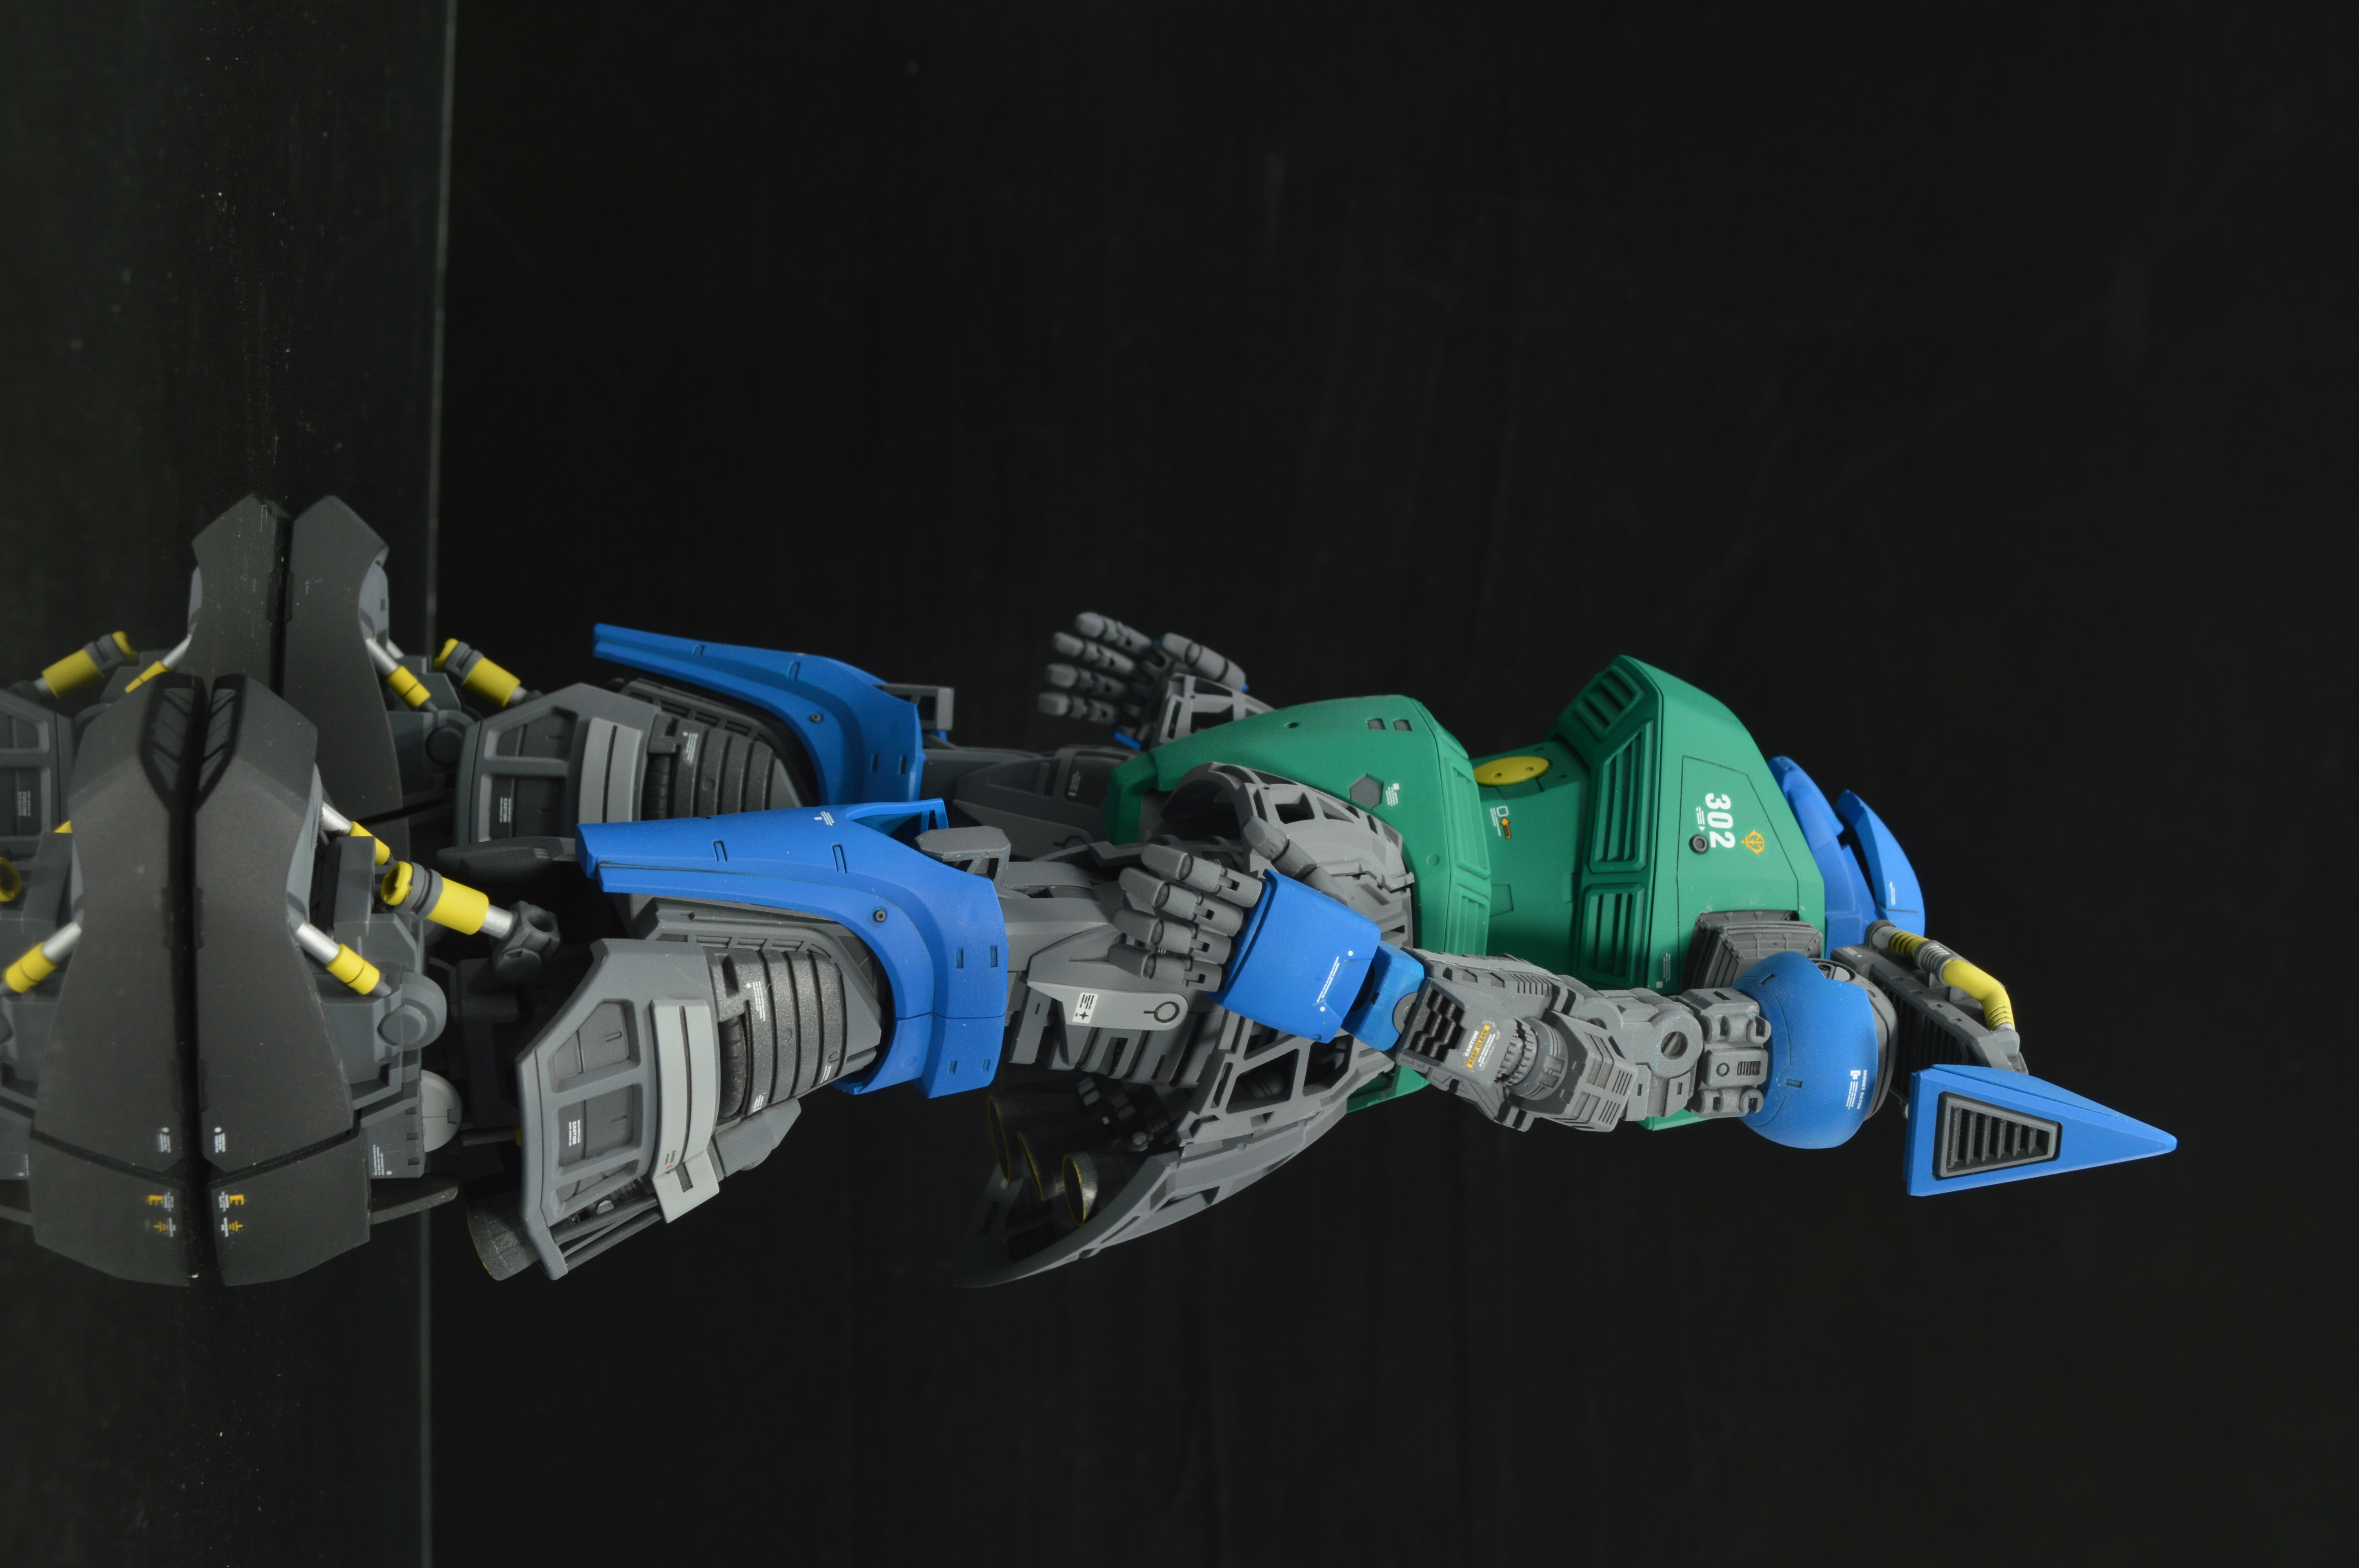
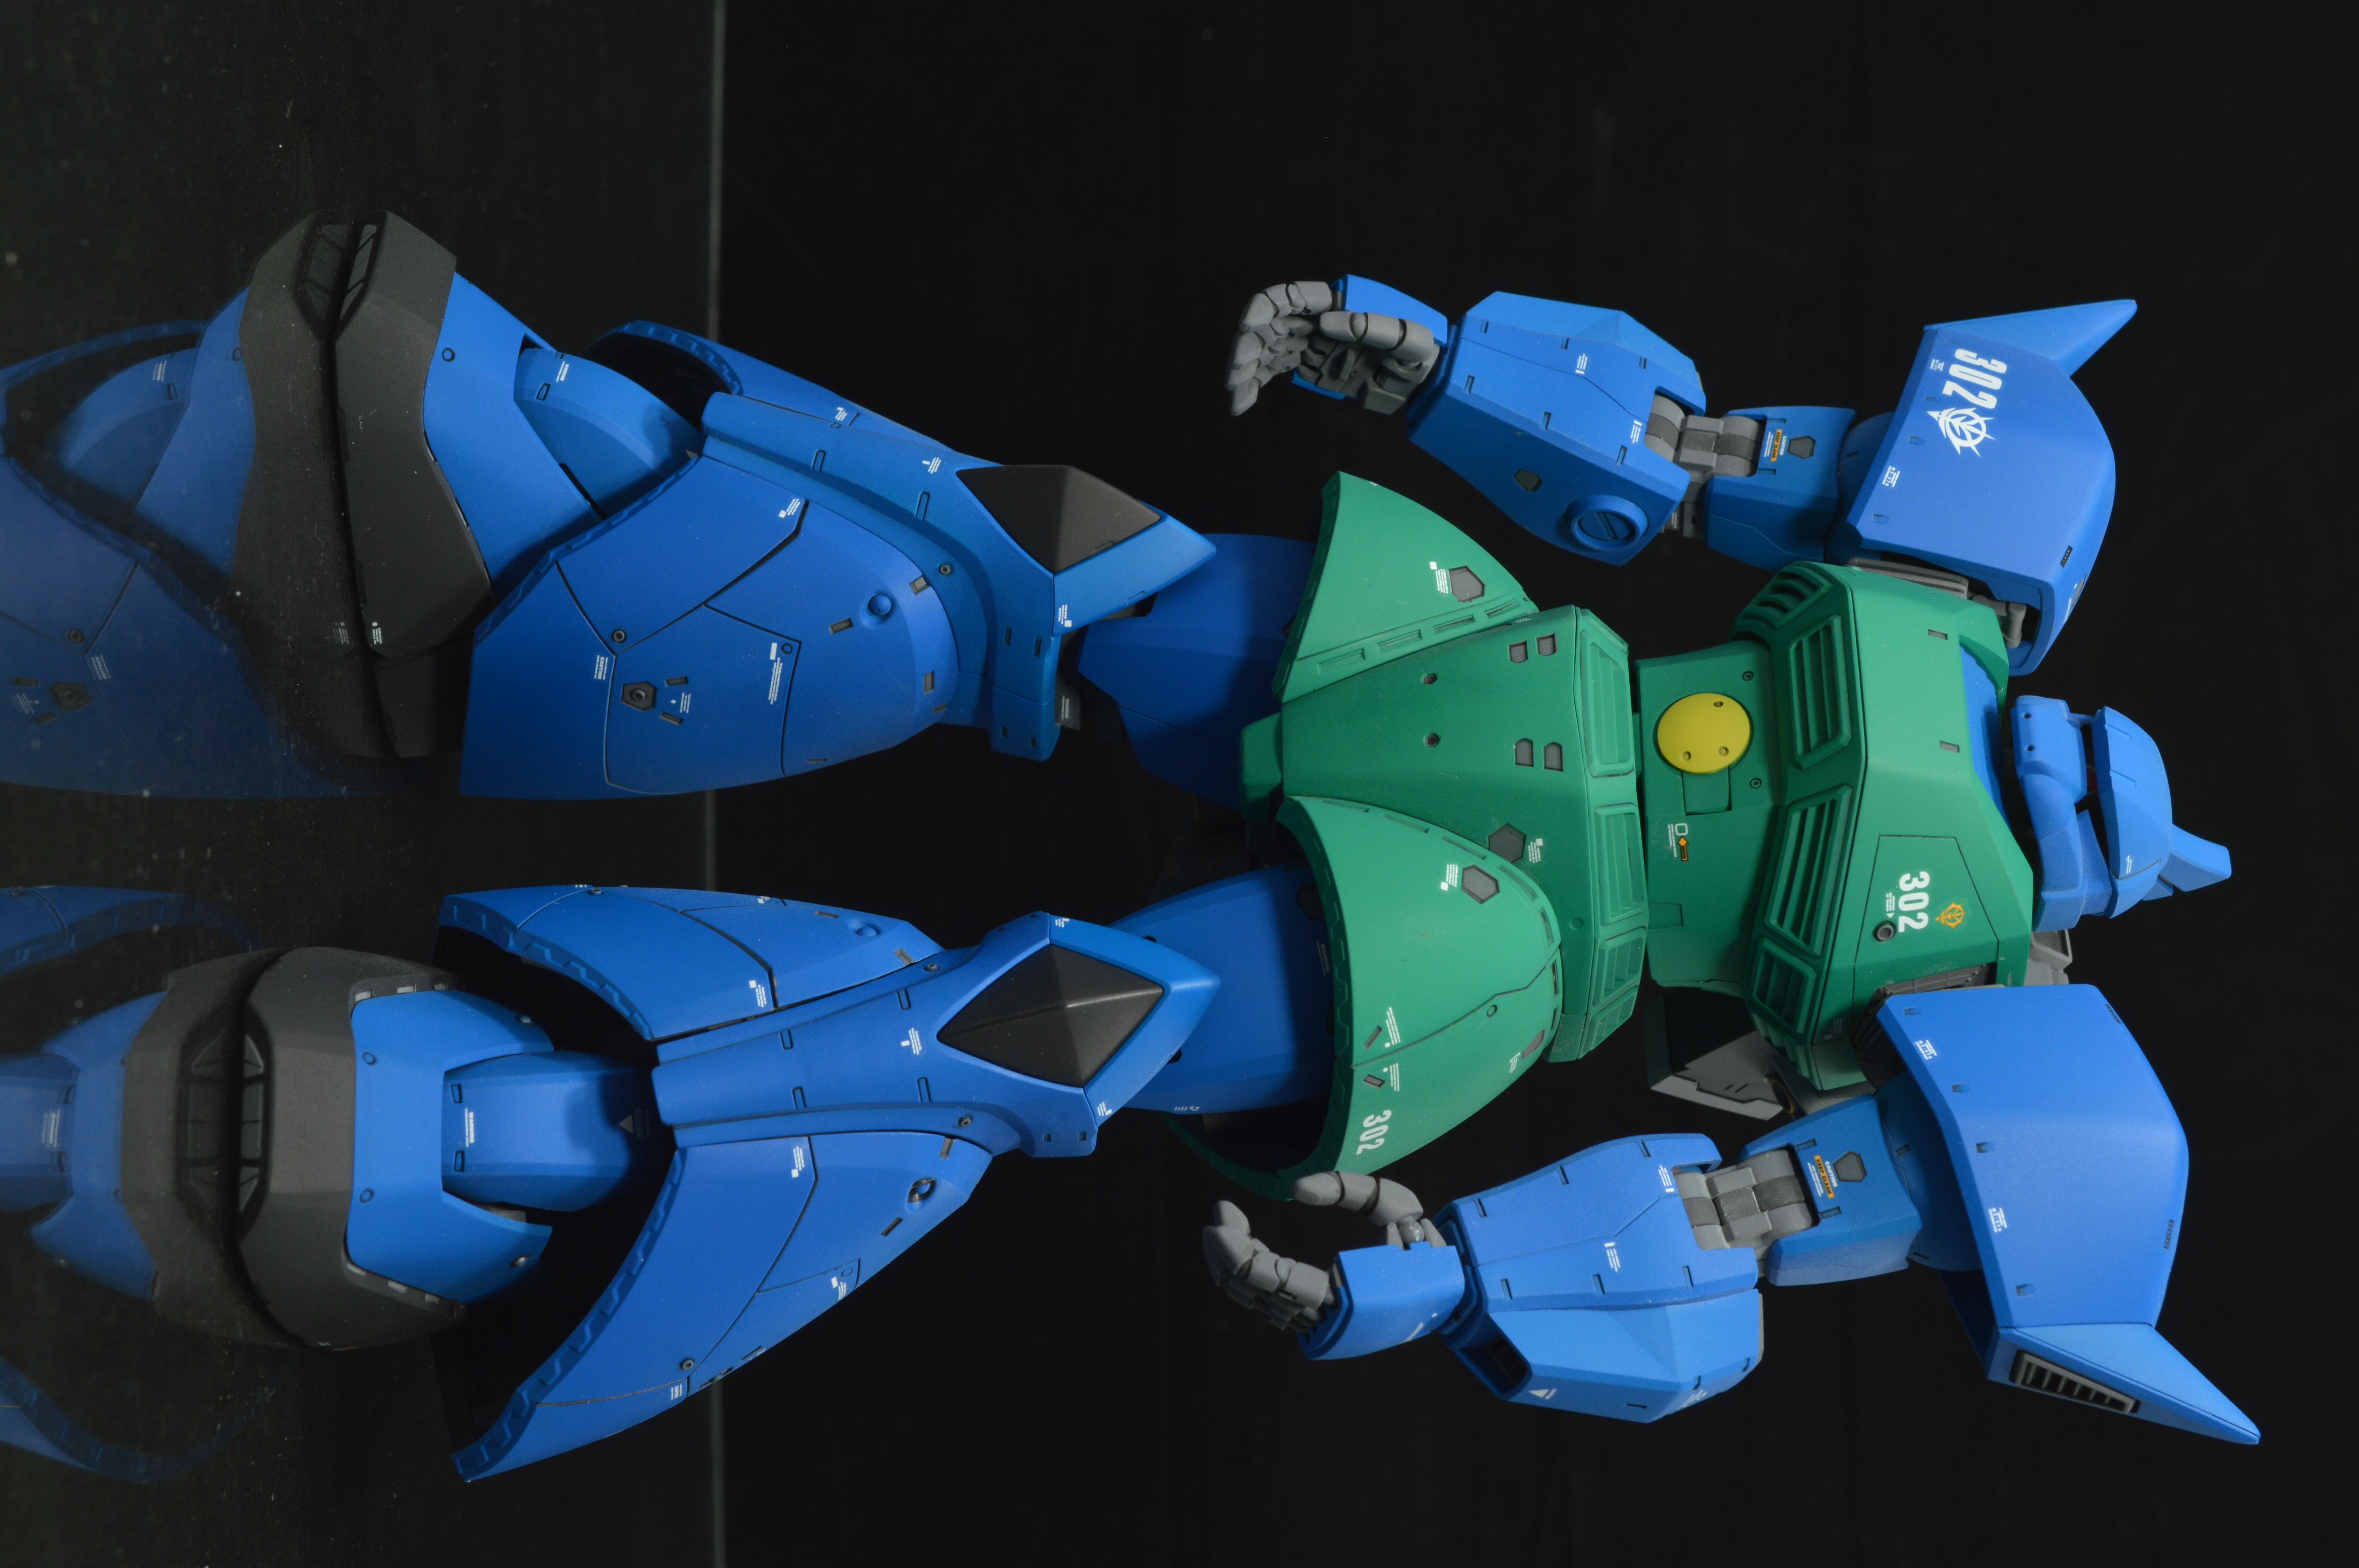
Like the Zaku 2.0 the Gelgoog 2.0 has a beautiful layered and detailed inner frame. A big focus for this kit was on masking, painting and detailing the inner frame and outer armor of this model. The masking process of this kit easily tripled the time required to complete this kit. I would wager more the 90% of the parts of this kit were masked at least once.
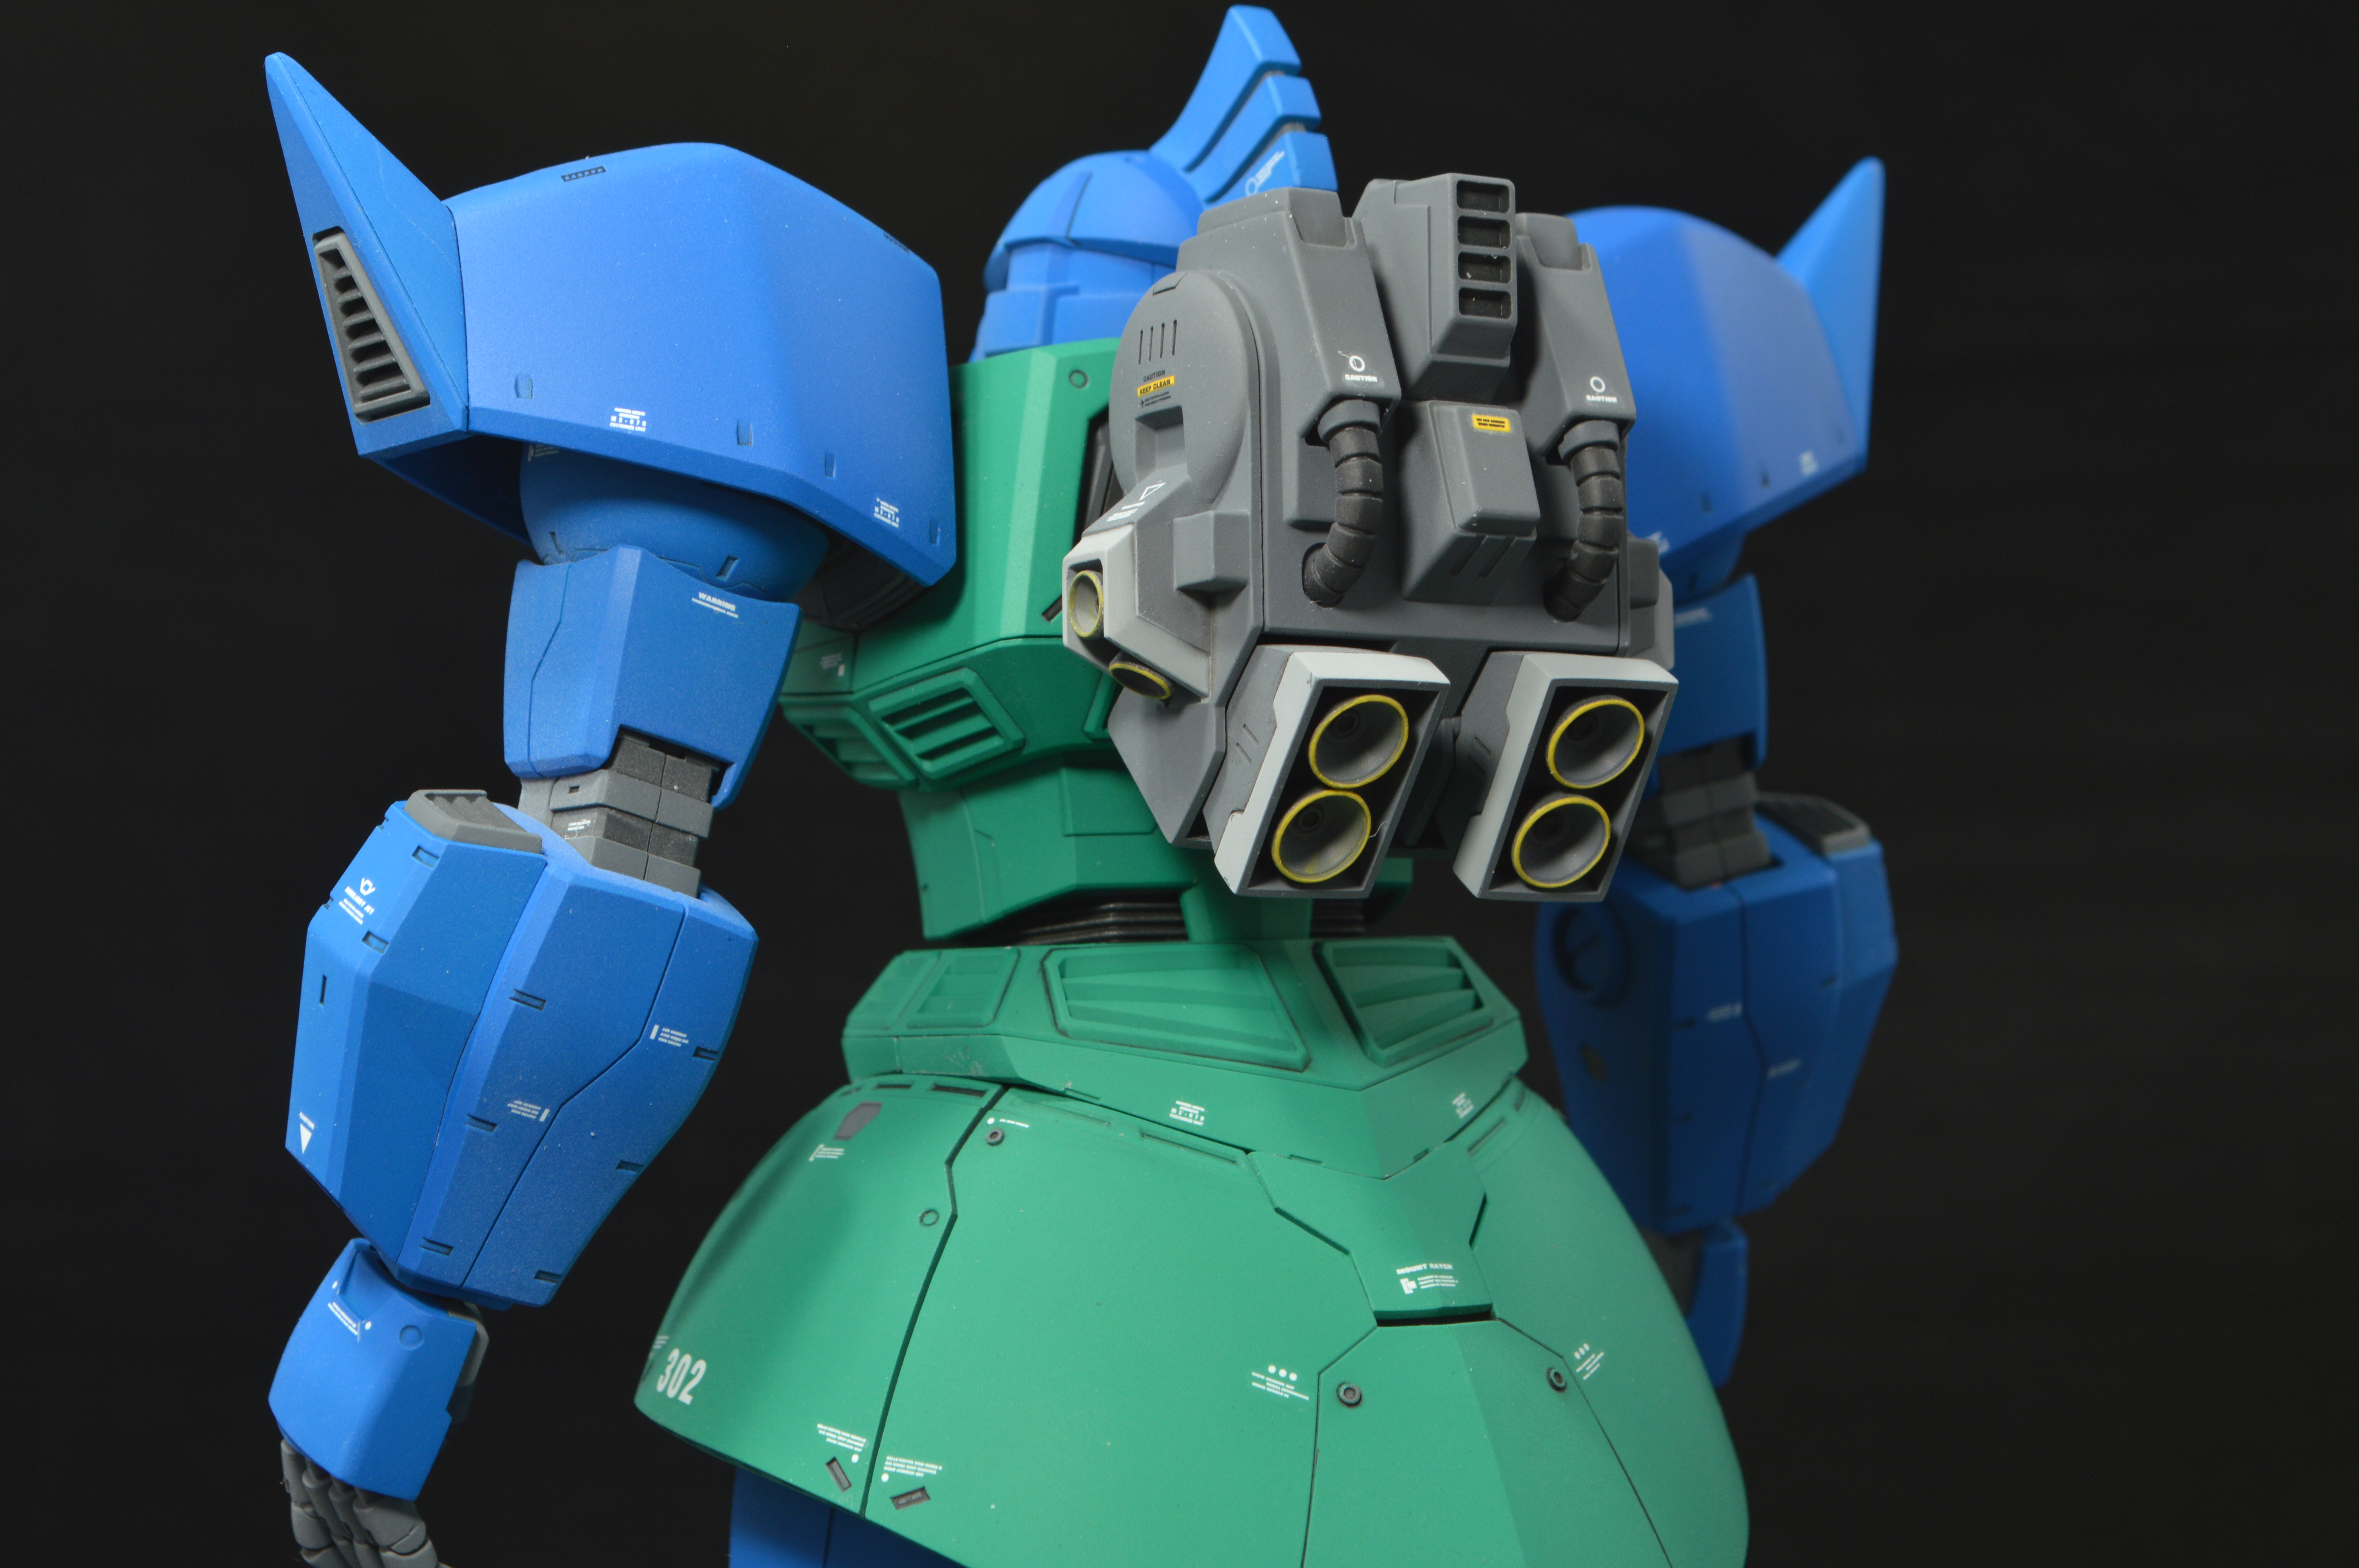
The articulation of the frame is limited, but there are gobs of pistons, thrusters and other goodies tucked into it. I really regret having to add the armor to this kit, because in the process of adding it the frames paint job and decals scheme was unavoidably damaged. I mostly stuck to the canon Anavel Gato colo scheme, but I made minor modifications to push more yellow into the design. Each piston receiver is now colored yellow, as are the lips of the thruster bells and pipes in the shoulders.
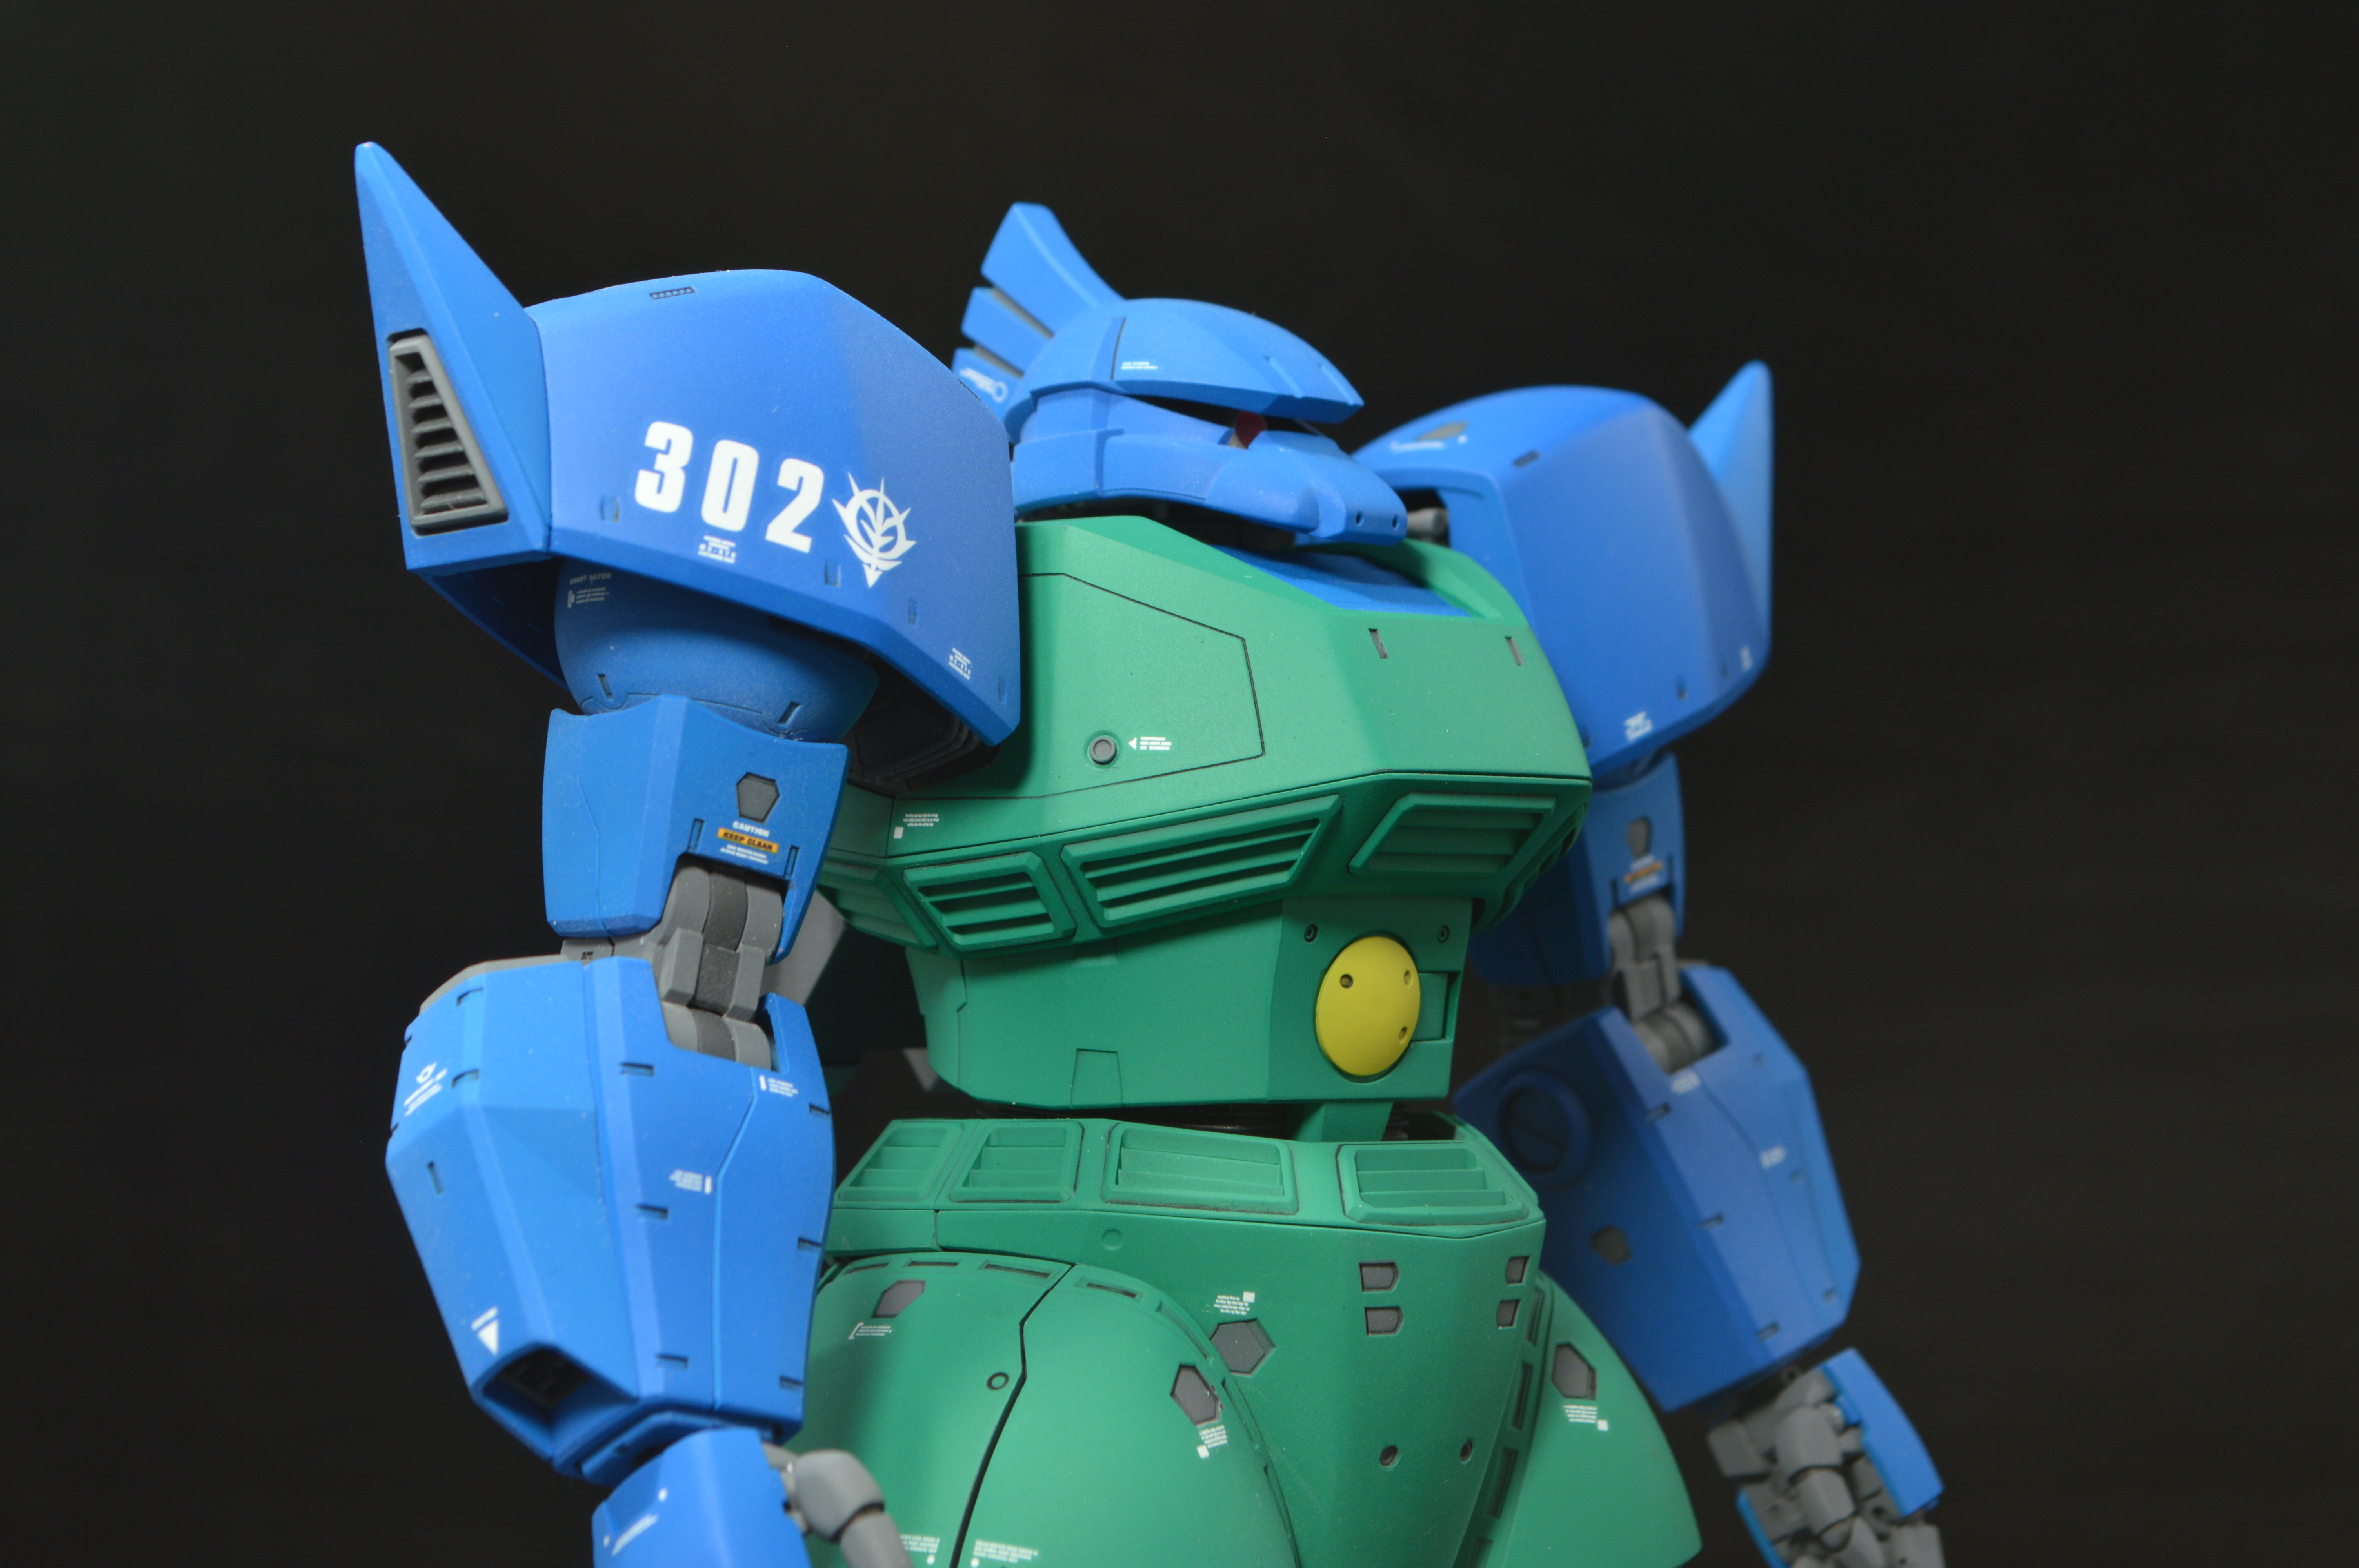
The decal scheme is mostly based on the stock 2.0 scheme, however I added additional decals throughout the design highlight decals. The "302" visible in a number of areas is a call back to the 1.0 Gato Gelgoog's scheme.
If you like my work and would like to help me out, consider purchasing this and other kits from Amazon using this link or others featured on my site. Every purchase helps me out considerably and it doesn't cost you a dime!
Photos:
Inner Frame:
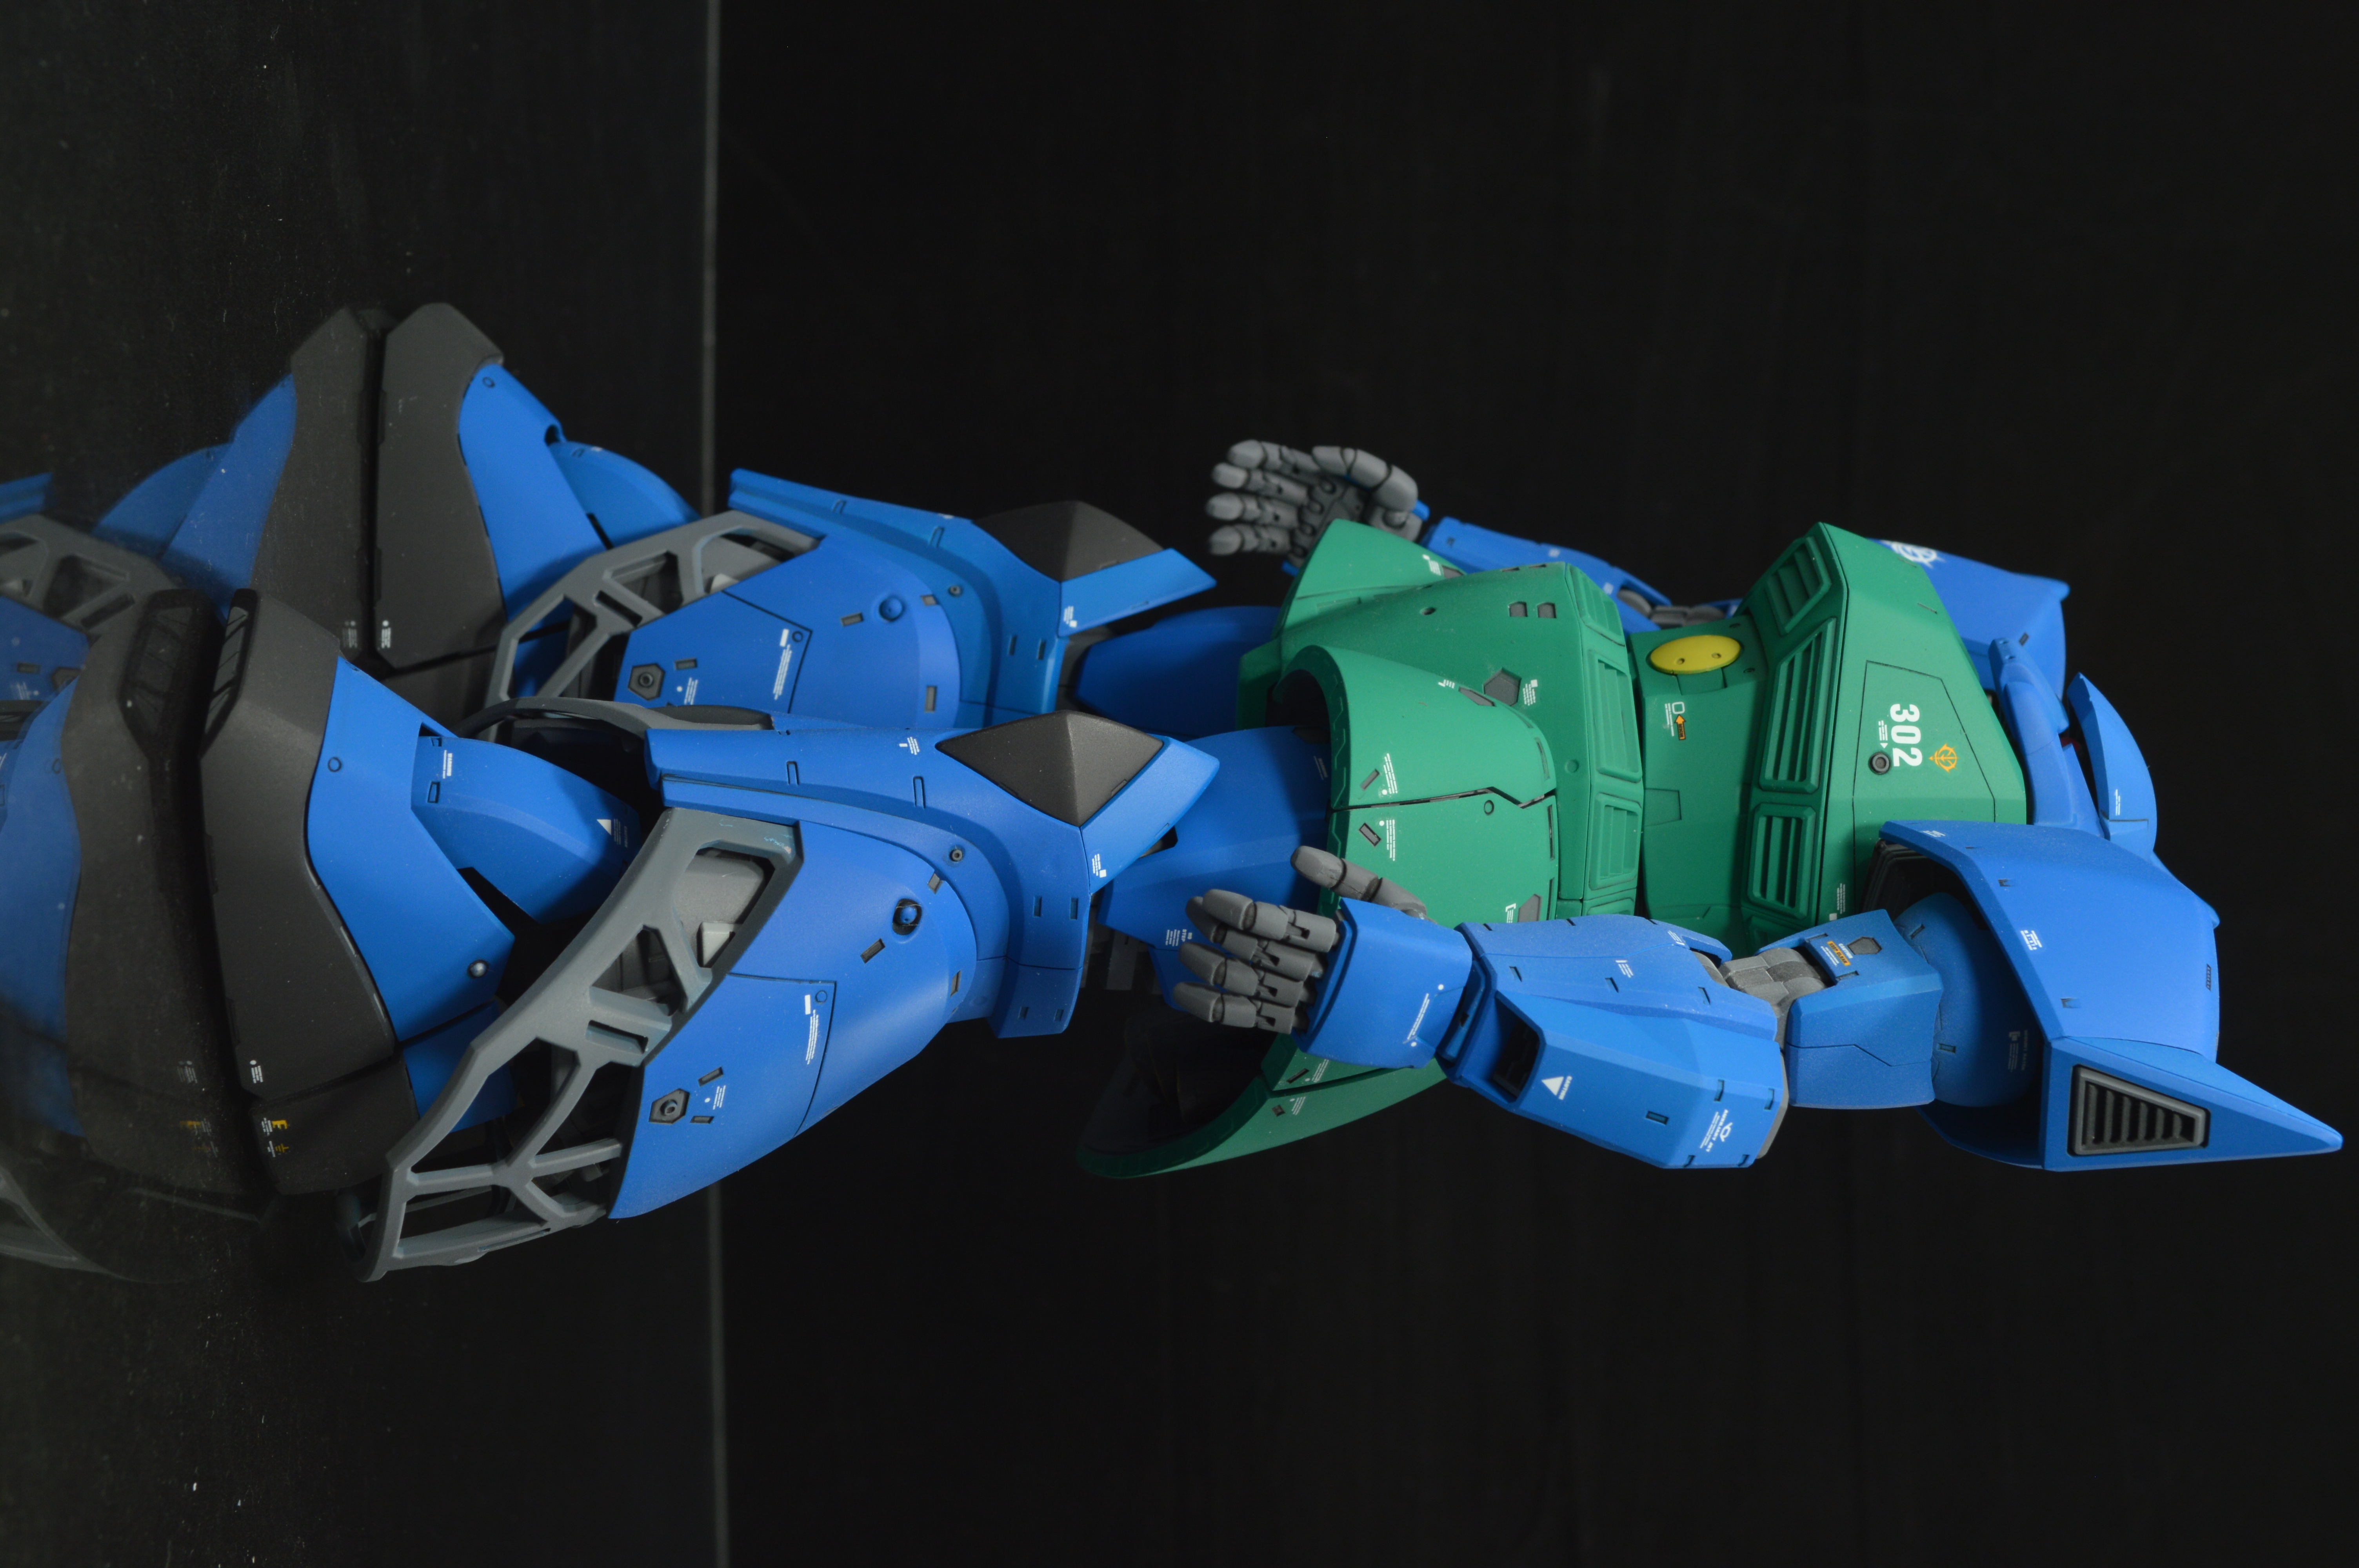
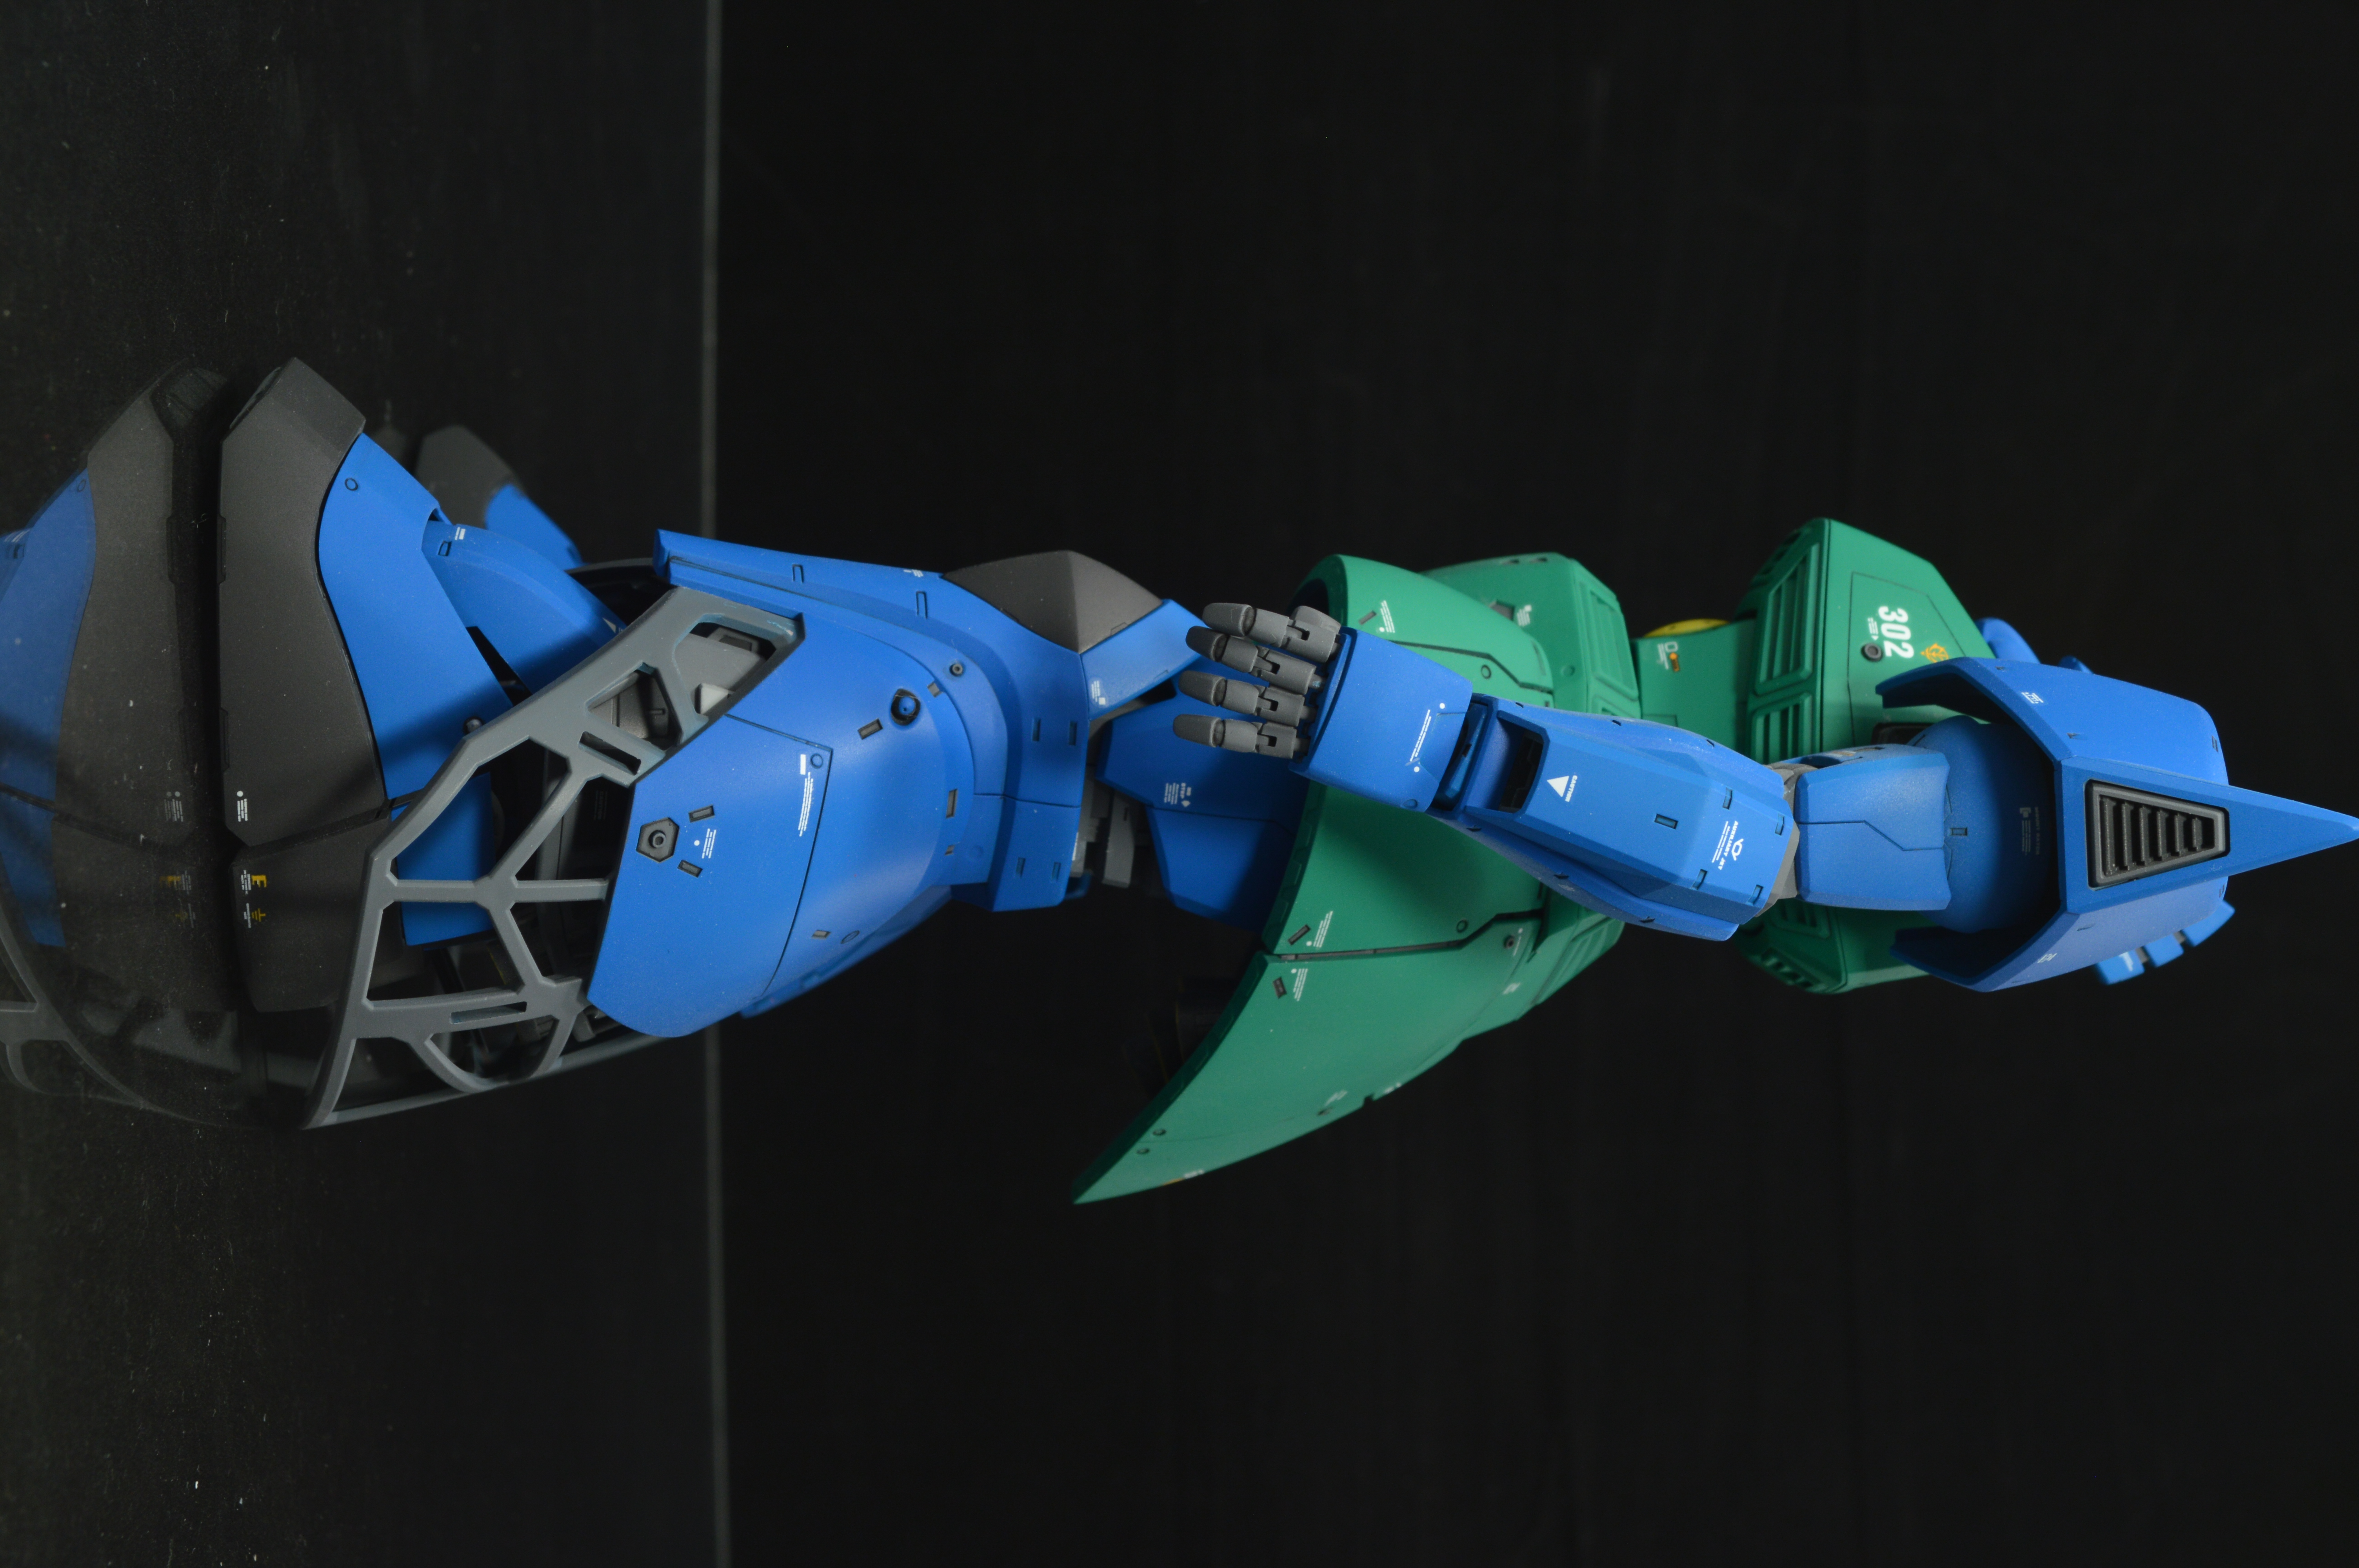
Partial Armor:
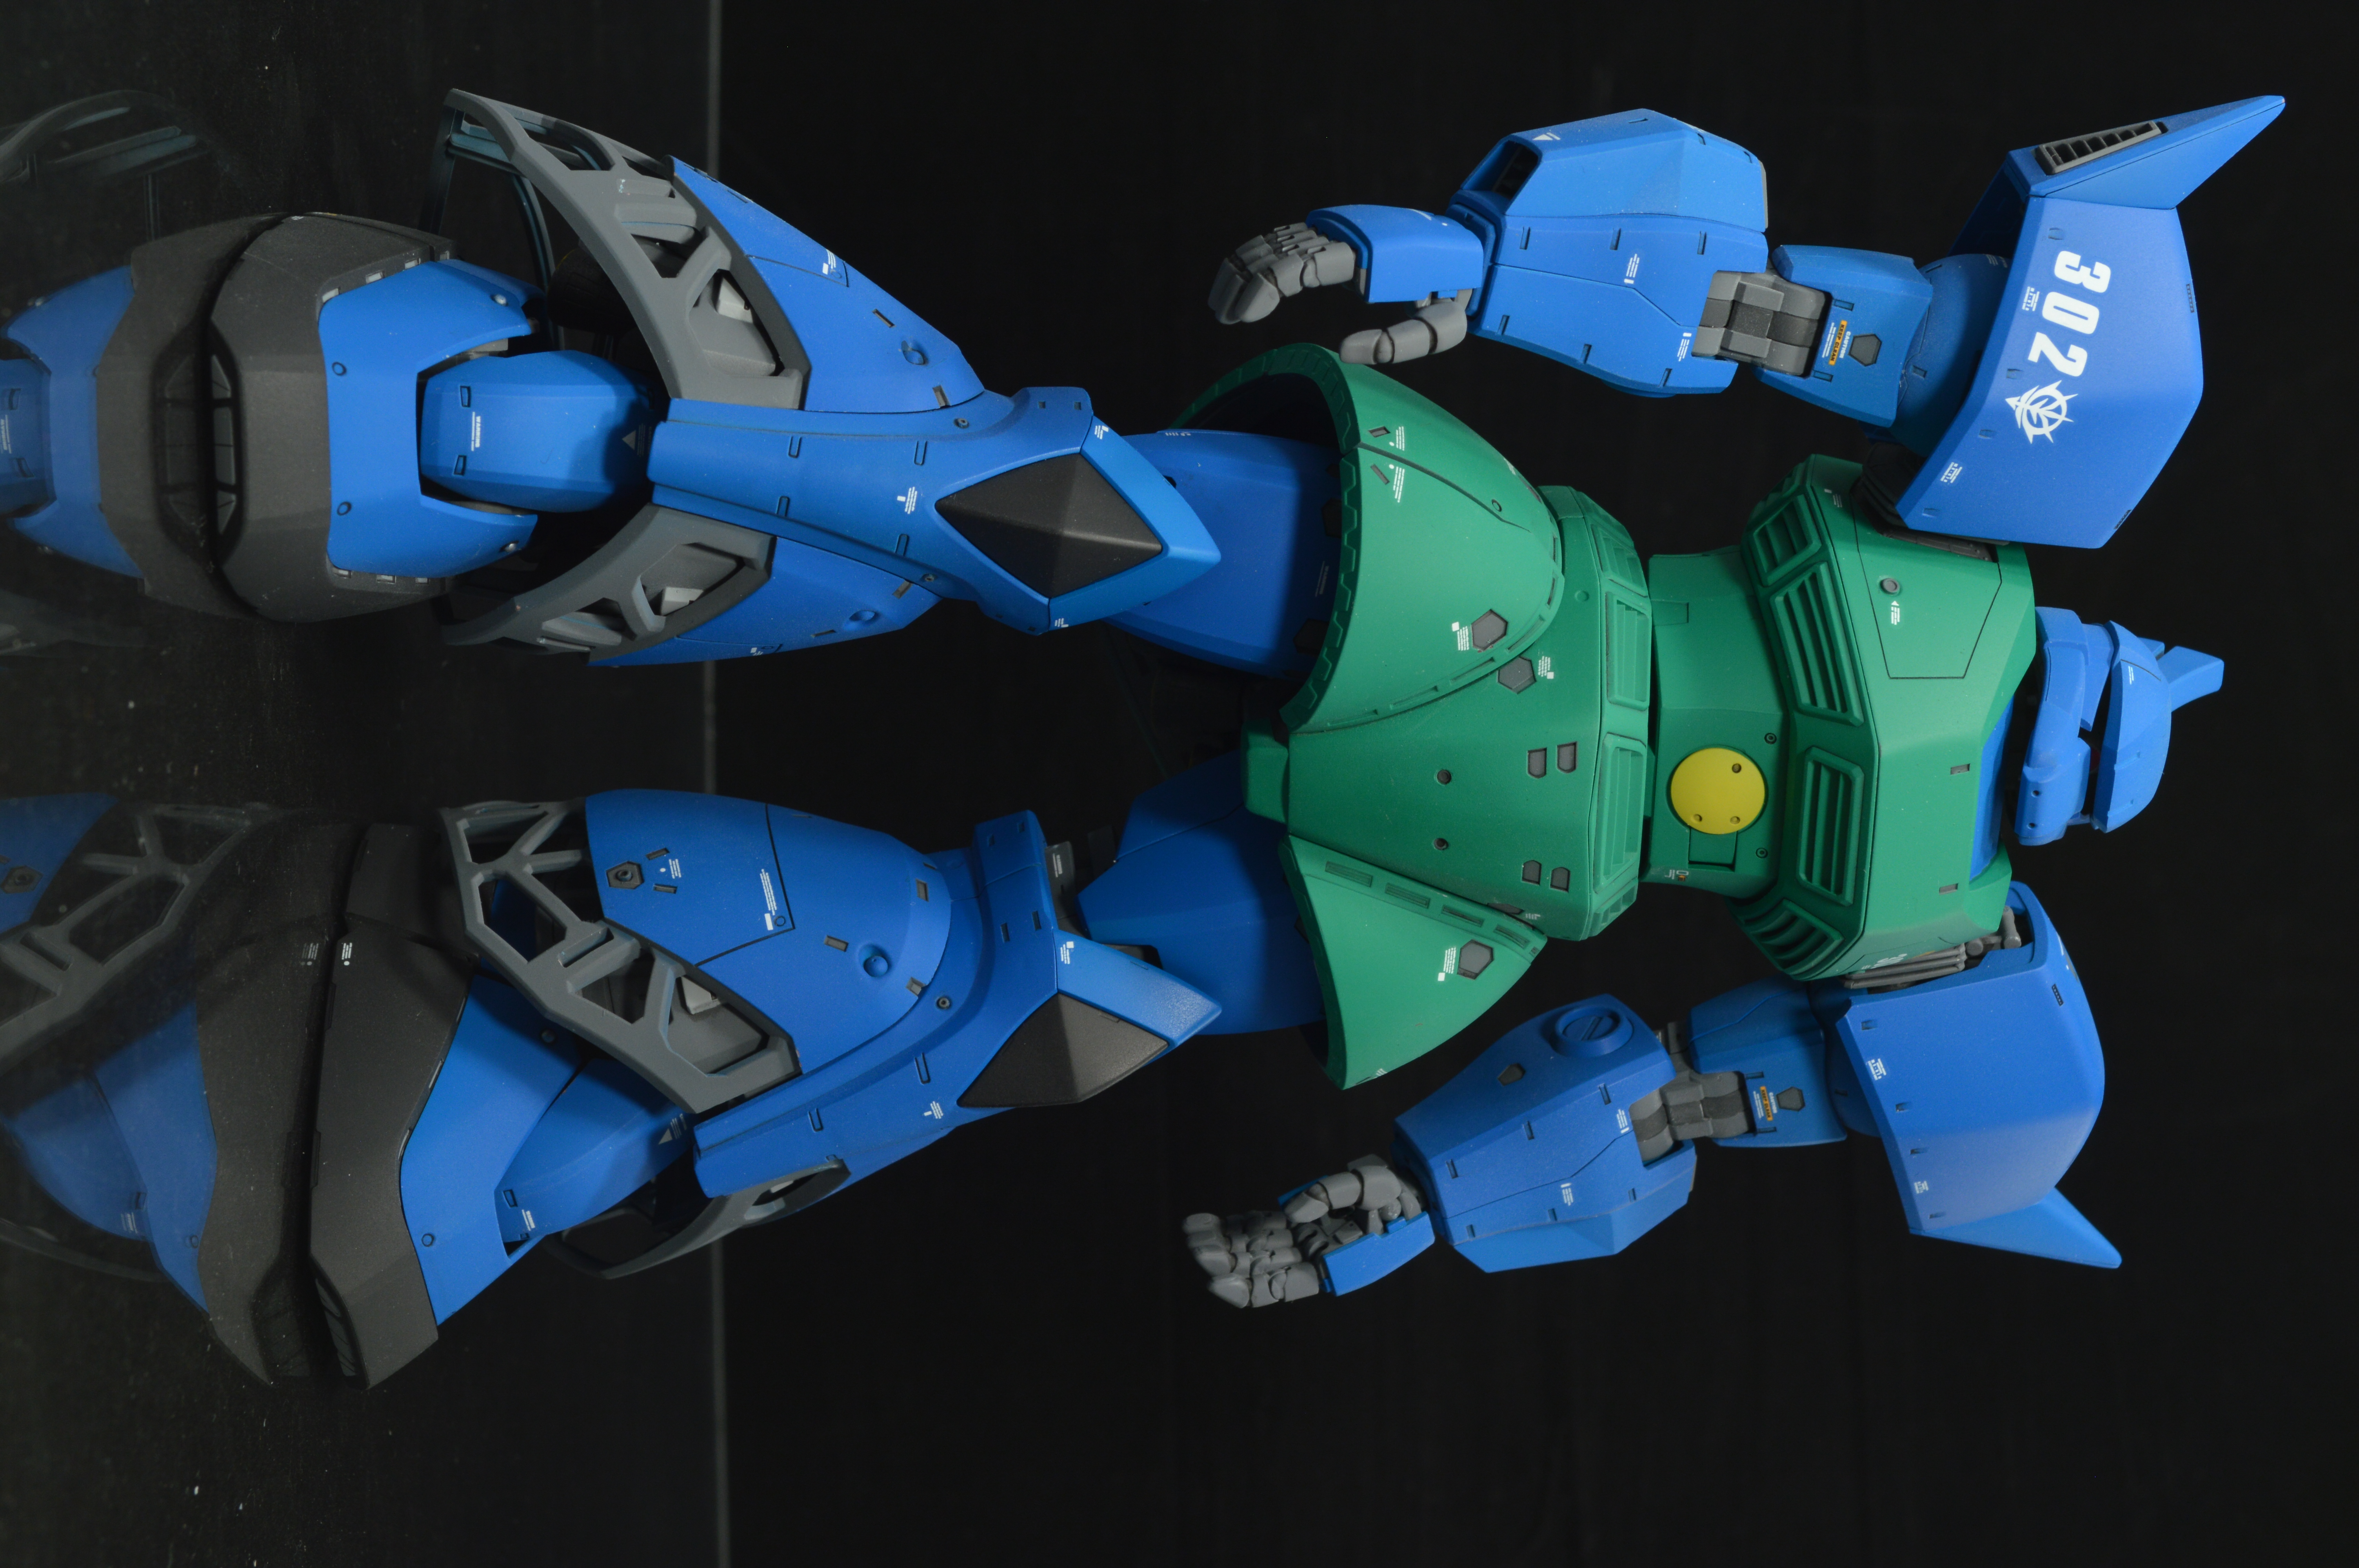
Fully Armored:
Detail Photos:
I opted to use yellow as an accent color throughout the kit. The kit had a few yellow parts and decals to it seemed to be a natural choice.
These outer coverings of the lets were the most time-consuming elements of the build to paint. They're painted so that the deepest panels are the darkest, and the most superficial are the lightest.
Articulation at the knees is super limited, but you get a nice selection of moving parts as a consolation.
I love painting super brightly color lips on the thruster bells.
Similar to the knees, the elbows have a lot of moving parts, you can also see where the topcoat frosted slightly.
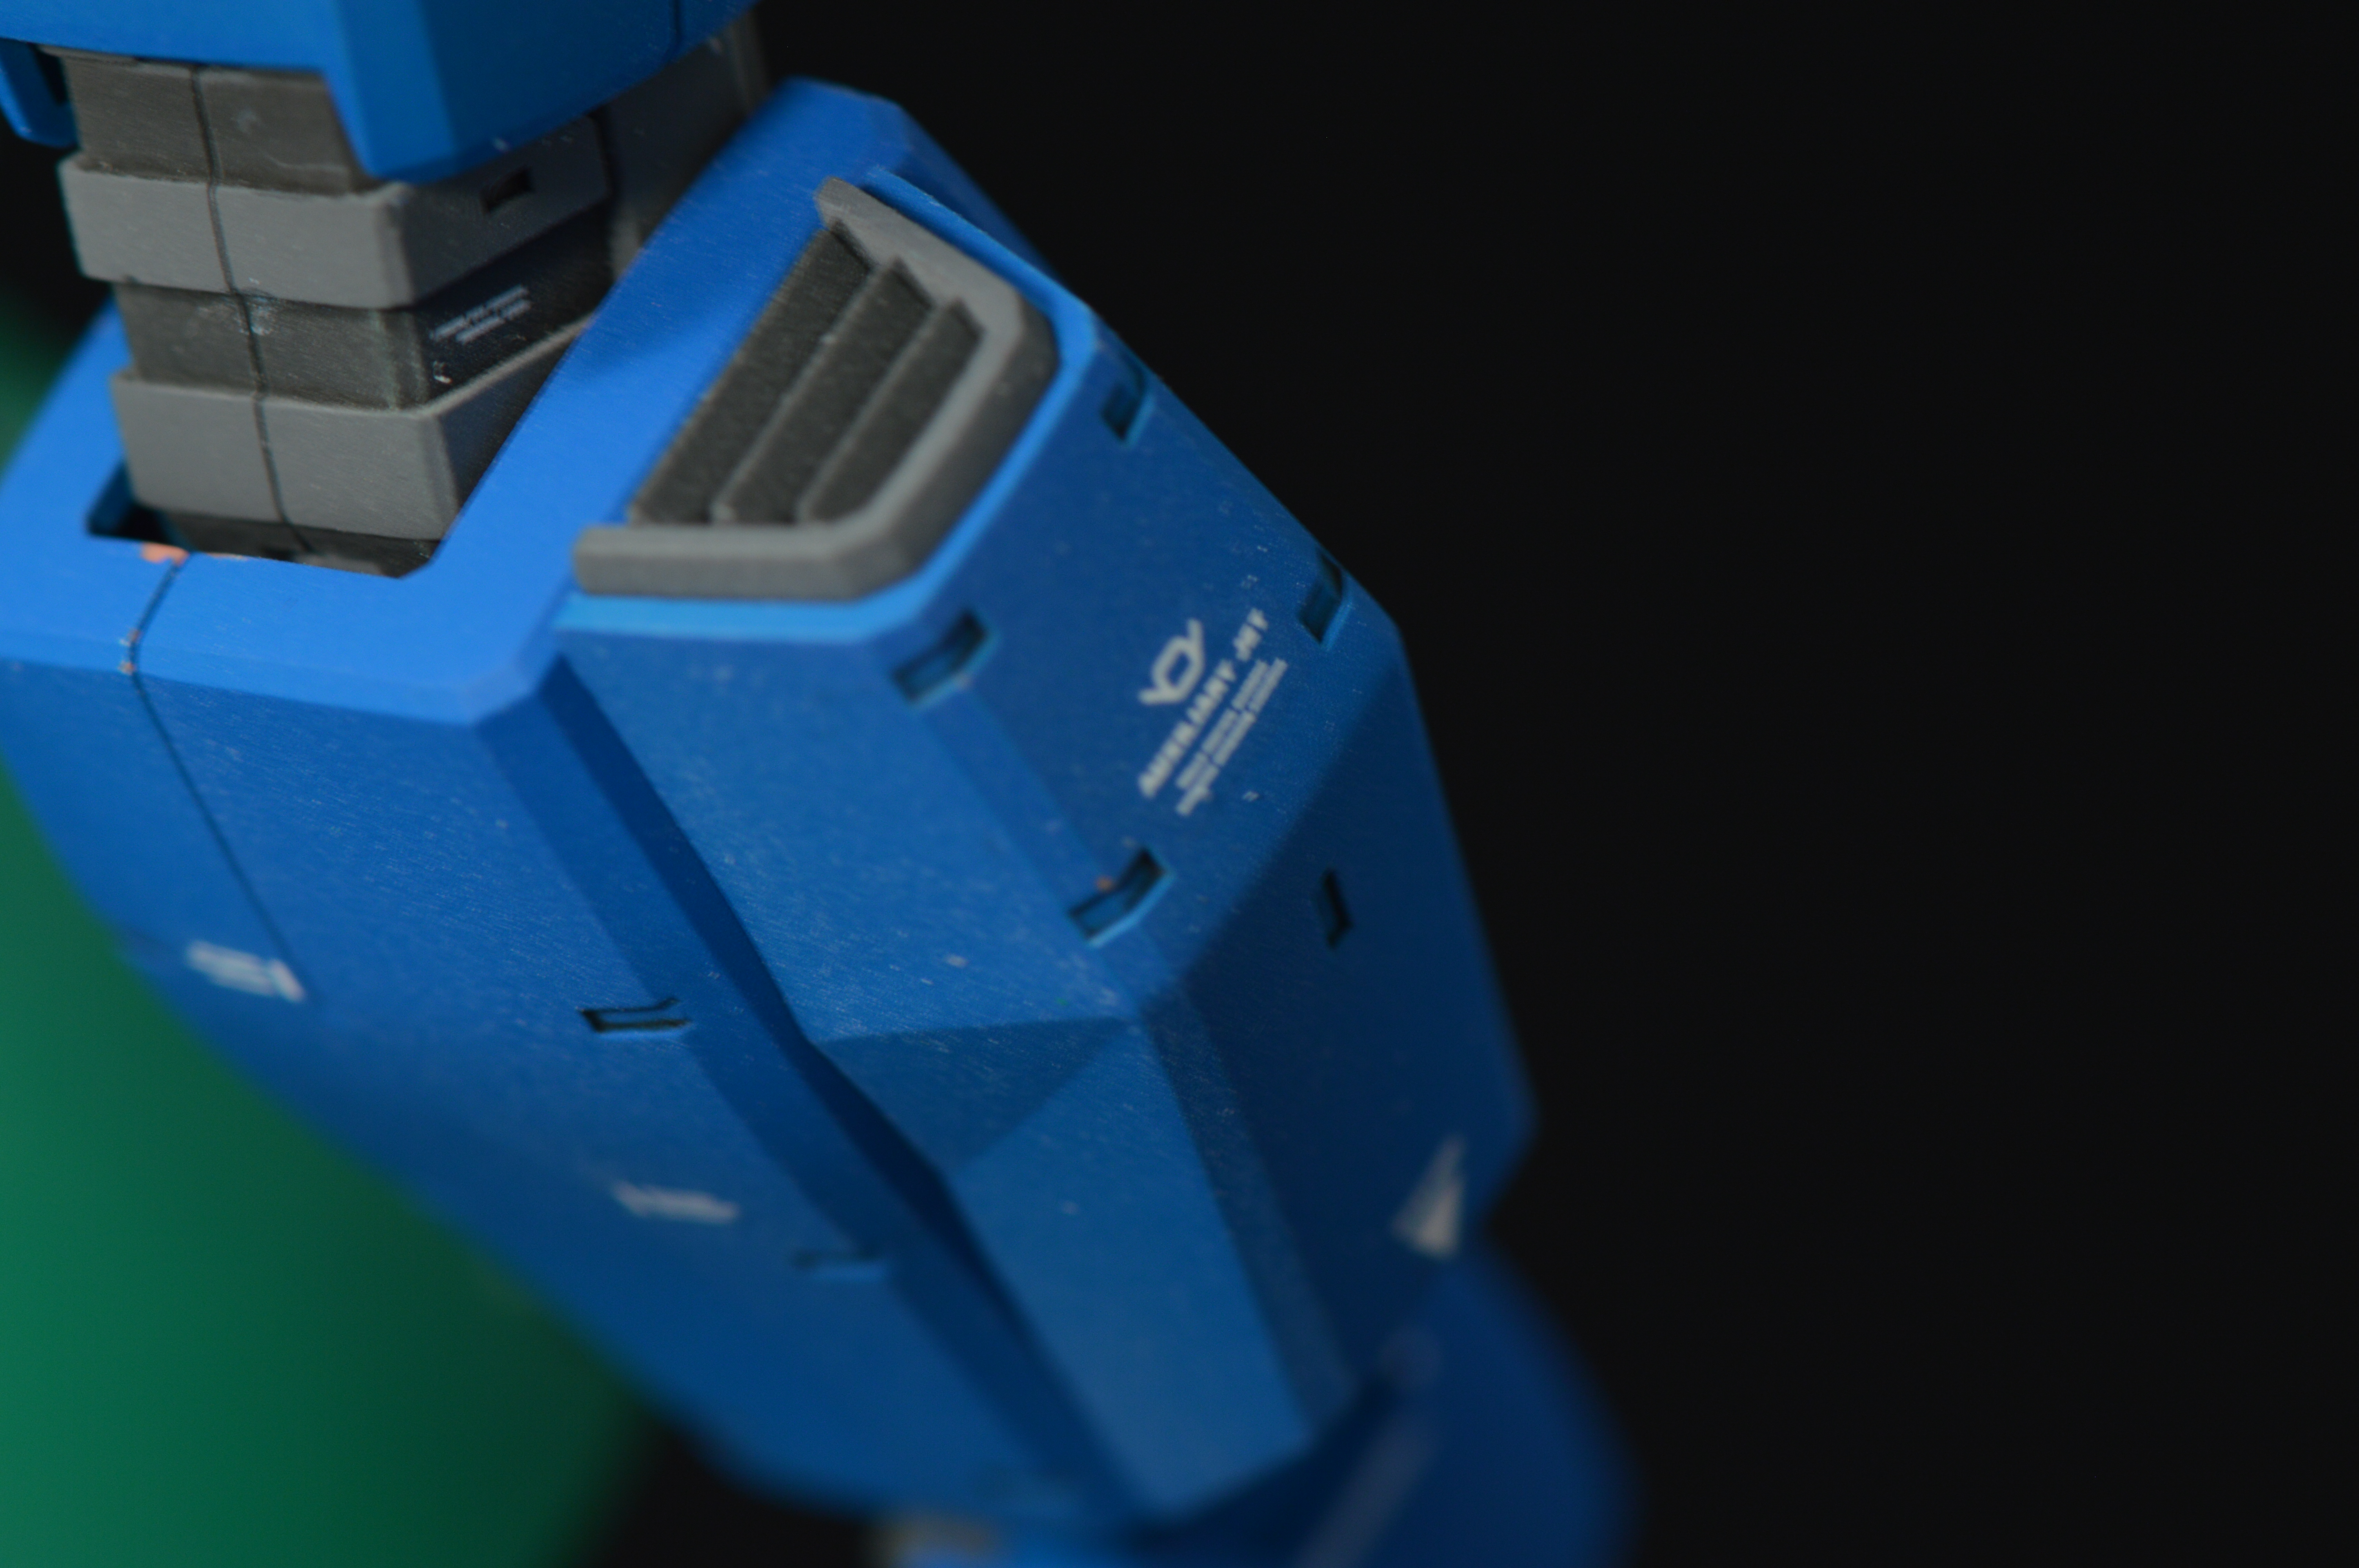
The vanes inside of all of the vents are separately painted as well.
Color separation was king on this build.
The 302nd Zeon Royal Palace Guard motif was used repeatedly throughout the build.
The high mobility backpack of the Gelgoog 1.0 required a lot of work. There were seam lines and misaligned parts galore on this element.
Unsurprisingly masking and painting the shield took days to complete.
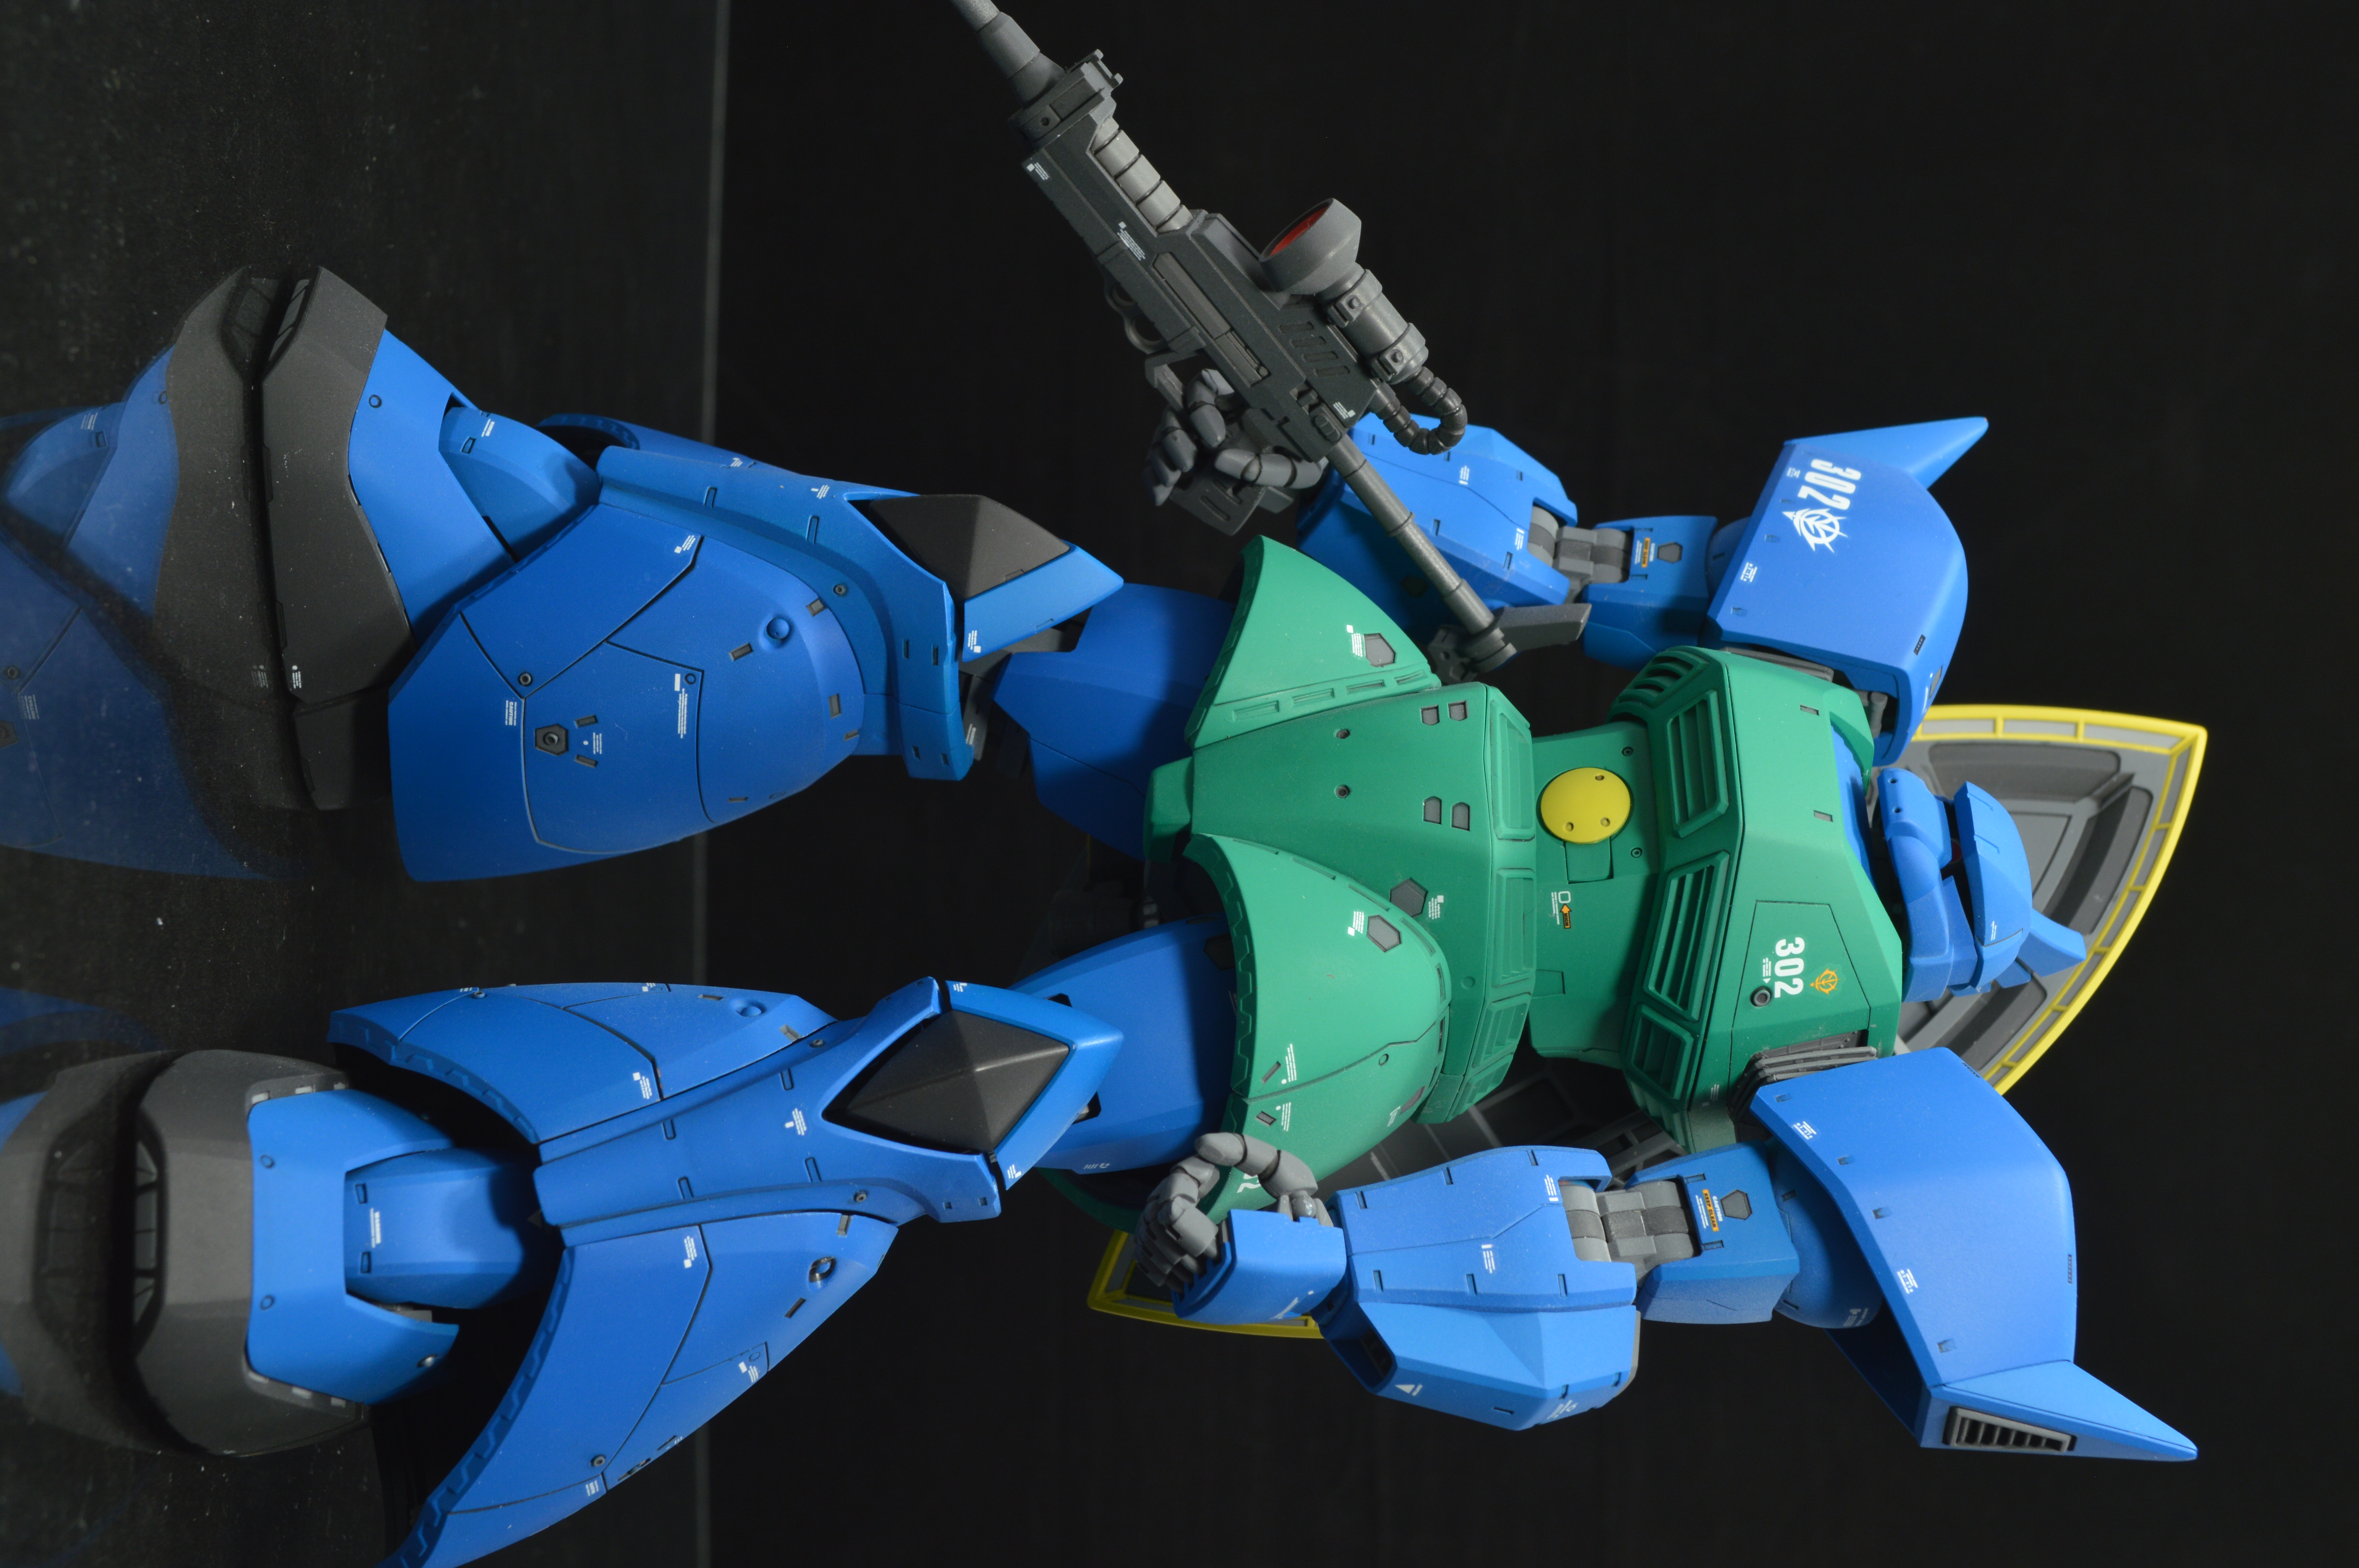
The pose-ability of this kit is lacking. The ankles are limited by the leg armor, the knees have a limited range of motion, the thumbs tend to pop out of the hand and the large forearm armor affects the ability of the kit to pose with any weapon with a stock.
I opted to paint the tips of both beam rifles in silver, this is a detail I've seen many other builders add to their kit, but one I've never done to my build.
If you haven't realized it already the Gelgoog is a fairly large model.























Comments
Post a Comment