
How to Paint a Zeta Display Base

I was really fortunate to have some free time to work on this kit over the weekend. Little did I know how work intensive it would be!
I decided to document my process for painting this kit; I went looking for a walkthrough on painting this kit and came up empty, so I hope someone finds this useful.
First off if you're interested in this kit let me say that this isn't a great choice for beginners (or people who hate masking). I personally love the Gundam head displays, so I was really happy when Justinius gave me this kit!
I decided to paint this base to match the White Unicorn Zeta scheme I'm painting onto my RG Zeta. The White Unicorn scheme requires a little more work than the standard scheme; but it should be pretty simple to modify my paint method to fit the other scheme.
Hit the bump for the full walk through
Let's start off with the hard part. The base. Here's what it looks like out of the box, it's just one big piece of white plastic.

First step is to prime the entire base.

Once the primer has dried paint the base with gloss white. At the very least you need to part the large 'half octagons' where the shoulders connect.

Once the paint has dried the masking beings. This is a process called micro masking. I'm using very thin strips of masking tape; each strip is between 1mm to 2mm thick. I'm just cutting each strip out and affixing it to the kit to form a border. Masking is not an easy process, and every little defect will show up.
Here are some quick tips to mask more effectively:
Make sure the tape is completely adhered, if it lifts even a little you'll get fuzzy lines.
Don't build up too many layers of tape at 45 degree angles, it can leave funny outlines on the opposite angle.
Use a sharp knife to cut the tape, and either use the point of the knife or a pair of tweezers to maneuver the tape into place.
Masking is a long and boring process; put on some music, TV, youtube, etc.


Once the border is filled in I use larger pieces of tape to fill the remainder of the area in.


Here's how they look once one side is completely masked.

And once they're both masked it's back to painting. I'm using a grey for the White Zeta scheme, You would use blue for this part if you're doing the standard color scheme.

Back to masking. I'm masking out the pink stripes on the chest here. You can skip this step for the standard color scheme.

These stripes were all cut out and laid free hand.

More micro masking. There are a lot of steppes and groves around the front of this kit. It's really masking hell.


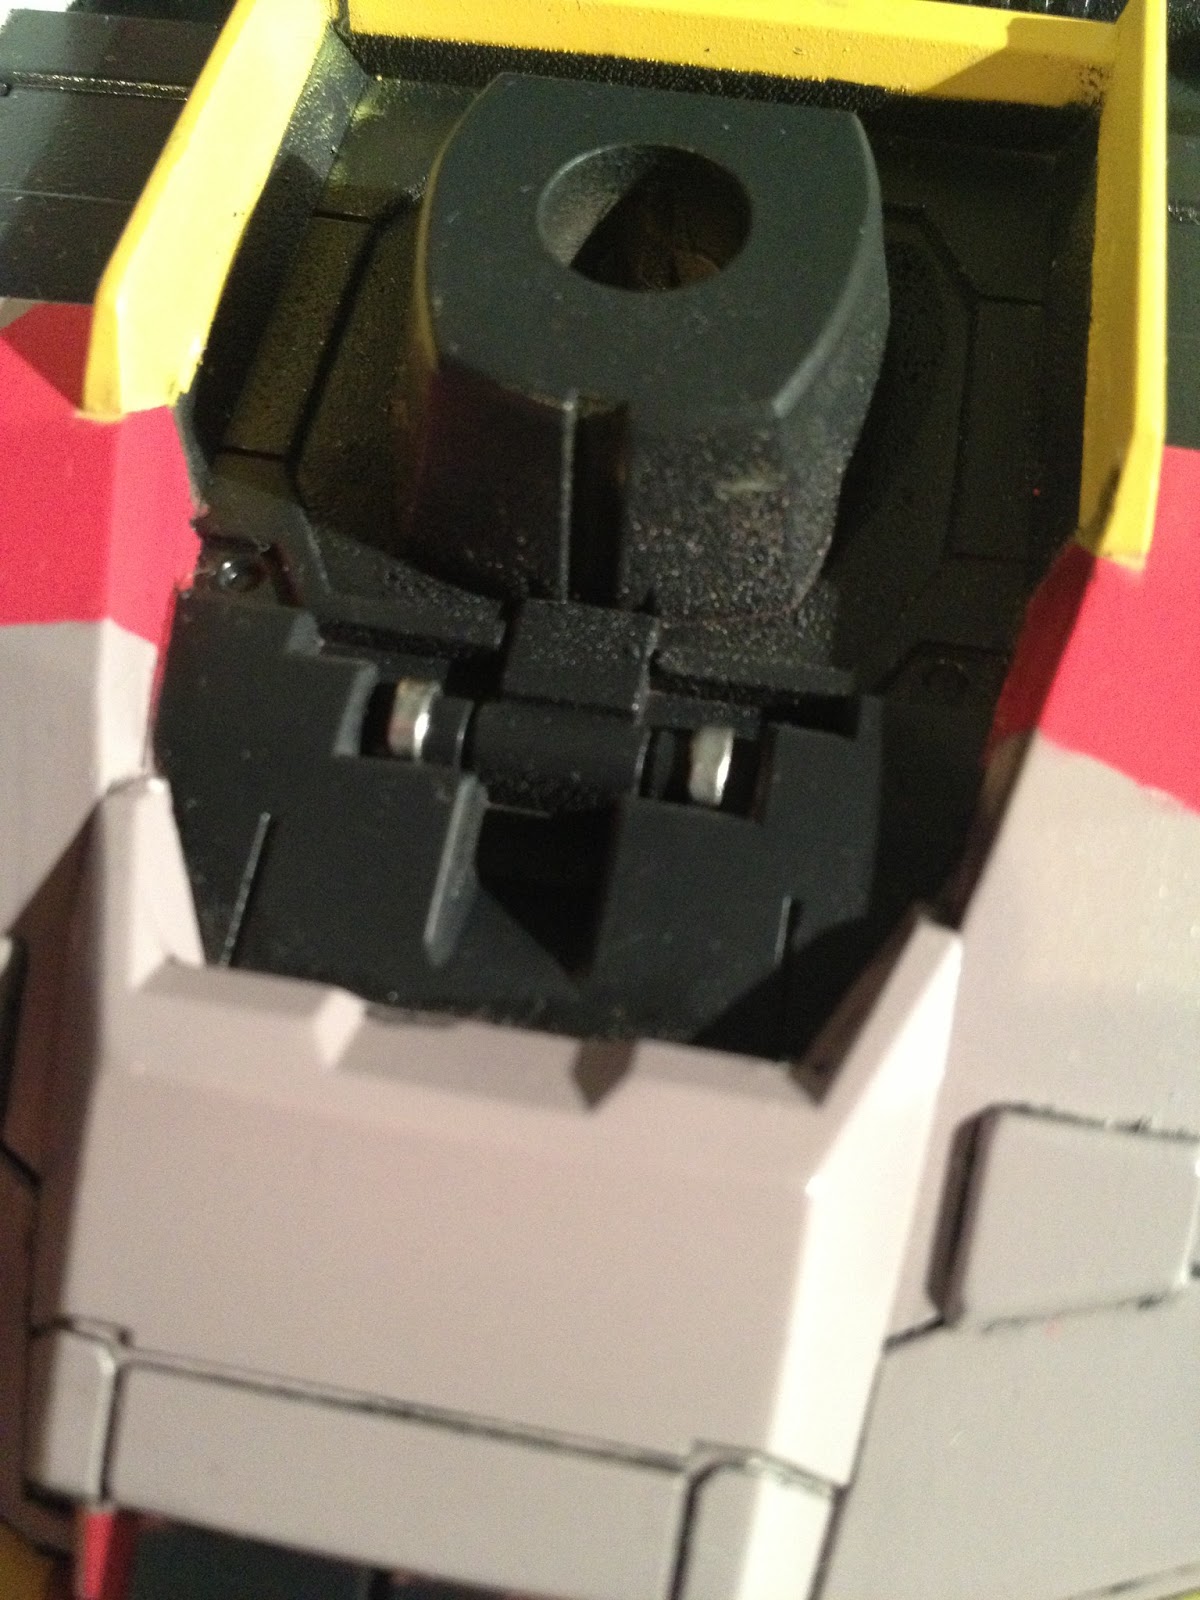
Had to get the inside of the collar too.


You may notice the paint looks gritty inside of the collar. This is the result of overspray, the paint deflects around a lot of surfaces on this kit and dries out before landing. I was using really thinned down paint to counter act it, but it wasn't thin enough! I scrapped these rough areas down between coats with a spudger.

More masking, this time we're painting the collar and front vents yellow.

Back to painting.


This next set of masking was the most difficult to do. There isn't a lot of surface area to mask around either of the front vents or collar.


And the moment I've been waiting for, the reveal. Whatever you do, peal the tape off slowly, you don't want to damage the finish!


A couple areas will need touch up.

Not bad for 4 hours worth of work. Although I painted the ENTIRE Sinanju head display base in the same amount of time I spent just on this base.

When I touch up spots I create a 'bib' with tape and then very careful repaint the areas using a very small amount of paint.

The remainder of the kit is very straight forward. First I painted both sides of the head using white. Then masked them.

The unmasked area is going to be painted with a grey and white mixture. After the grey paint dried I went back and re-masked the area for the pink paint. I apologize that I skipped a photo or two here showing how I masked the area for the pink paint.

First I primed the head, then I painted the interior of the sensor with silver followed by clear blue.

Once the paint dried I masked the interior of the sensor. On most HG kits they give you a sticker that fits inside of this rear recess, you can use that sticker to quickly mask the area without tape!

Then paint the entire part with the exterior color. Make sure you get the inside walls. Once the paint has dried remove the masking tape.

I painted the face with white then masked it and painted the vents on either side with dark grey.

The rest of the small details were painted on by hand using a enamel silver.


You can follow my process on painting eyes here. I used a silver base with 3-4 coats of Tamiya clear blue.

All done and pretty in pink! Stay tuned I still need to decal it up before the final shoot.


Thanks for following along! Any questions or comment? Leave em below!
Comments
Post a Comment