
HG FA-78-2 Heavy Gundam [Rollout Color]

Introduction:
Shin from JoJoHobbyandStuff sent me this kit as my holiday present last year! Thank you Shin! It was a great build and I love the design and color scheme!
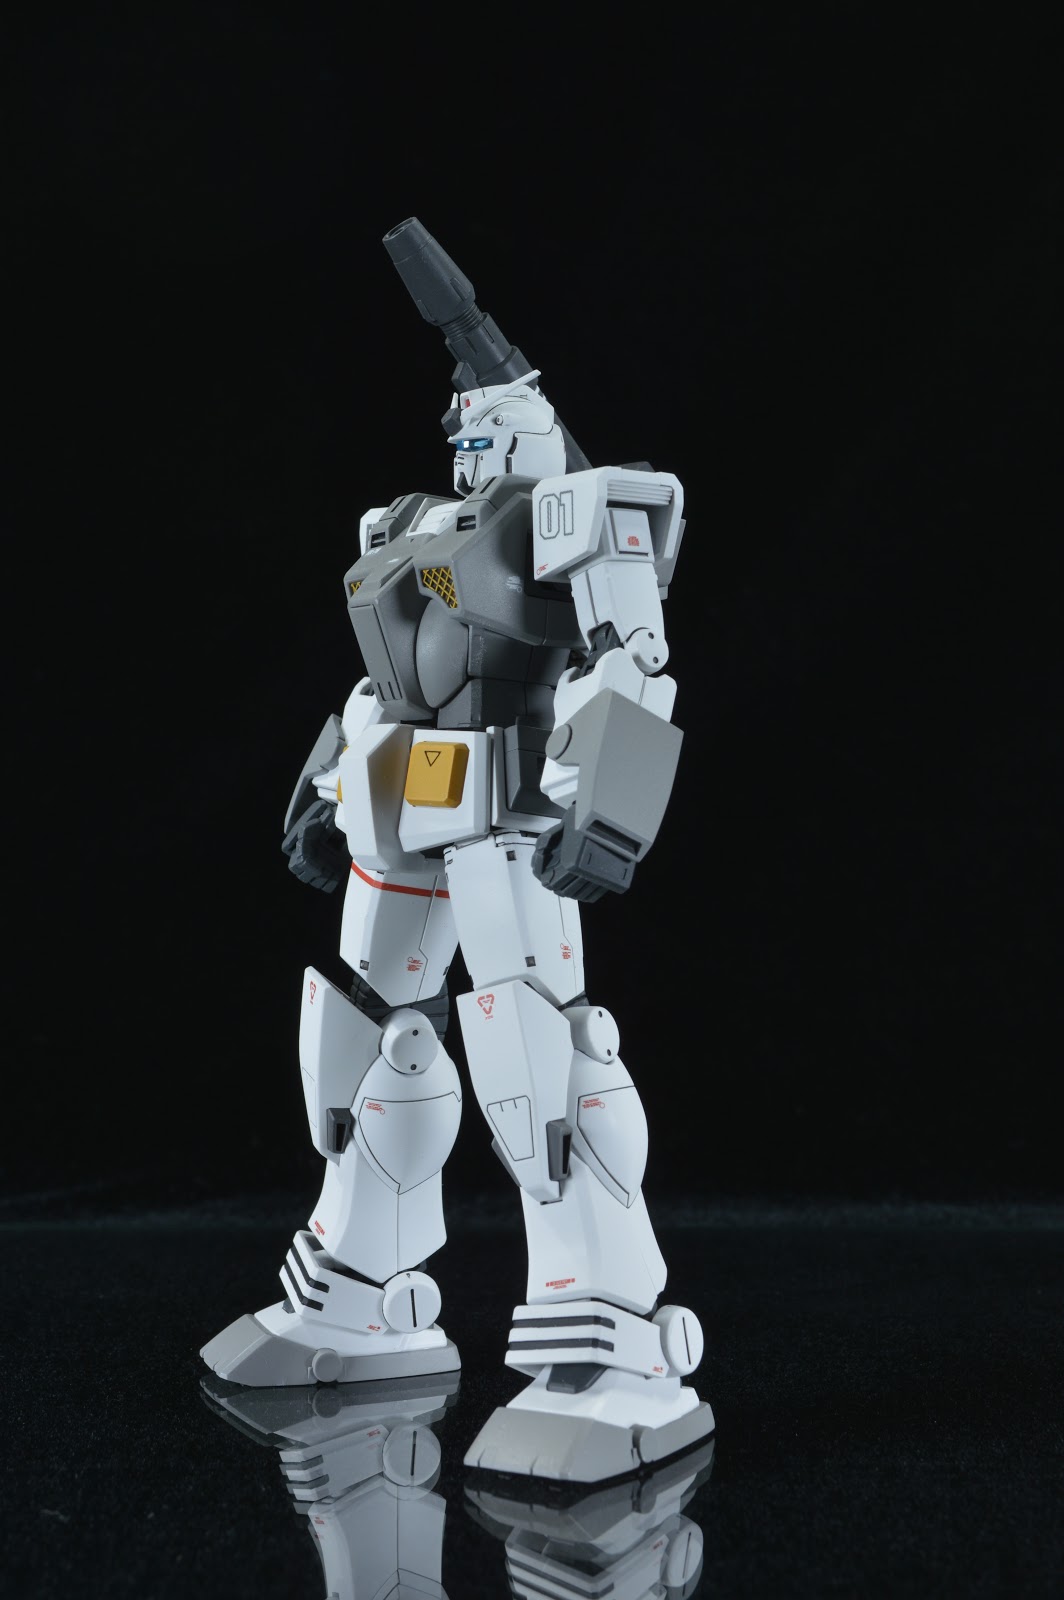
The Heavy Gundam is an MSV design. And unsurprisingly it’s based on a series of planned upgrades for the RX 78-2 Gundam. Unlike the FA 78-1 Full armor which merely added additional armor plating on top of the existing design. The FA 78-2 was designed as a new mobile suit from the ground up. The new design resolved the flaws of the original, removed the core block system, improved mobility, added armor, and integrated weapons. Three units were built, the last unit was completed a full year after the end of the war.
This particular version is the ‘Roll Out’ version. Basically, from a kit perspective, the only difference between this and the original P-Bandai release of the Heavy Gundam is a color palette swap. I really like the white, grey and orange color scheme. The color combo really just screams ‘prototype’ to me.
Kit Talk:
There isn’t too much to say about my Heavy Gundam. It’s a clean out of the box build, (just the way I like it).
This model is actually based on the Origin Gm’s design instead of the Local Type Gundam. The Origin GM is one of the best HGs on the market right now, so I was very happy with this build.
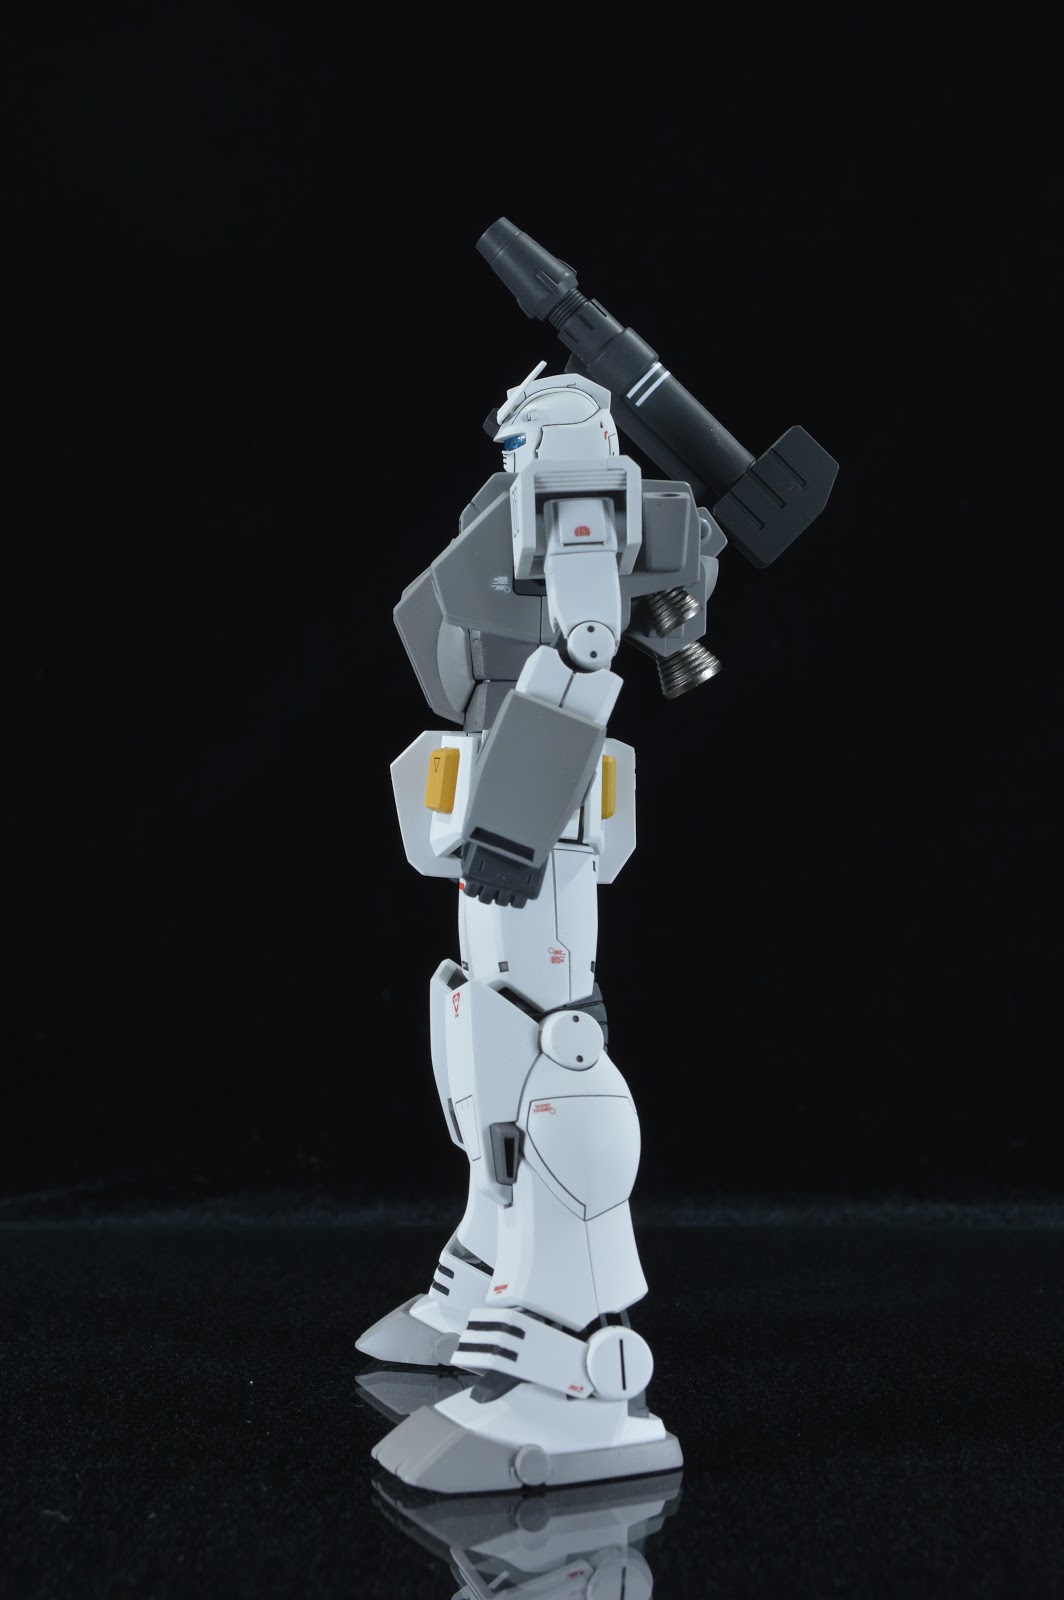
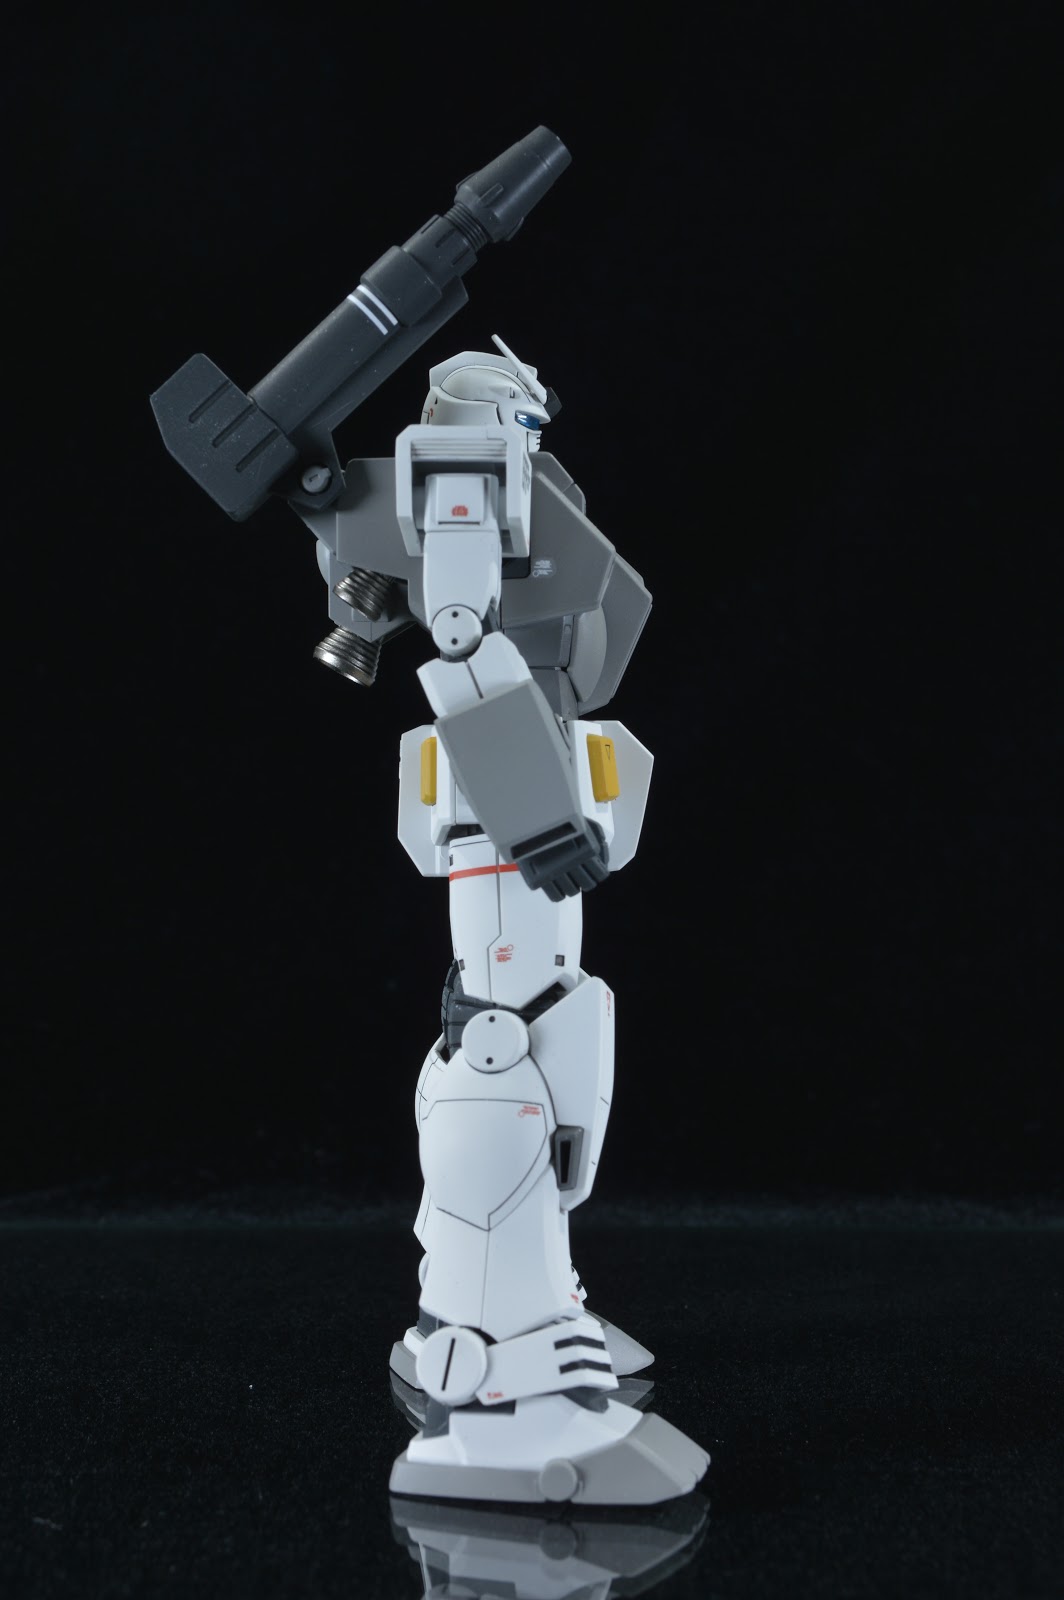
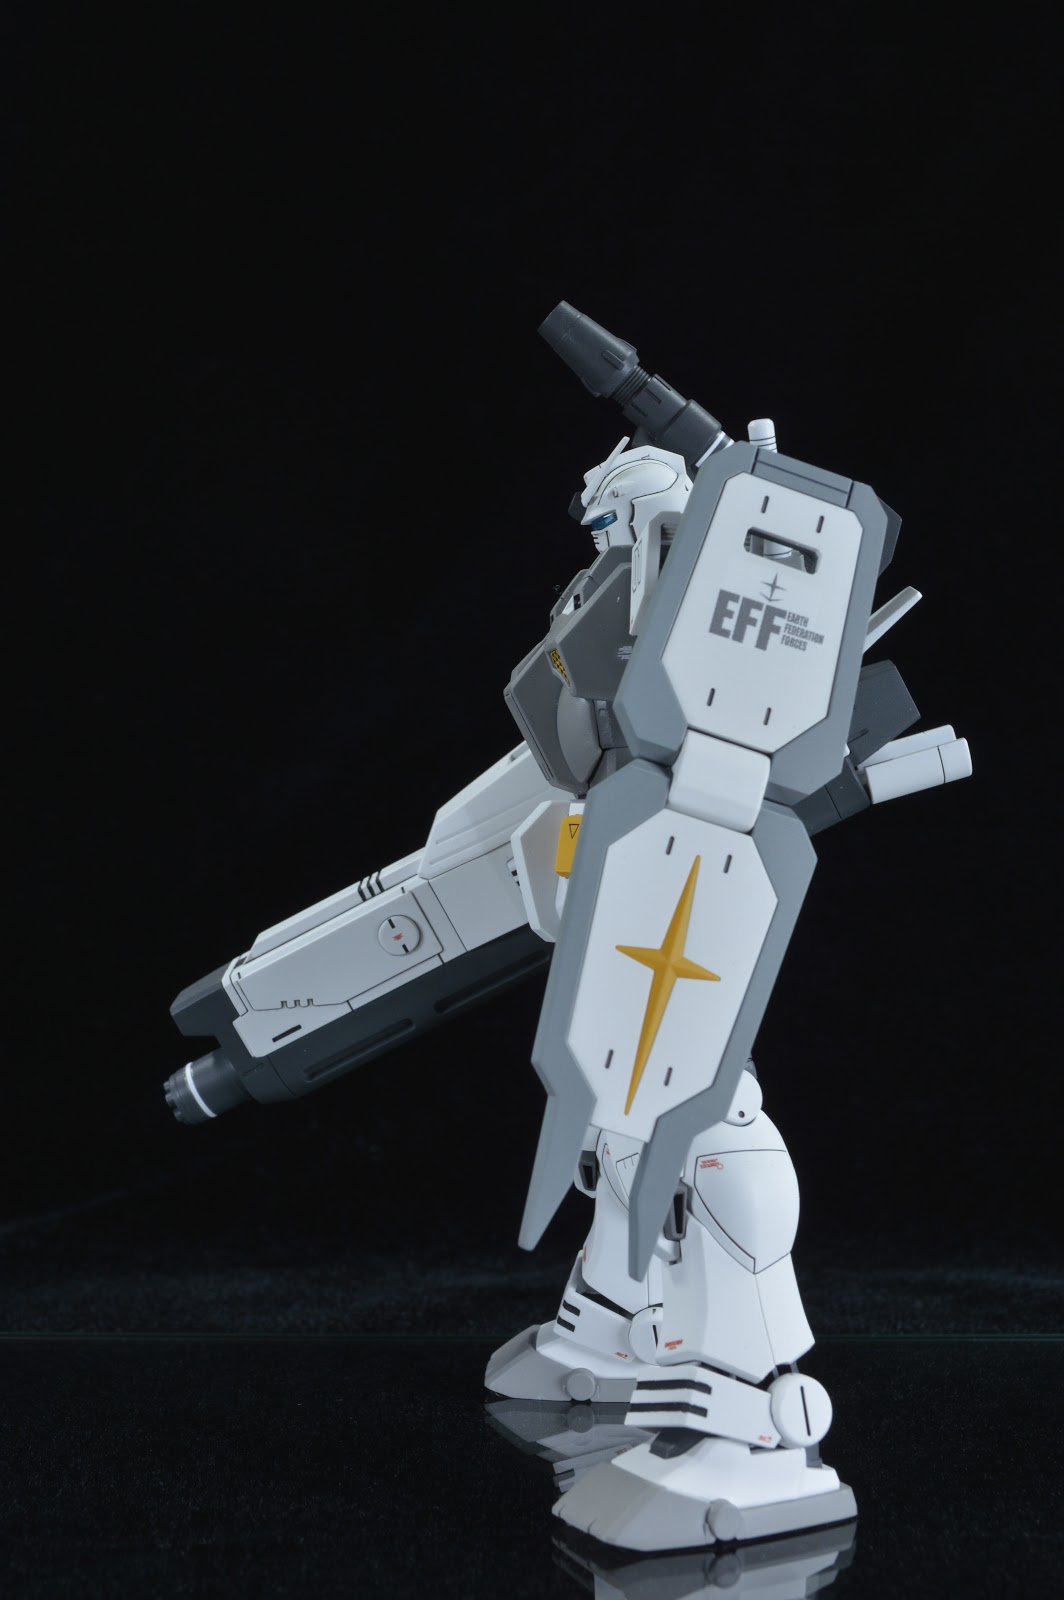
I removed the seam lines along the shoulder cannon, beam rifle, and head.

Added some slight scribing to the head and chest.

And I hand painted or masked a few details on the chest, legs, and feet. The decals from this kit are taken from the Gundam Decal Origin Multipack. Unfortunately, there isn’t an official decal set for this kit, so I had to make do with what was available. As a result, I did add an RX-78 decal to the chest even know this is the FA-78.
Photos:


Hi how did you remove the seamline on the head armor? Did you make modifications on how to make it easier without masking the visor/shades and faceplate? Thanks for giving tips and tutorials like the seamline repair for zeon origin kits :)
ReplyDeleteHi Weiss,
DeleteThe simple answer is that I had to remove material from the face and head to allow me to be able to insert the face once the head seam was fused. Here are a few photos to help you out:
https://twitter.com/Goodguygdan/status/1106928166709460993
so after cutting the peg and sanding the the inner part of the head you just slid in the face and secured it with super glue?.. thanks dan really helpful :) saved your pictures for reference once i do mine :)
ReplyDelete